

Appearance
The Setup Wizard
A new workspace opens on Set up your shop, a five step wizard listed as Getting started in the sidebar. Every page you open in the workspace returns to it until you press Go to dashboard on the last step or Skip setup for now at the top of any step. Everything the wizard sets can be changed later in settings.
Where It Lives
| Step | What it's for |
|---|---|
| 1 Brand | Shop name, contact details and accent colour |
| 2 Catalogue | Load garments: a supplier sync, a CSV import, or later |
| 3 Customers | Import your customer list from a CSV |
| 4 Sample data | Load a removable sample set to try the product with |
| 5 Done | Finish and go to the dashboard |
Catalogue import under Records opens from step 2 and links back to it. The wizard stays in the sidebar after you finish for as long as sample data is loaded, so the remove button stays easy to find.
Step 1: Brand
The fields are prefilled from signup: the shop name you entered and the email you signed up with.
- Check Shop name. It is how customers see you on quotes, invoices, emails and the portal.
- Check Contact email. Replies to every customer email land here, so use a mailbox someone reads.
- Add a Contact phone if you want it on your documents.
- Pick an Accent colour with the swatch or type a hex value. It colours the portal and storefront buttons.
- Press Save and continue. A Brand saved notice appears and step 2 opens.
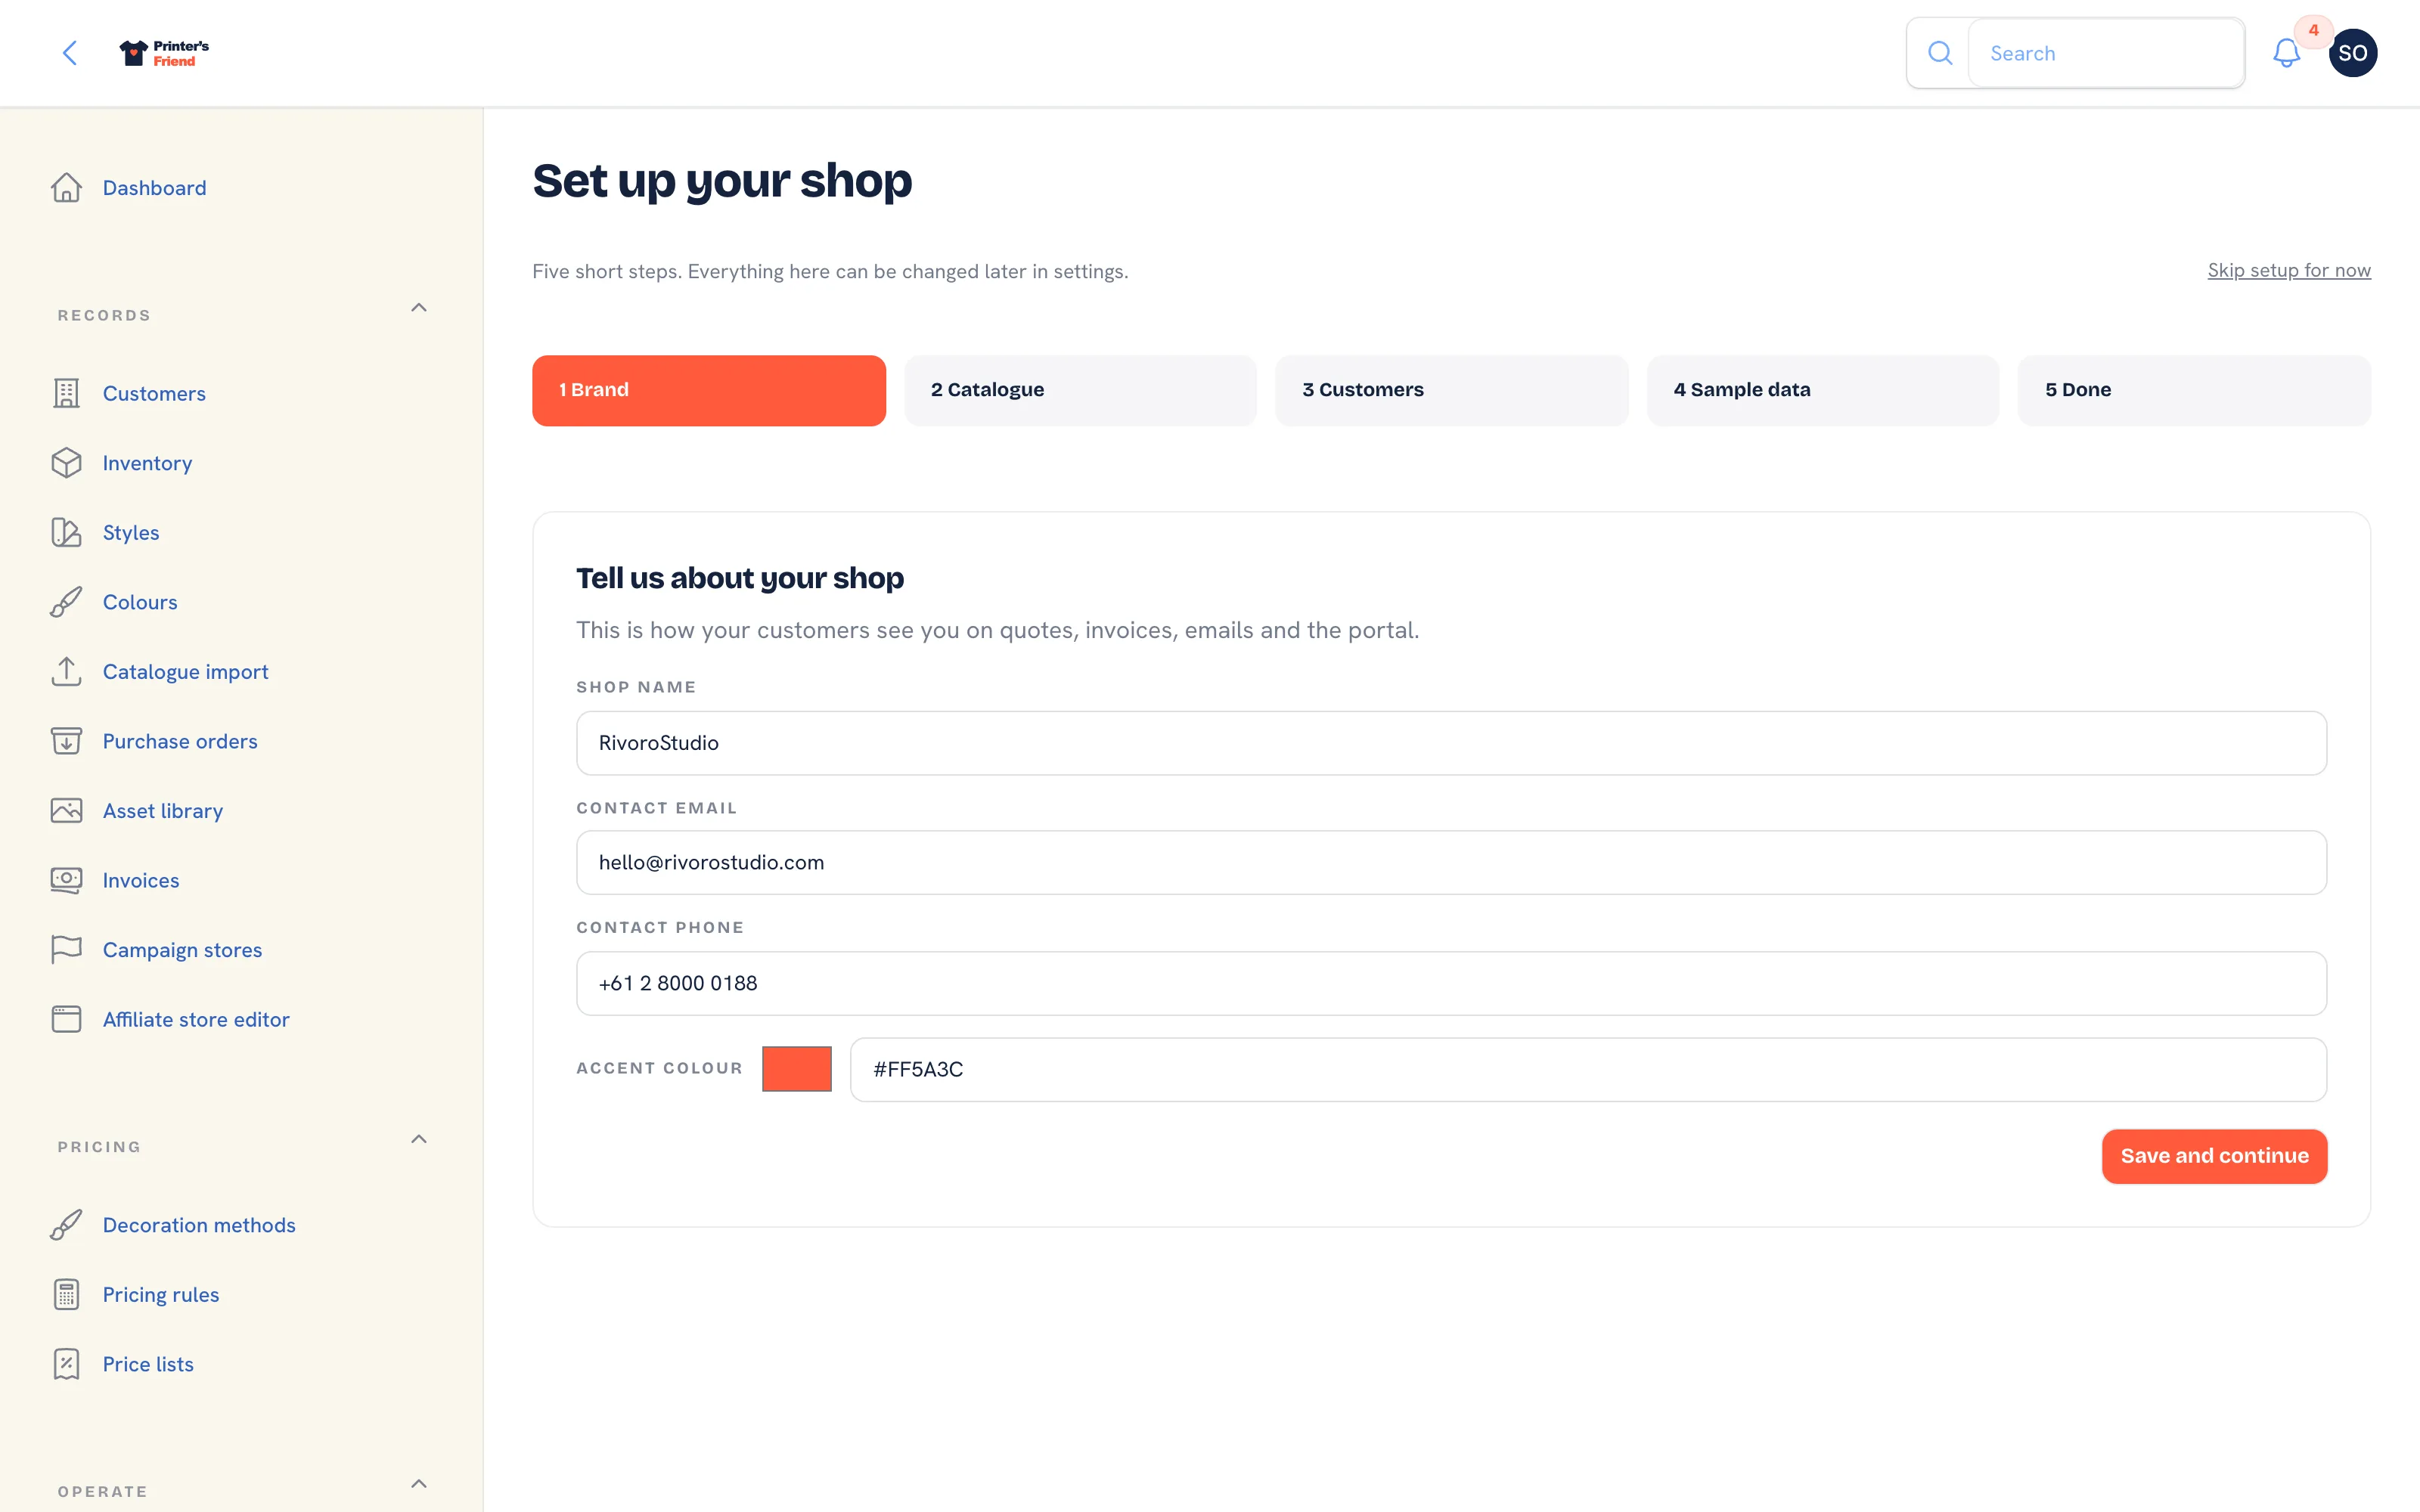 Step 1. The shop name and contact email are prefilled from signup.
Tax label, rate, currency, time zone, logo and portal copy are set later in Business details and branding.
Step 2: Catalogue
The kiosk, the portal, the designer and your quotes all draw on the catalogue. The step offers three cards.
| Card | What it does |
|---|---|
| Sync AS Colour | Planned. The AS Colour adapter has not been verified against a real trade account. With no token saved under Integrations, Sync supplier catalogue shows a "Supplier not connected yet" notice and moves you to step 3; nothing is written |
| Import a CSV | Open Catalogue import opens the import page. A link at the top of that page brings you back to this step when the import is done. See Catalogue and SKUs |
| Not yet | Skip for now. Decoration-only quotes already price from the starter rates, and garments can be loaded later from Records |
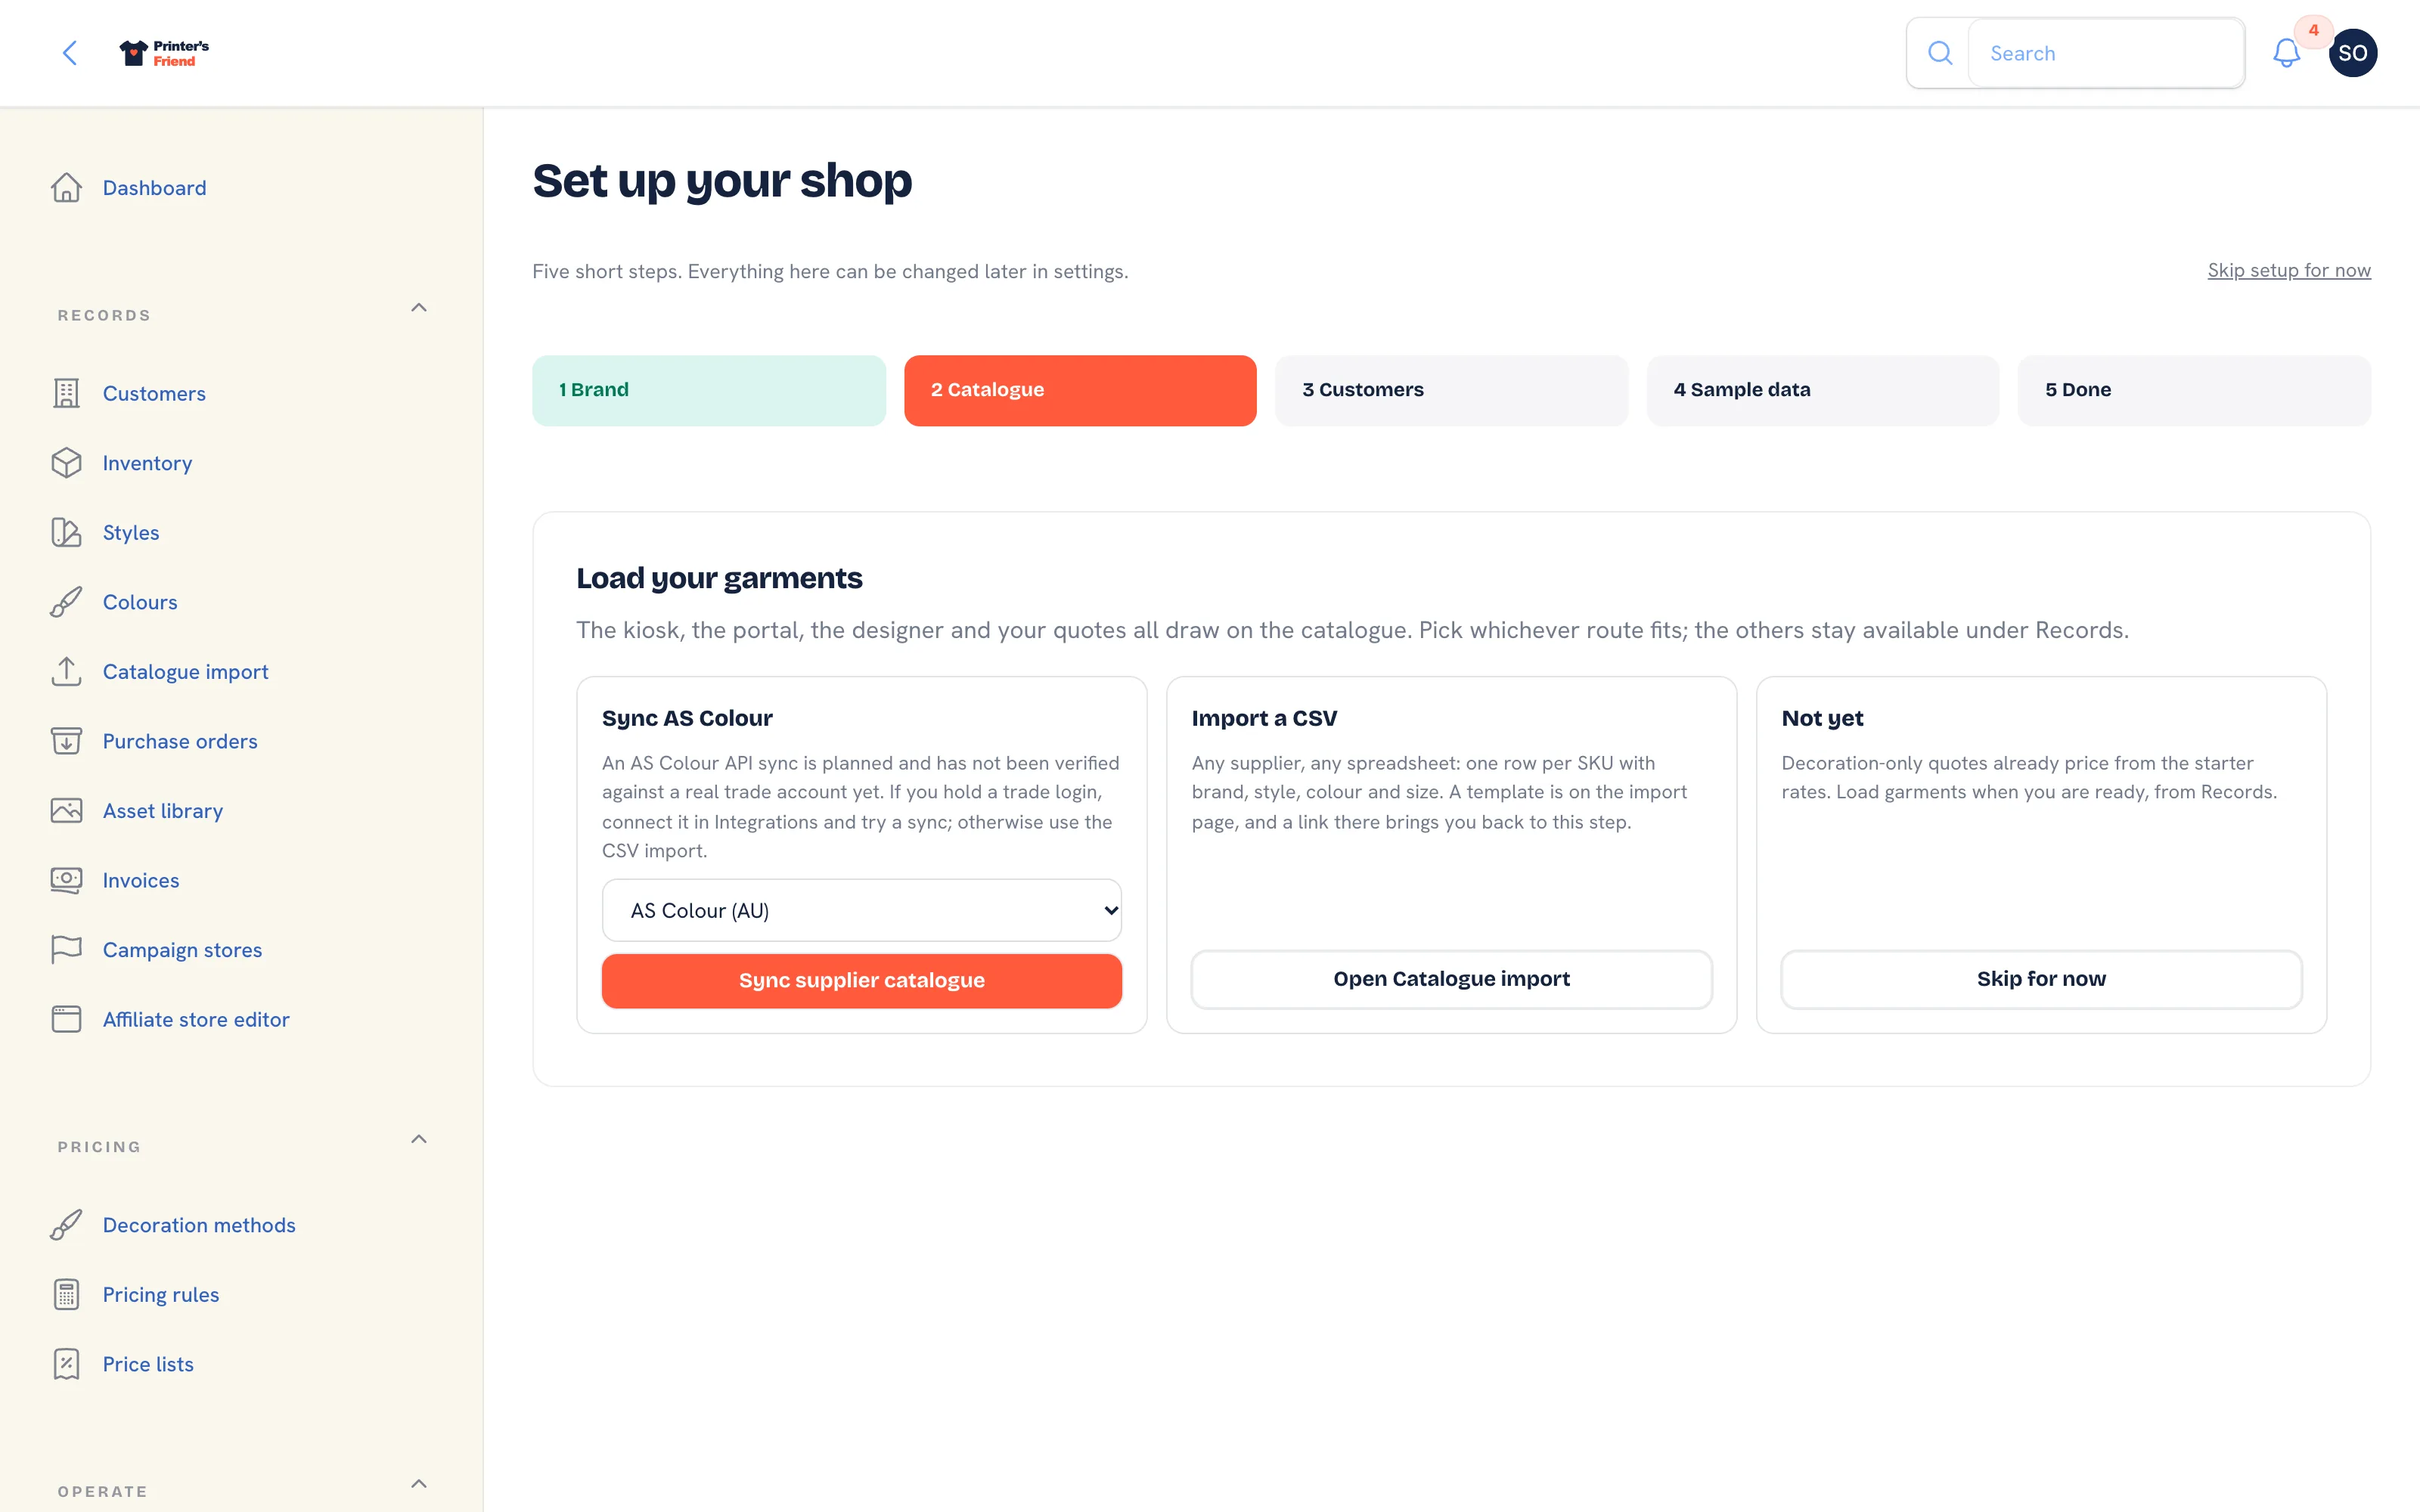 Step 2. The CSV import is the route to use today.
Plan requirement
A live supplier sync is included on Starter, Premium and Enterprise, not on Free. On a plan without it the sync card refuses with a message and moves you on.
Step 3: Customers
- Prepare a CSV with at least a
namecolumn. Optional columns:contact_name,email,phone,price_list(a price list code or name) andmarketing_consent(yes or no). Column names are matched without regard to case or spacing, so an Excel export works as it is, byte order mark, Windows line endings and blank rows included. - Choose the file under CSV file. Files up to 5 MB.
- If you already have price lists, pick a Default price list or leave List price (no price list). It applies to every imported customer that does not name one in the
price_listcolumn. Without any price lists the select is not shown and imported customers are quoted at list price. - Press Import customers, or Skip, I'll add customers later.
The file is checked before anything is written. A file without a name column is refused and nothing is imported. A customer already on file is matched by name, never duplicated, and a row with an unusable email address is skipped and listed. Step 4 opens with the result: how many new customers, how many already on file, how many contacts added, and any price list names that matched nothing.
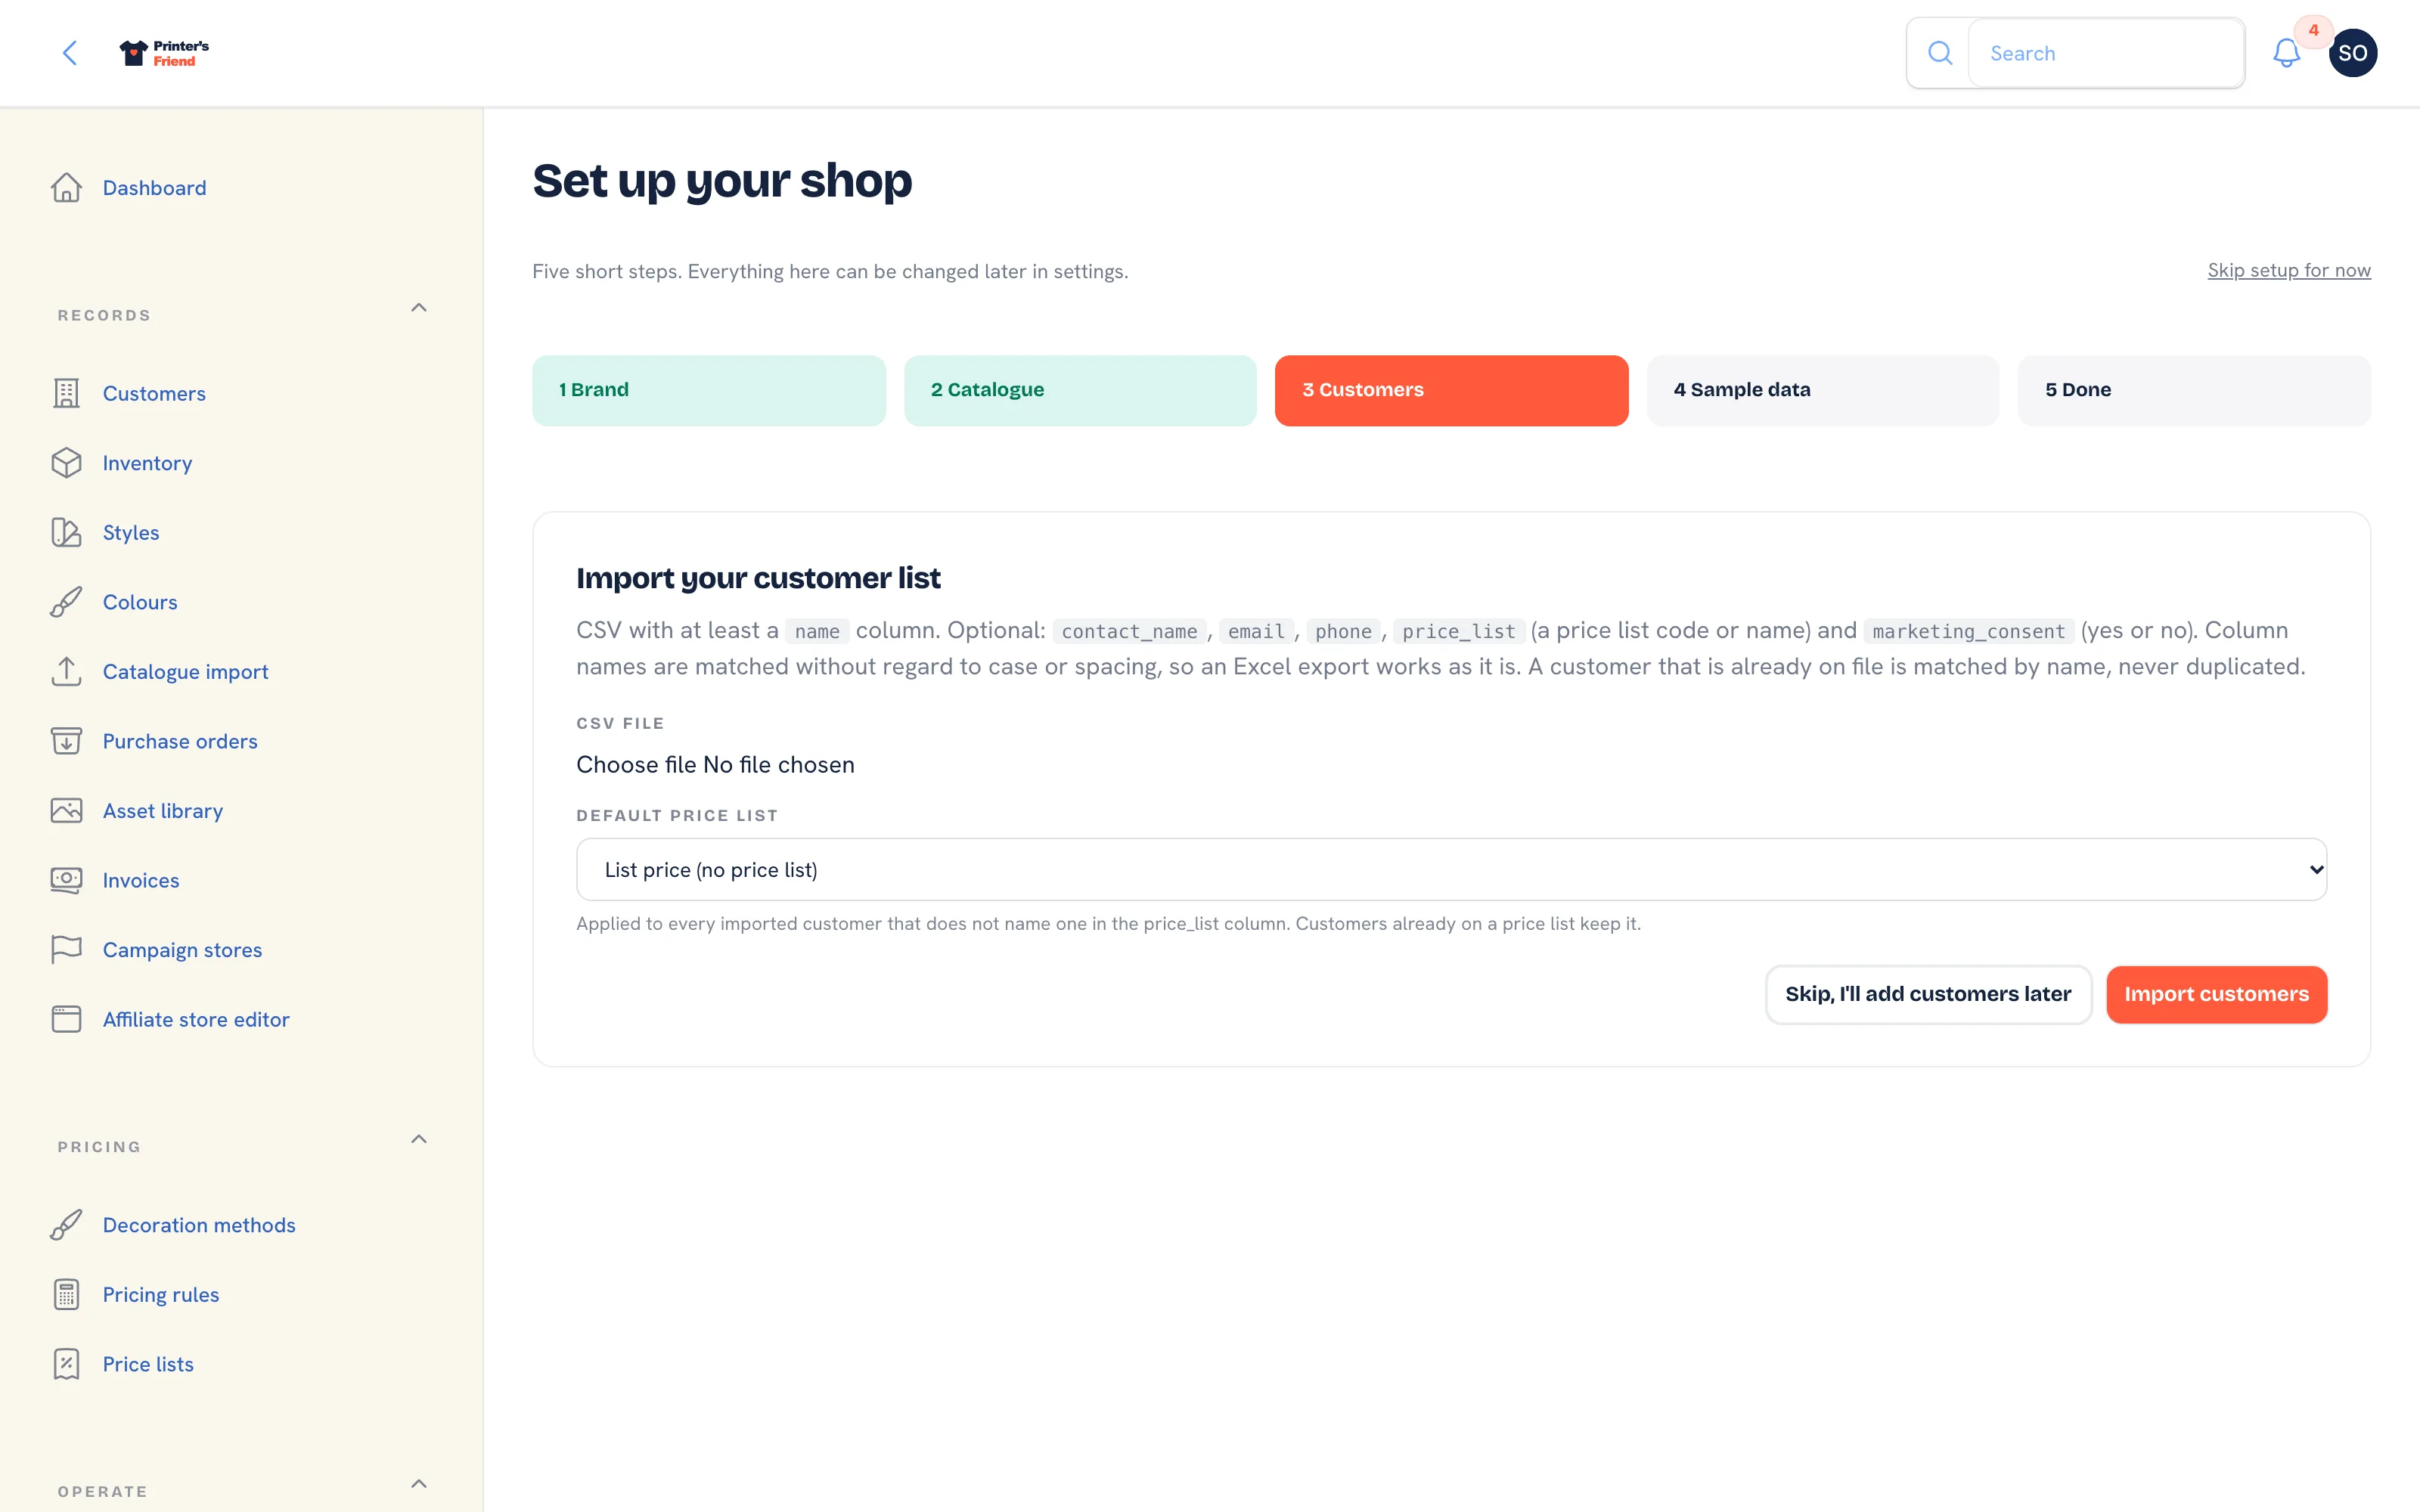 Step 3. Column names are matched loosely, so a spreadsheet export works as it is.
Create your price lists before the import if you want them assigned
The Default price list select only appears when price lists exist. If your spreadsheet carries a club or wholesale column, create those lists under Pricing, then Price lists before you run the import, or set each customer's list afterwards. See Price lists.
Step 4: Sample Data
Load sample data adds a small set you can click through before your own catalogue is in, and Remove sample data takes exactly that set out again. No thanks moves on. What it loads and when removal is refused is on Sample data.
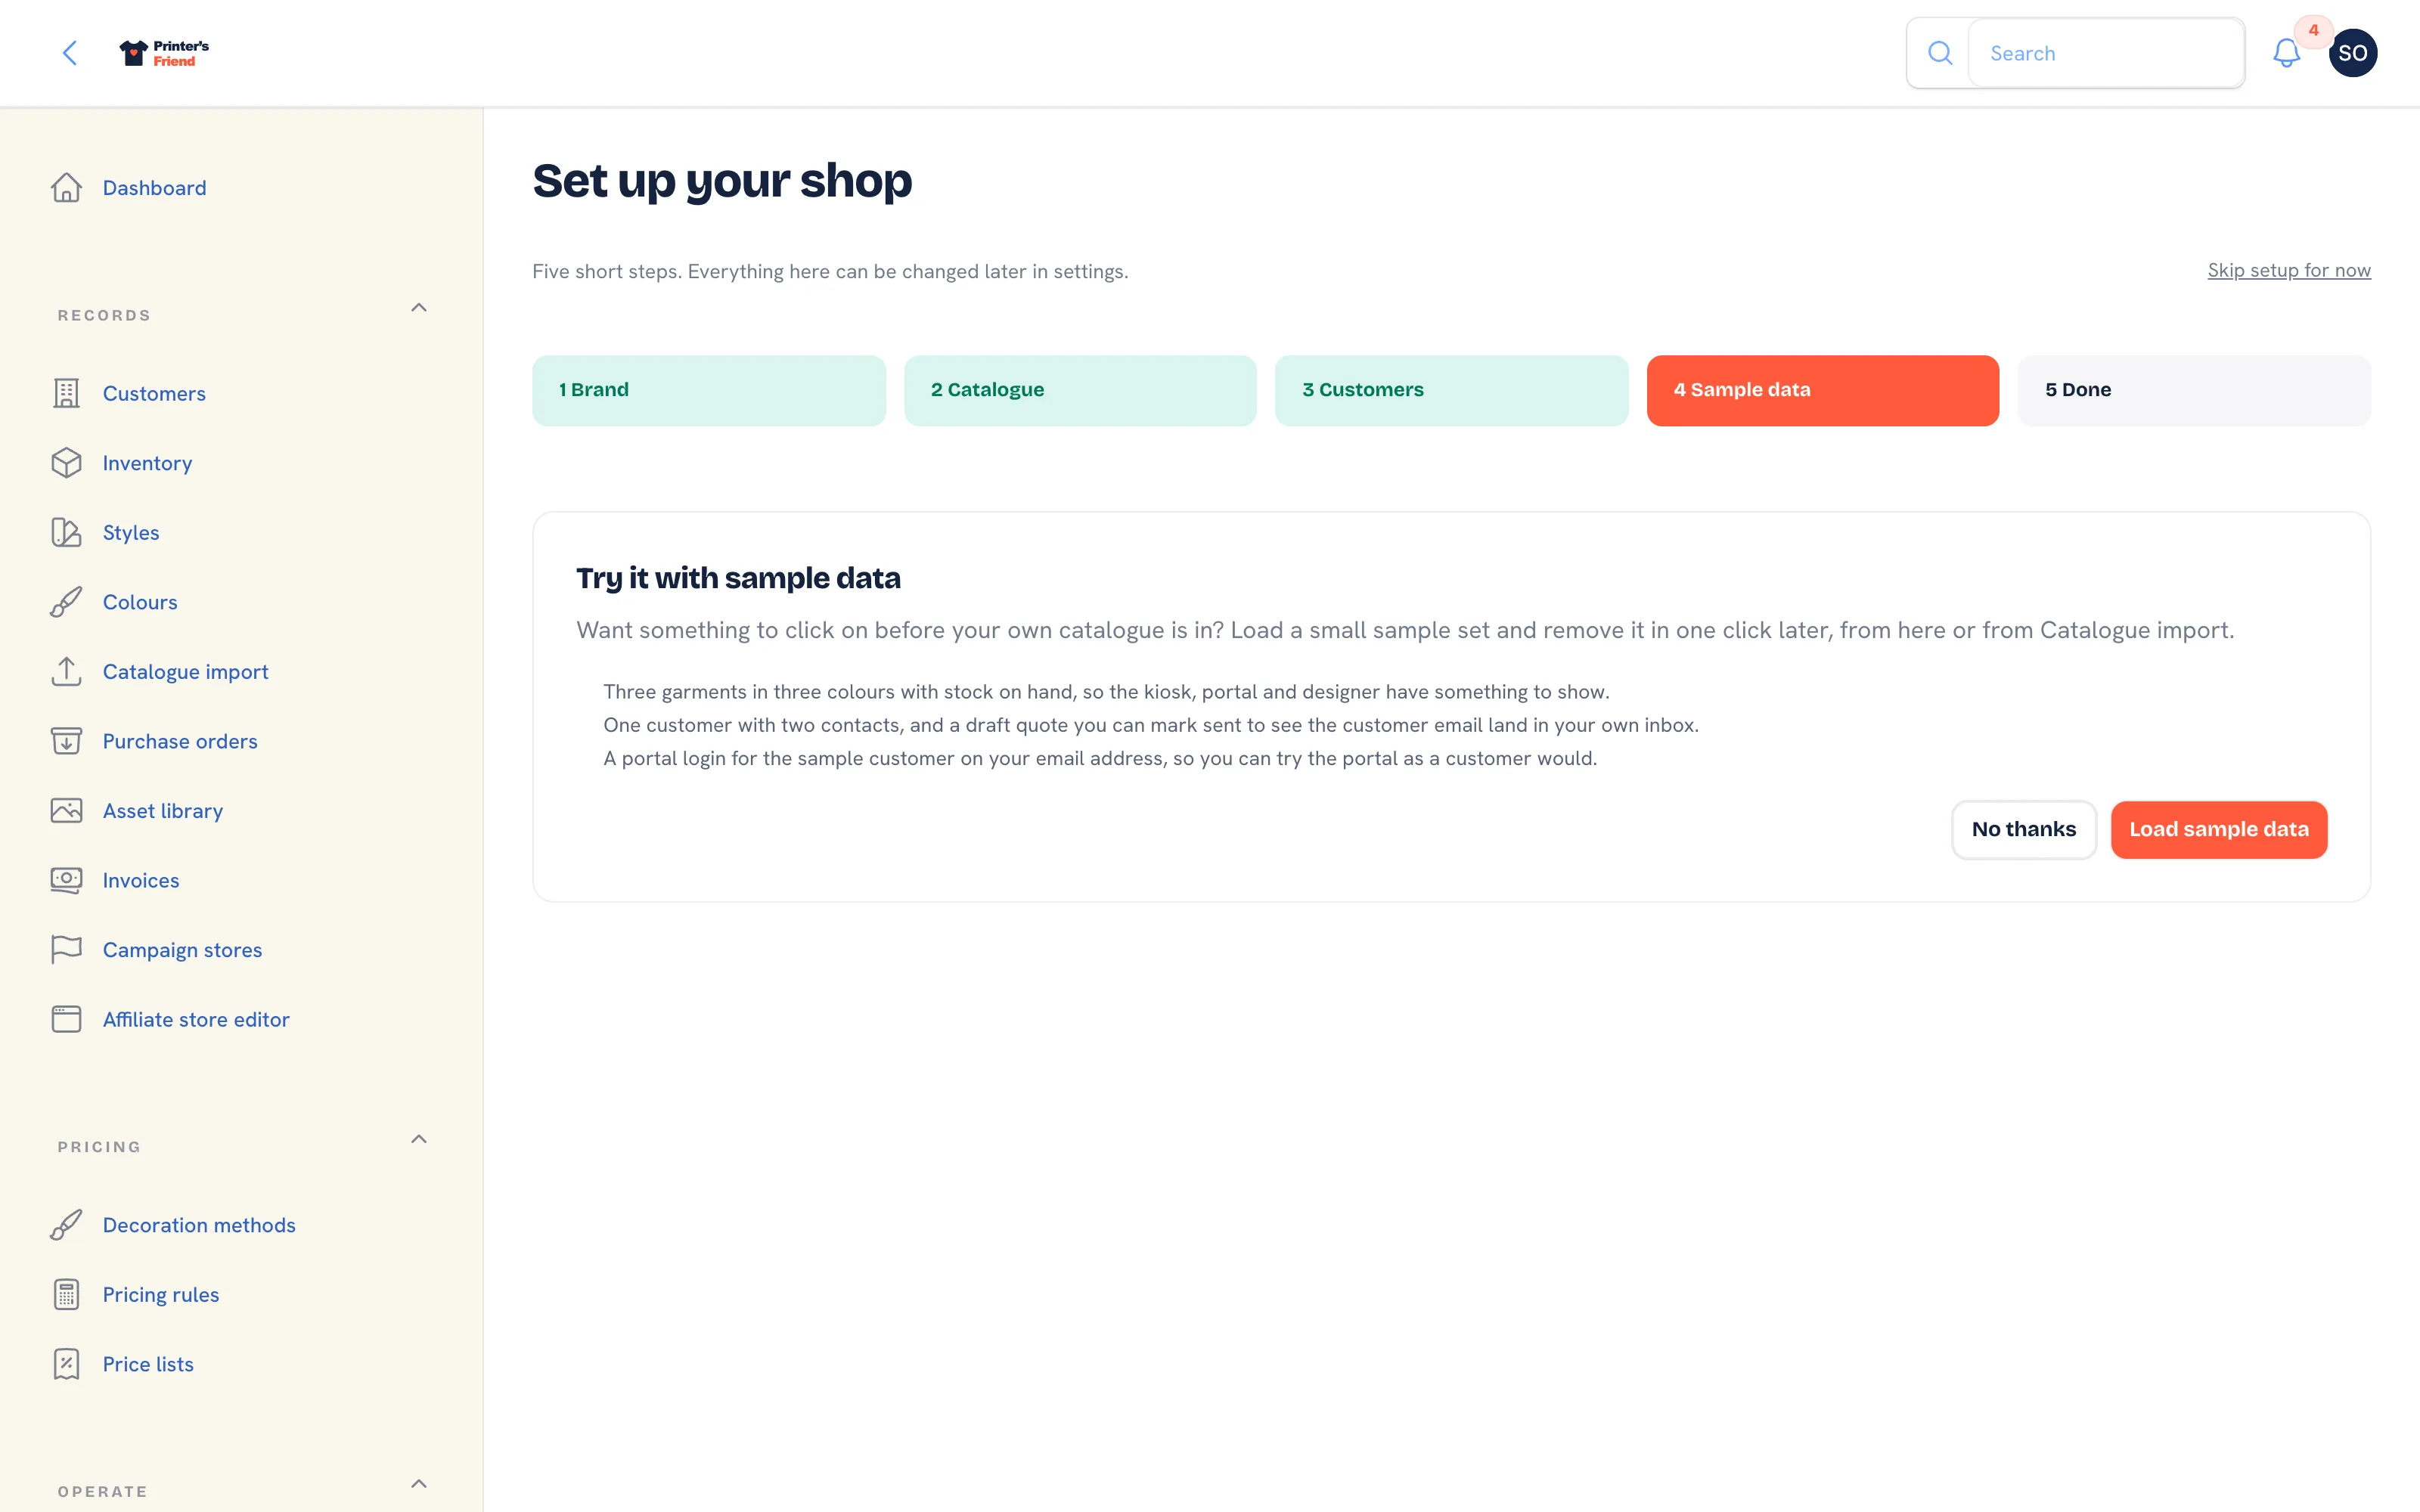 Step 4. Sample data is opt-in and removable.
Step 5: Done
The last step reads "You're ready." and summarises what happened: how many customers were imported and whether sample data is loaded. Press Go to dashboard. The wizard stops intercepting page loads from then on.
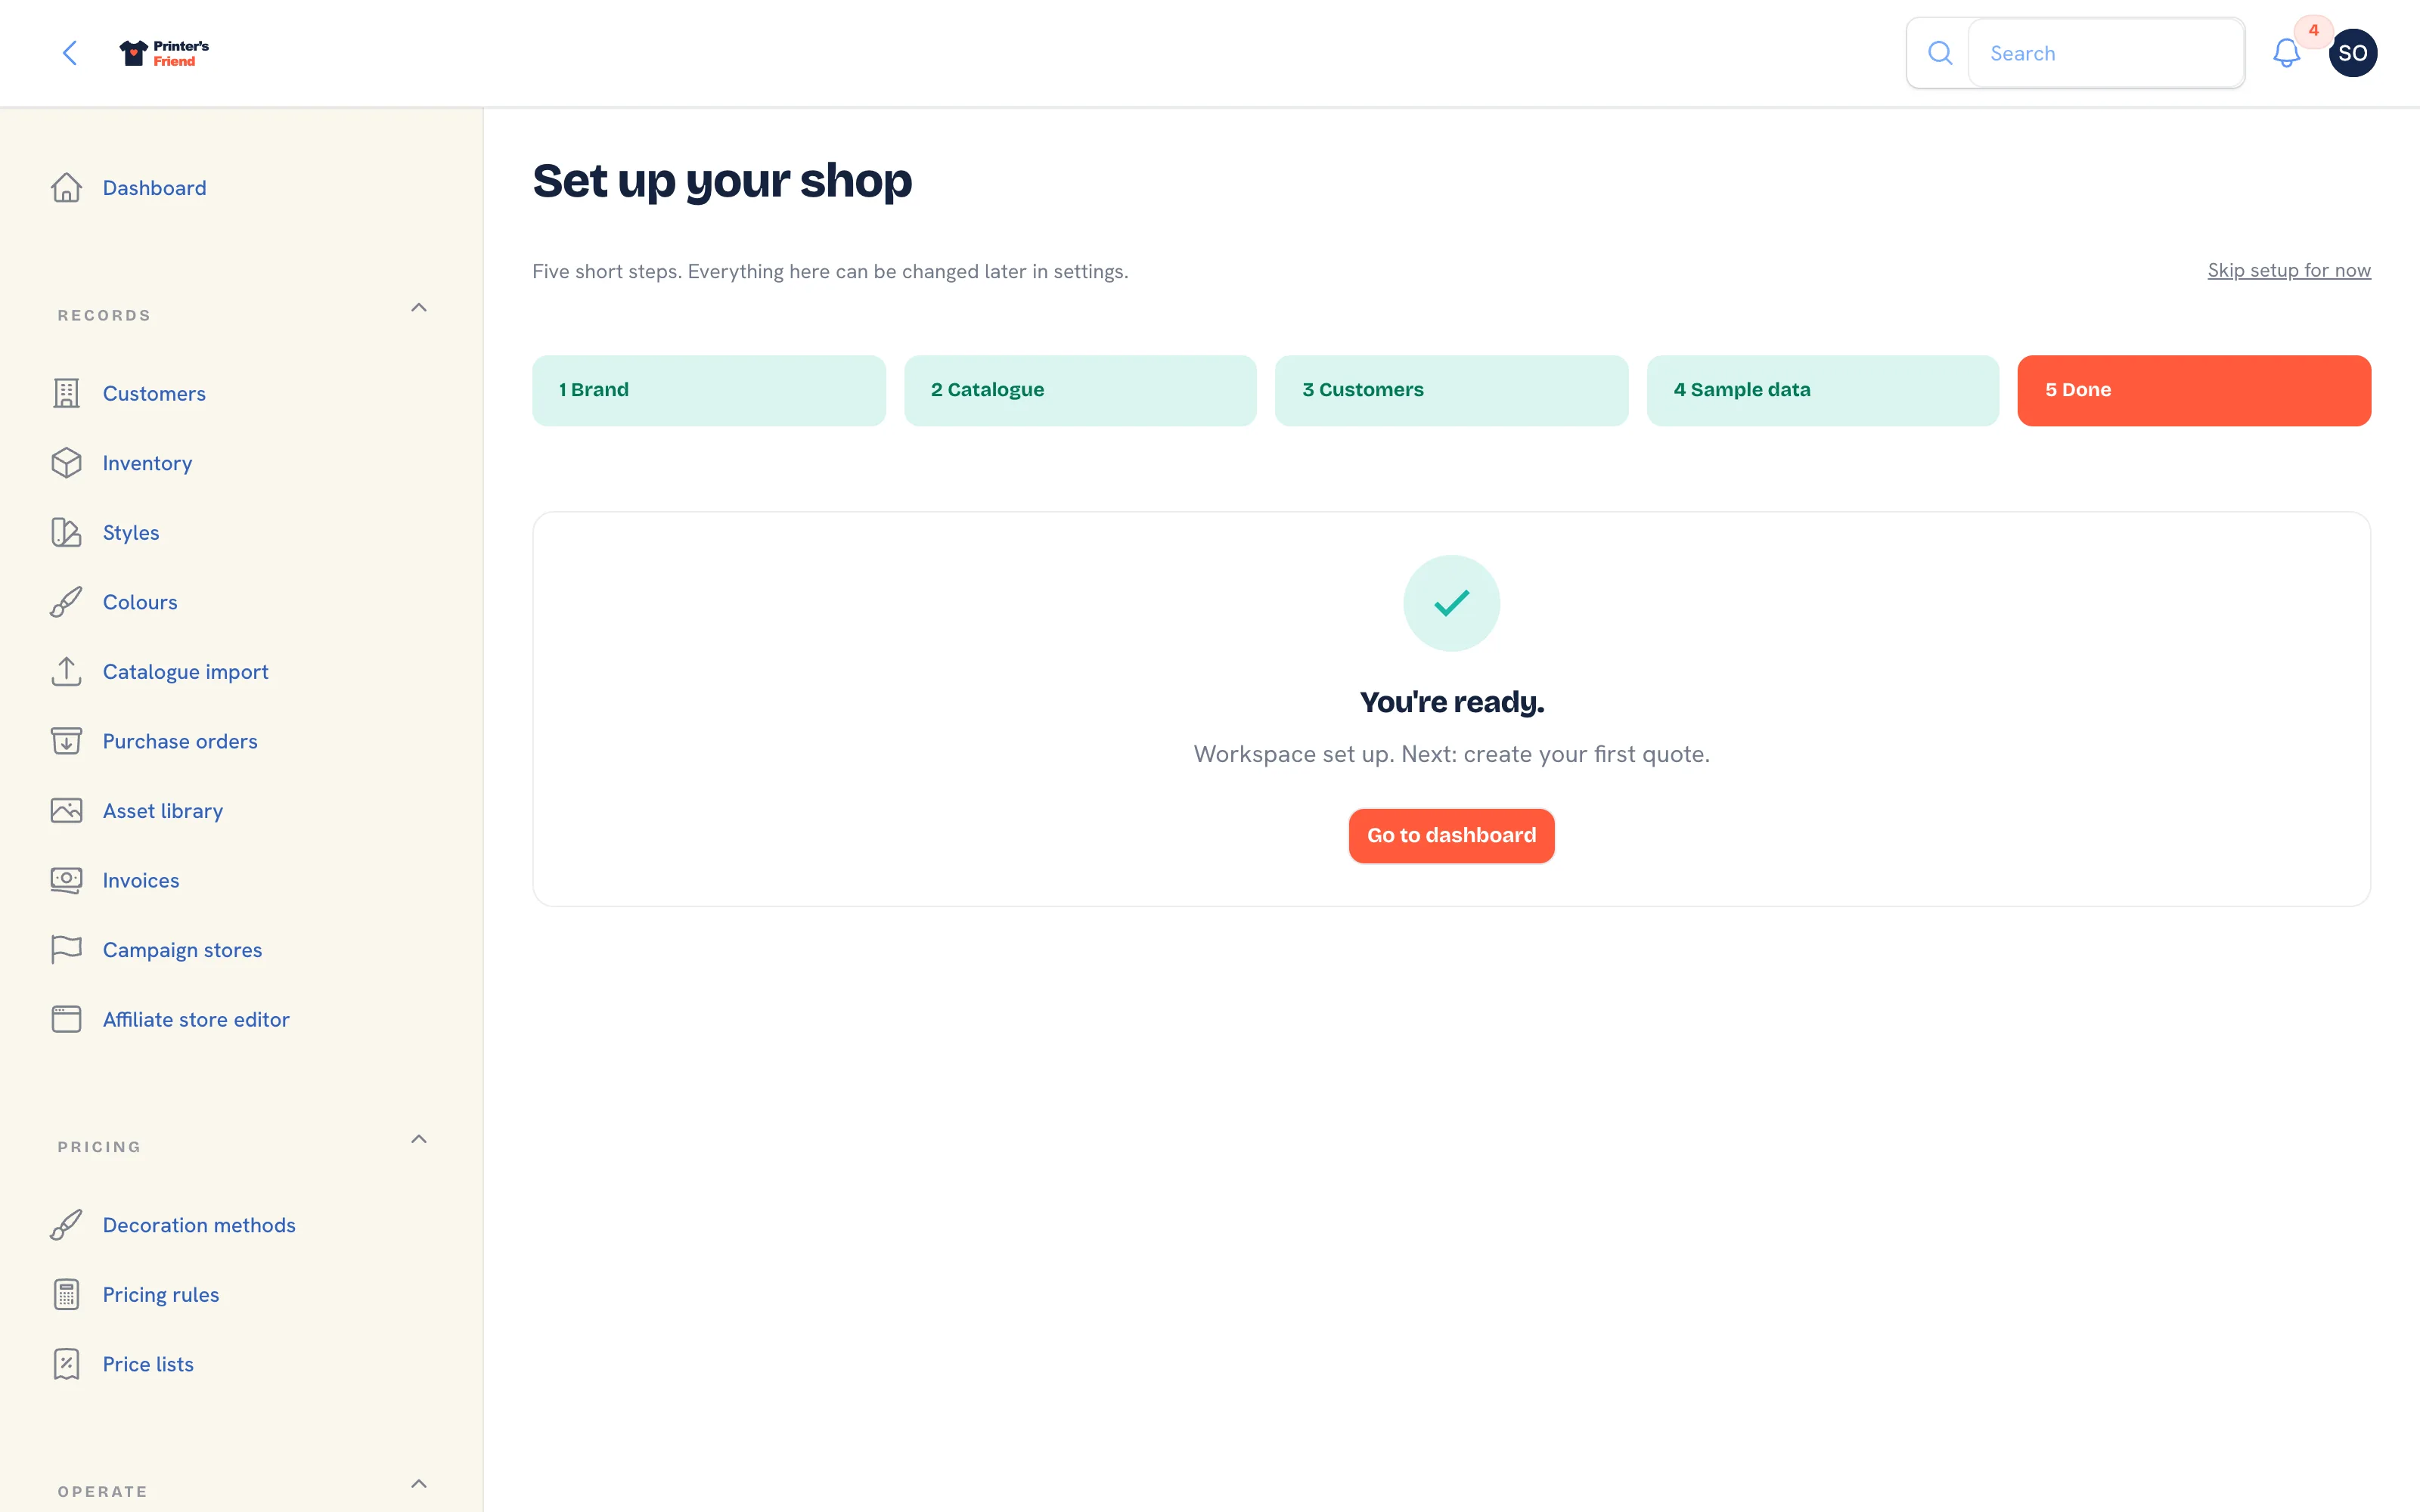 Step 5. Finishing writes the completion mark; the skip link does the same.
What the Wizard Does Not Do
You still have no prices of your own, no payment collection, no team and no customer portal logins. That is the installation guide, in order. If you would rather see the whole flow first, read Your first job, end to end.
Related Pages
- Create Your Account: create your workspace
- Your First Job, End to End: one job through every screen it touches
- Sample Data: the removable sample garments, customer and quote
- Setup Overview and Checklist: the fifteen step installation guide
- Business Details and Branding: business details, logo, colours and the live preview