

Appearance
6. Catalogue and SKUs
Your blanks: what you sell, in which colours and sizes, and how many you have. The catalogue feeds quotes, the kiosk, the portal catalogue, the designer and the stores, so nothing garment-related works until something is in it.
Where It Lives
All under Records.
| Page | What it's for |
|---|---|
| Catalogue import | Load a supplier's range from a CSV, with a downloadable template |
| Styles | The garments: brand, style code, name, category, list price, and each style's SKUs |
| Colours | The colours shared across styles, with a swatch |
| Inventory | Every SKU with on-hand, reserved and available stock, adjustments and shelf labels |
The layers are brand, style, colour and size; a SKU is one style in one colour and size, and stock lives on the SKU. A brand code is up to 8 characters and a colour code up to 16; both are used in the SKU code, BRAND-STYLE-COLOUR-SIZE.
Importing a CSV
This is the way to load a range. One row is one SKU; brands, styles, colours and sizes are created as they appear.
- Records, then Catalogue import. From the setup wizard, Open Catalogue import on step 2 lands here too.
- Press Download the CSV template. It has the header row and three example rows.
- Fill it from your supplier's export. Required columns:
brand_code,style_code,colour_code,size. Optional:brand,style_name,category,supplier_code,colour,colour_hex,on_hand,reorder_point,reorder_quantity,list_unit_price. Capitals and spacing do not matter, and common spellings such ascolor,priceandqtyare understood. - Choose the file and press Import catalogue. Up to 10 MB per file.
- Read the result: new SKUs, SKUs already on file, new styles and colours, and a line-numbered reason for every row that was skipped.
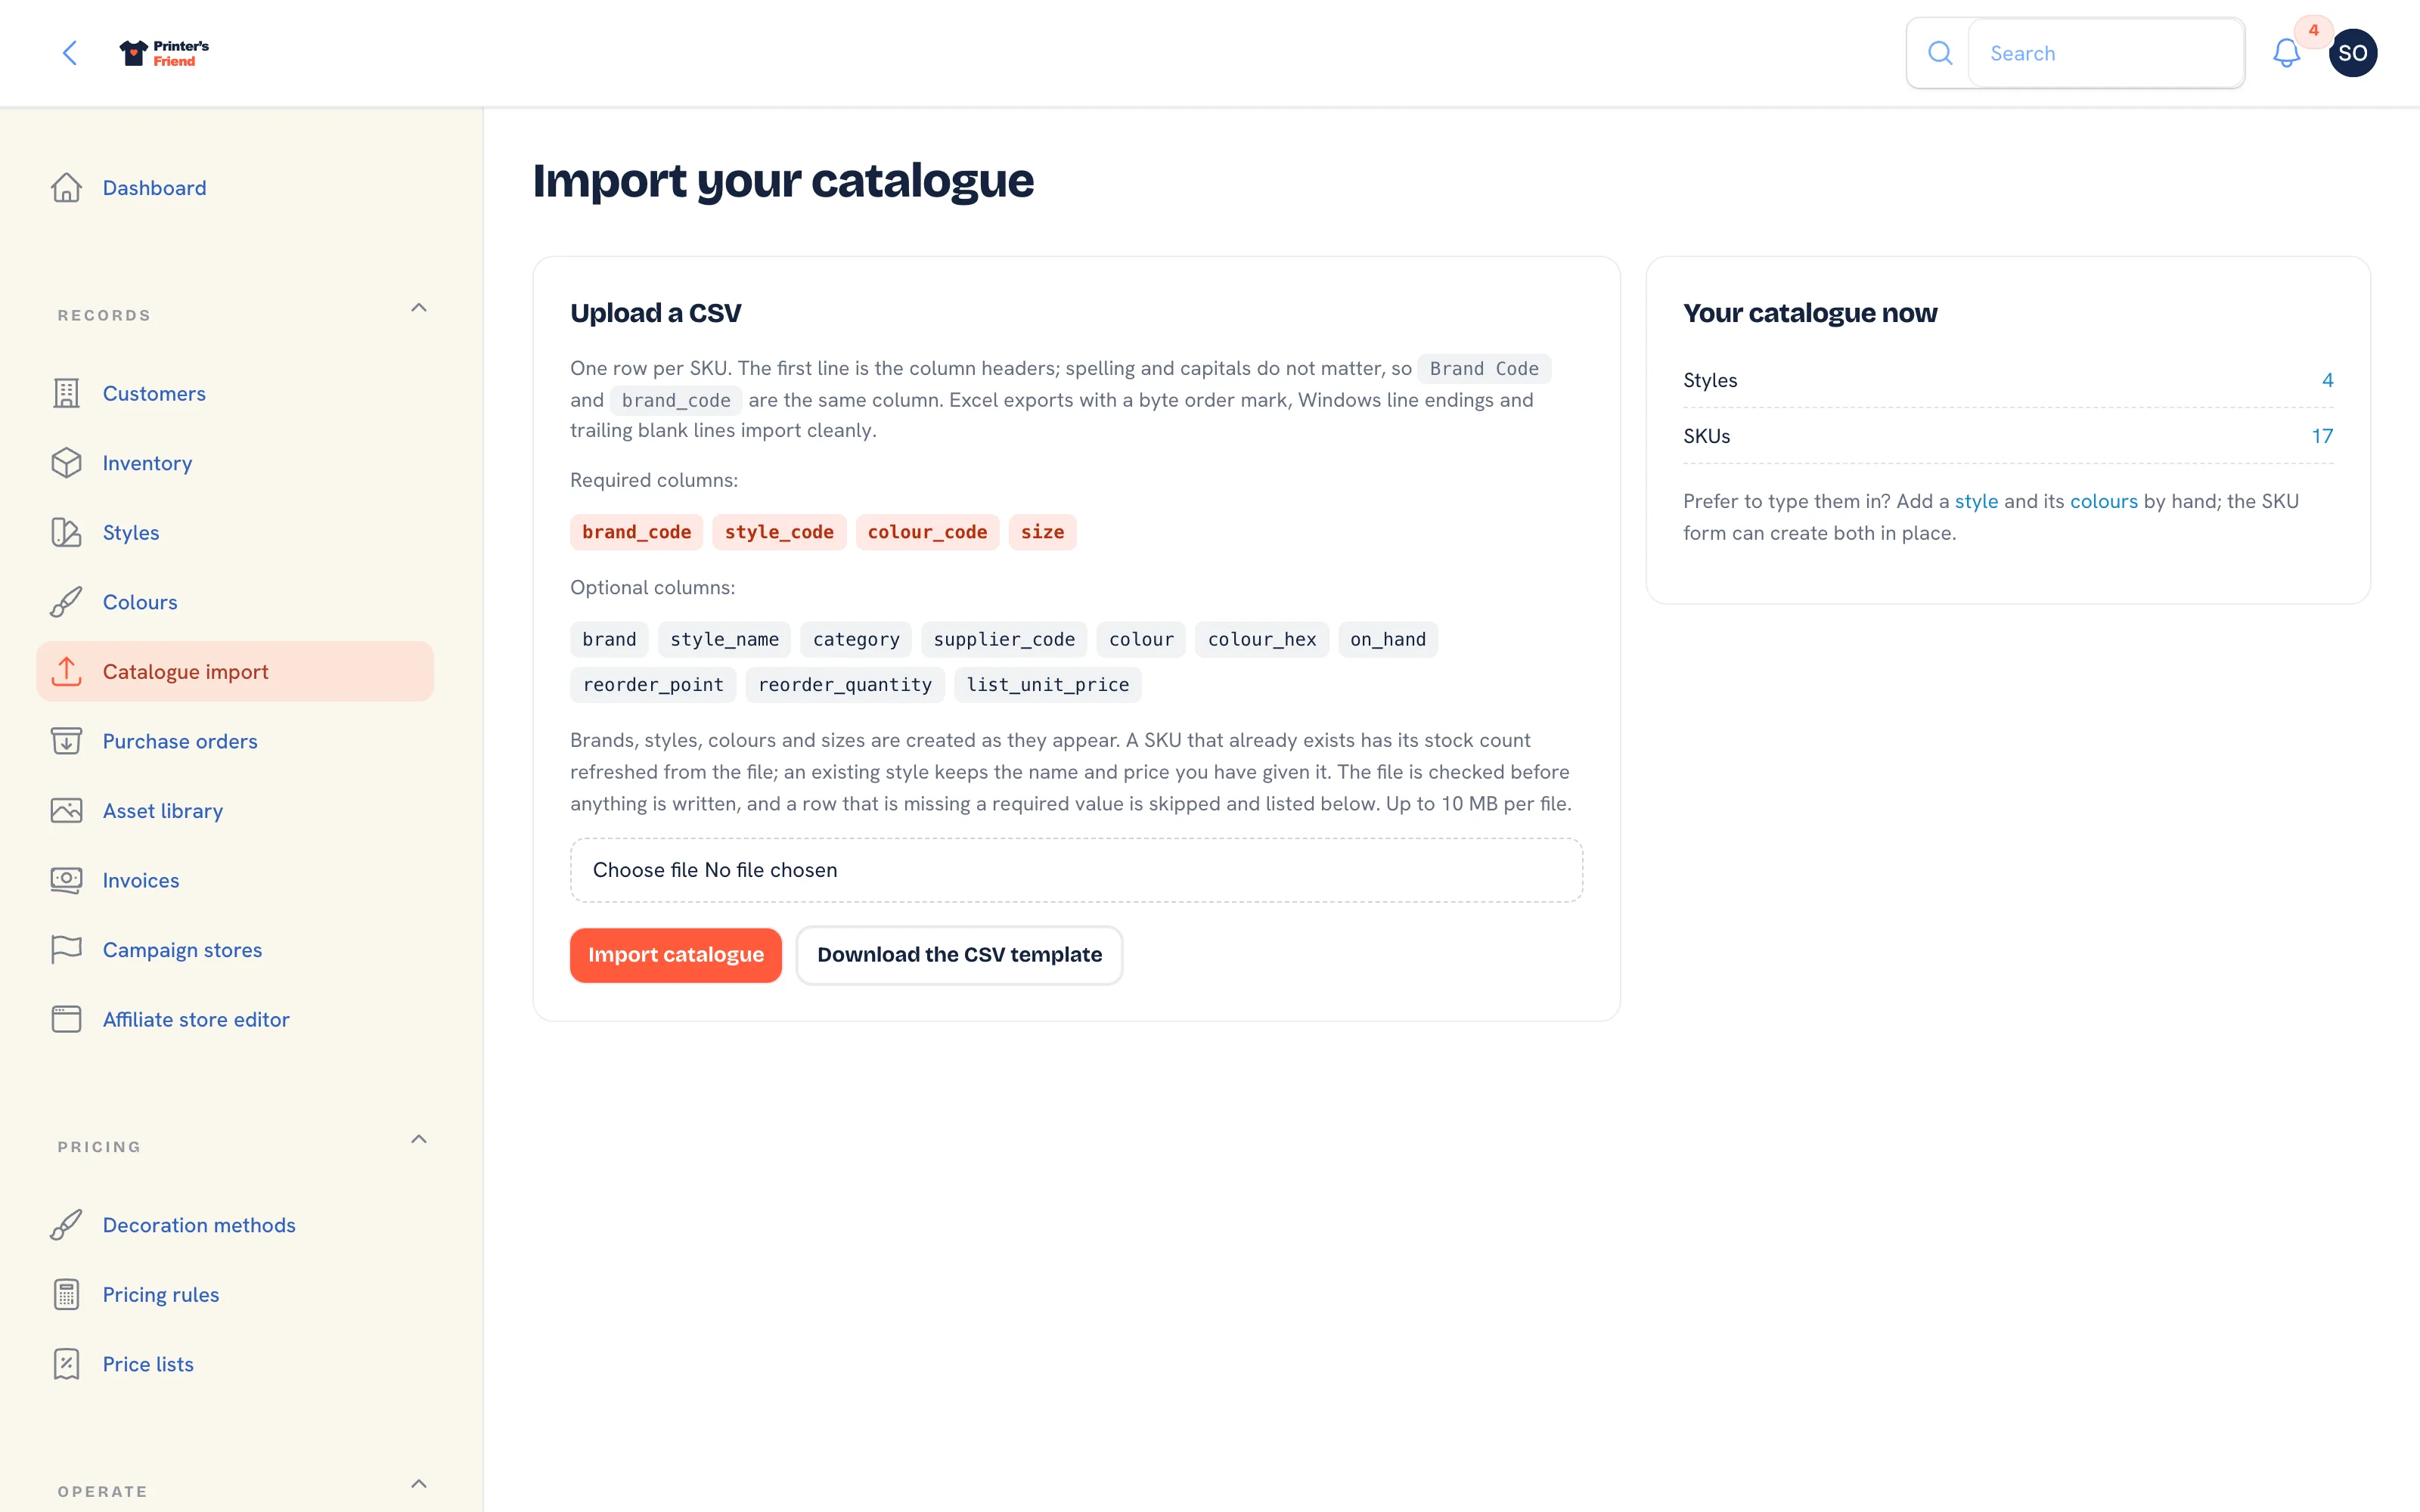 Catalogue import. The header set is checked before anything is written.
How the import treats what is already there:
- The file is checked first. A missing required column refuses the whole file and nothing is written.
- A row missing a required value, or with a non-numeric number, is skipped and listed. The rest import.
- A SKU that already exists has its stock count refreshed from the
on_handcolumn when the file has one. Without that column, existing counts are left alone. - An existing style keeps the name and price you have given it, so re-importing an old supplier file never undoes your edits.
- New sizes sort after the seeded XS to 3XL.
An on_hand column overwrites counts
If the file carries on_hand, every SKU in it takes that count. Export without the column when you only want new styles and colours, and use Adjust stock or a cycle count for counts.
When the wizard is still open, a Back to the setup wizard link at the top of the page returns you to the catalogue step.
Styles
- Records, then Styles, then New style.
- Pick the Brand, or create one in place with a Name and a Code of up to 8 characters.
- Pick or create a Category, for example
Tees. - Type the Style code (the supplier's style number, unique within the brand), the Name, an optional Supplier code, the List unit price before decoration, and a description.
- Press Create. The style opens with its SKUs section underneath.
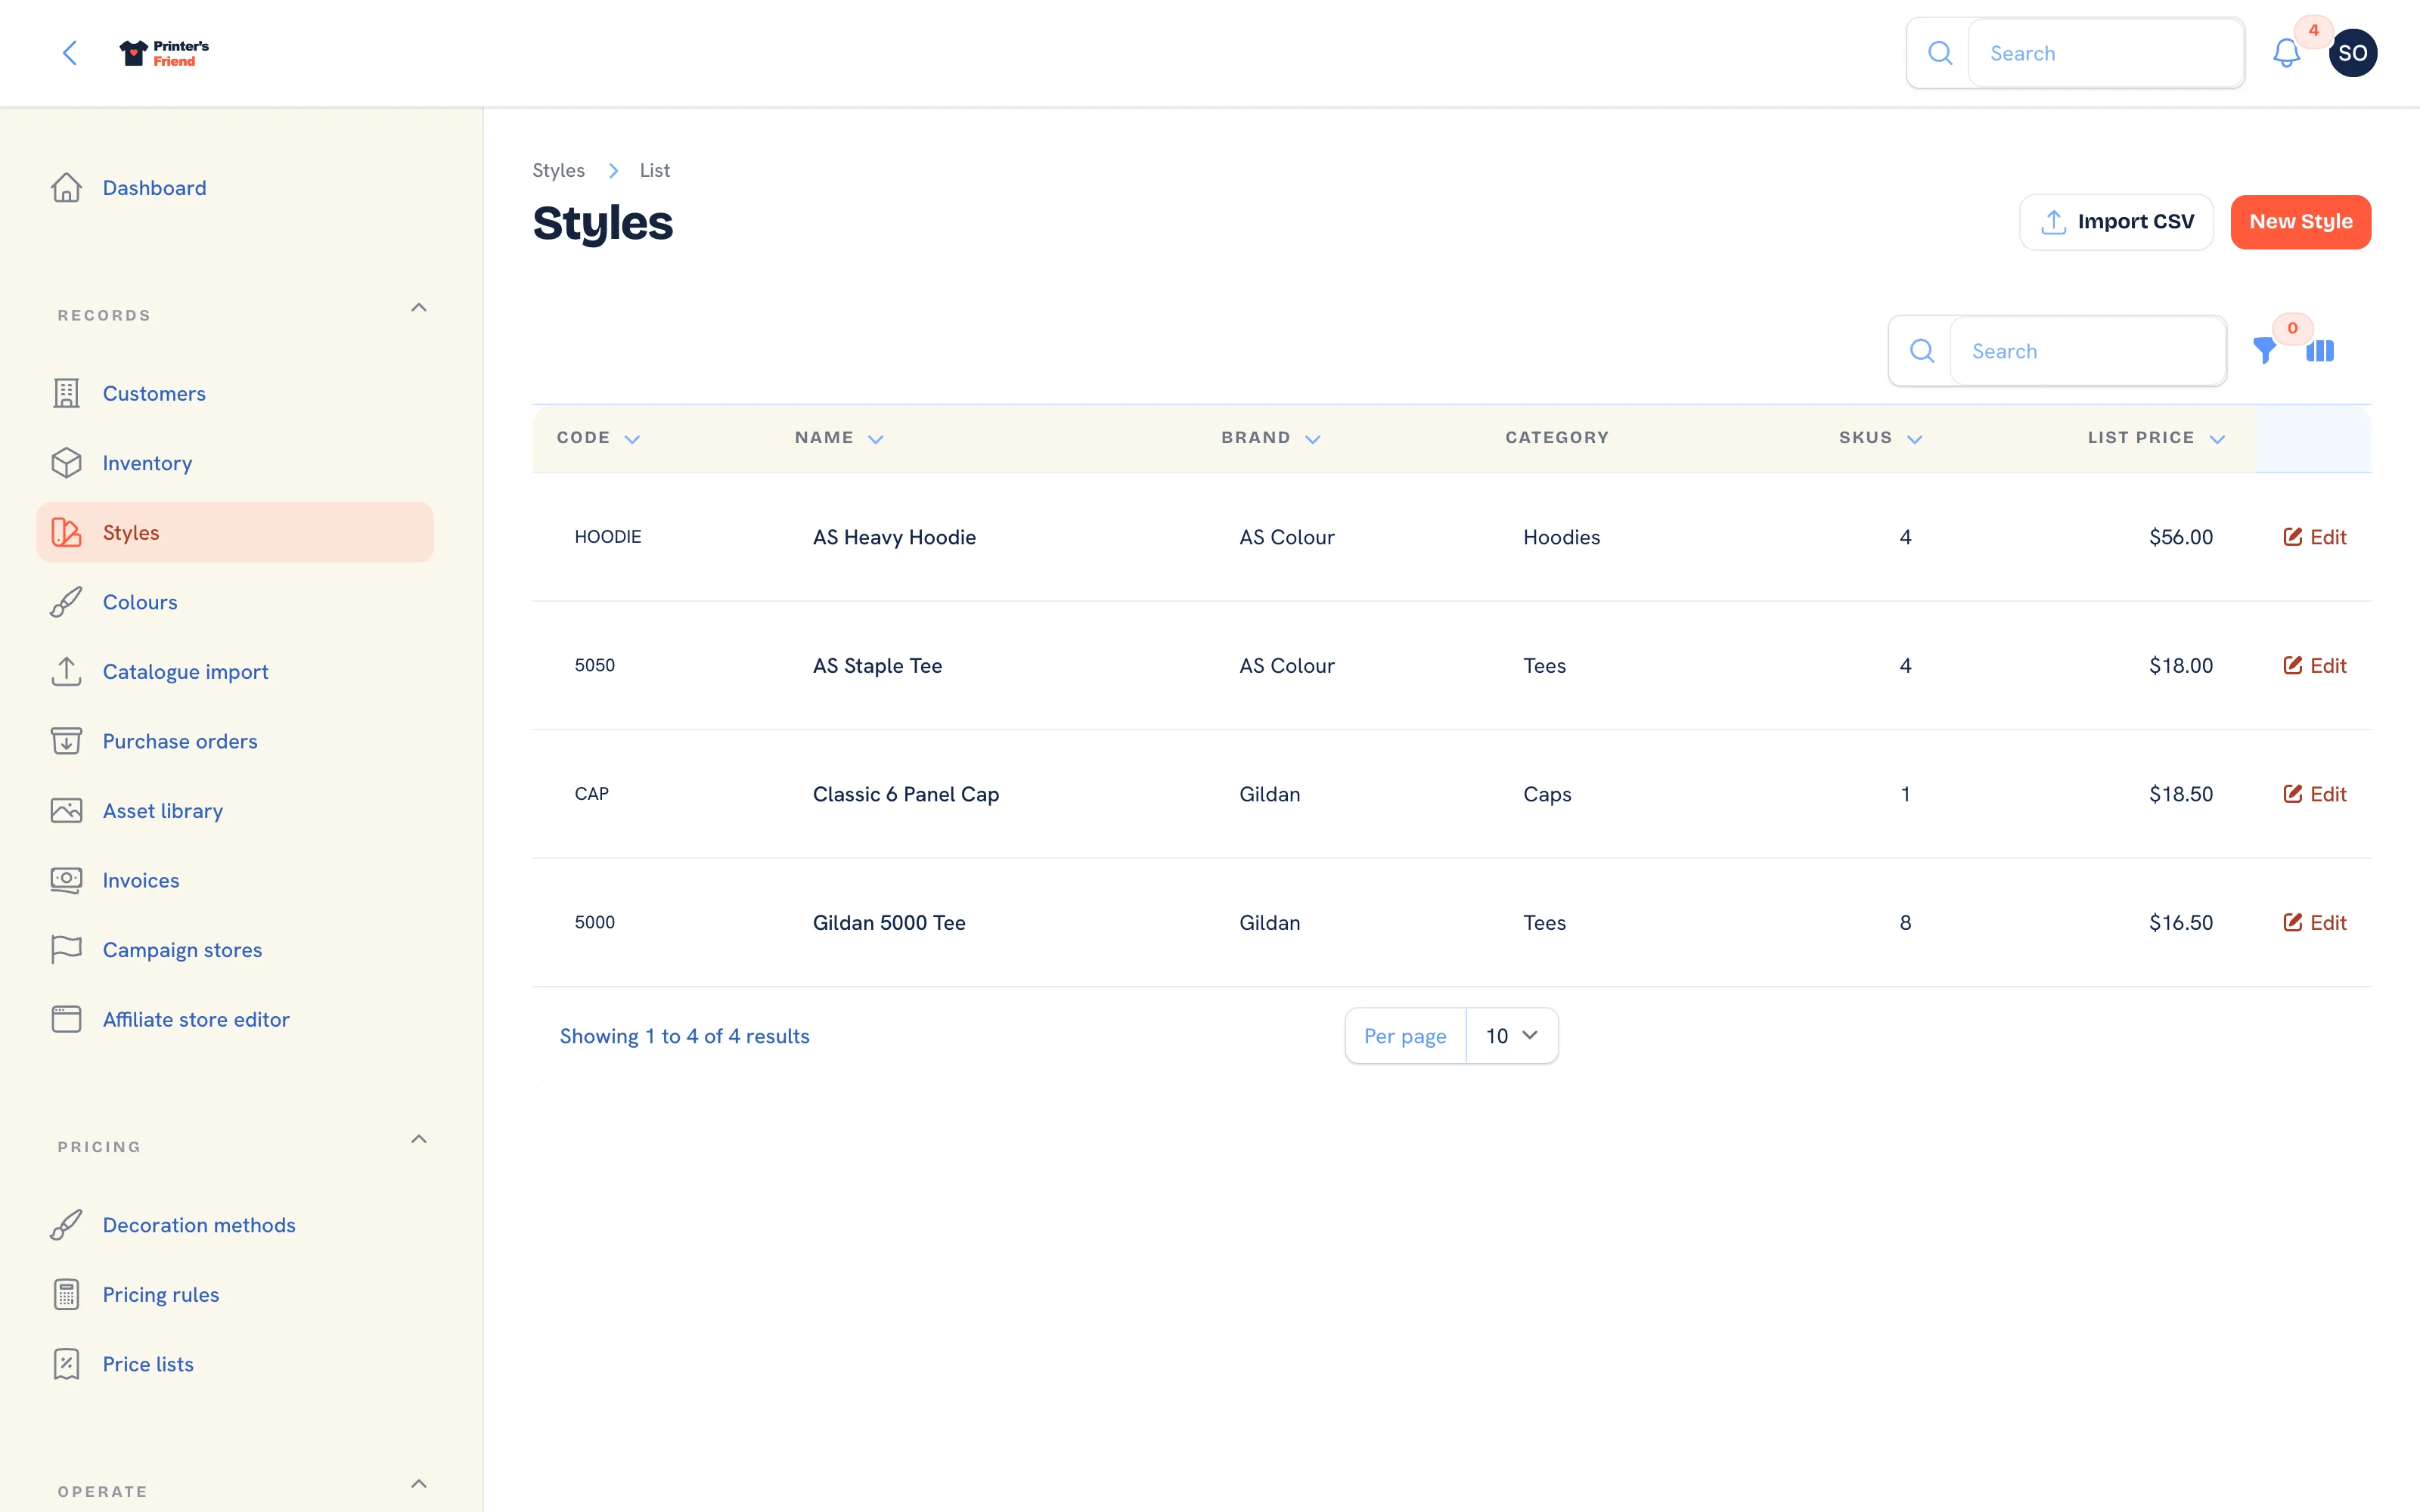 Styles. An empty list links straight to the import.
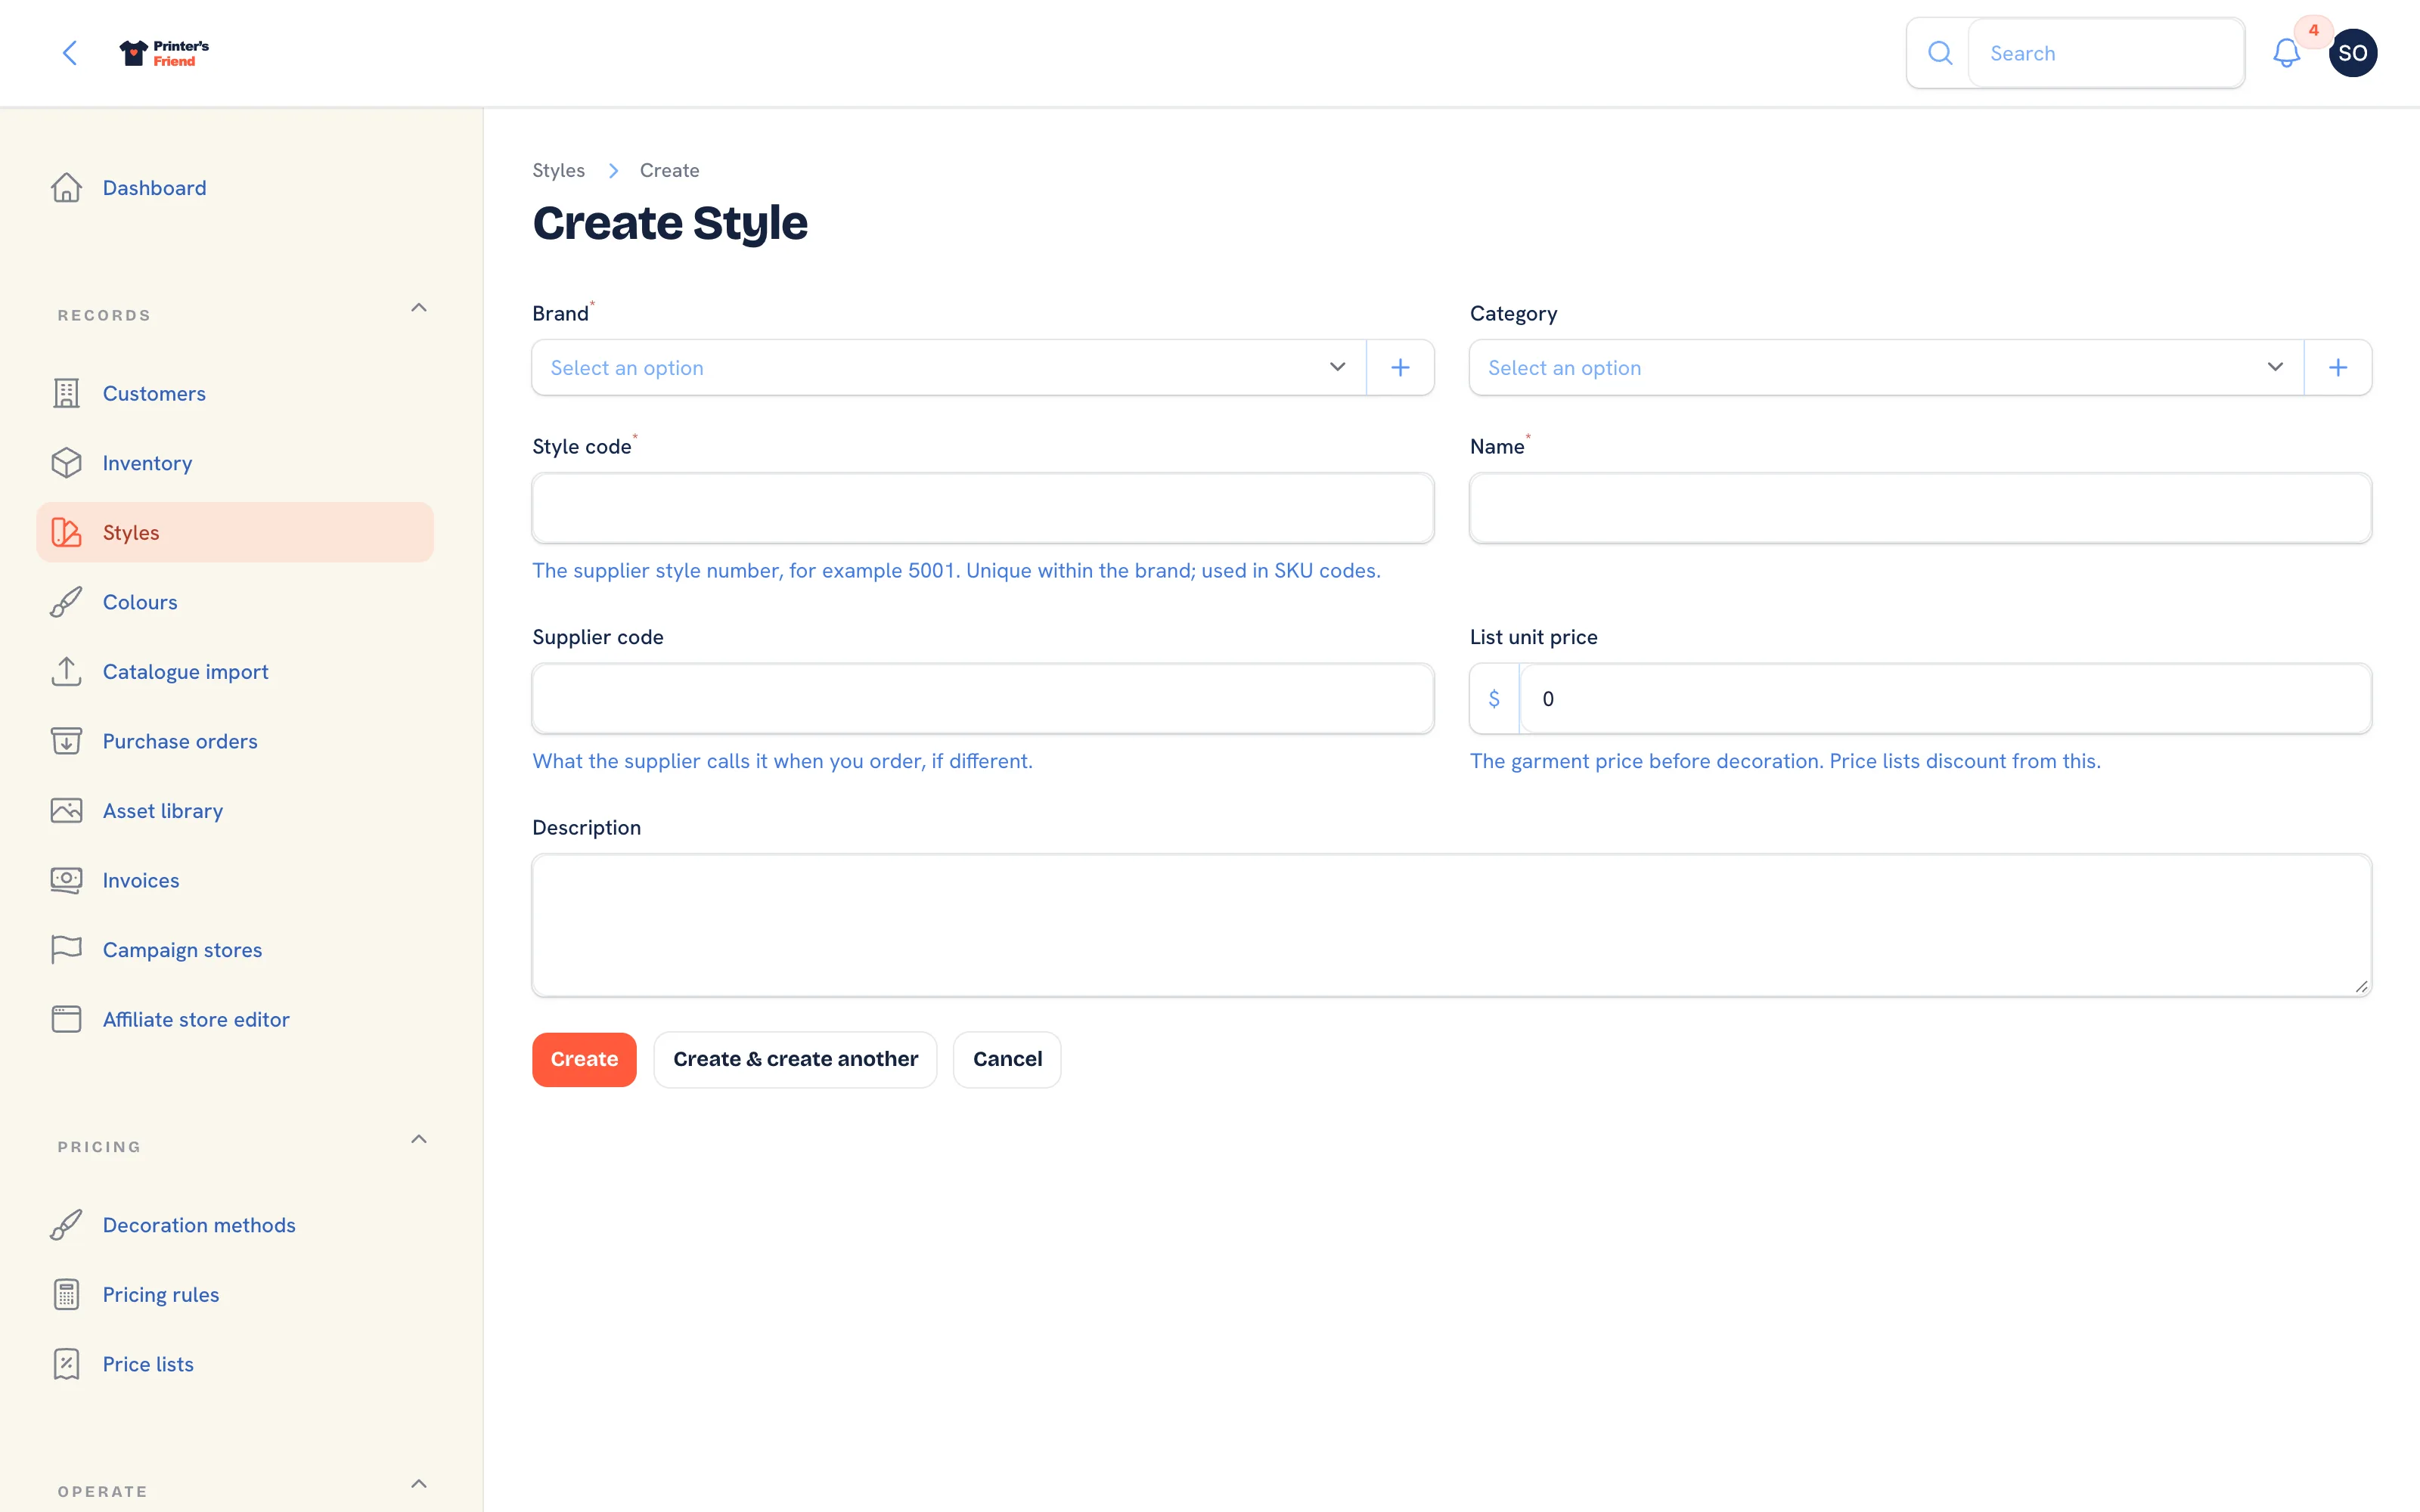 Adding a style. The brand and category can be created in place.
Adding SKUs to a Style
- On the style, under SKUs, press Add SKU.
- Pick the Colour, or create one in place, and the Size.
- Leave SKU code blank to generate
BRAND-STYLE-COLOUR-SIZE, the same code the import produces. - Set Reorder point and Reorder quantity, leave Is active on, and press Create.
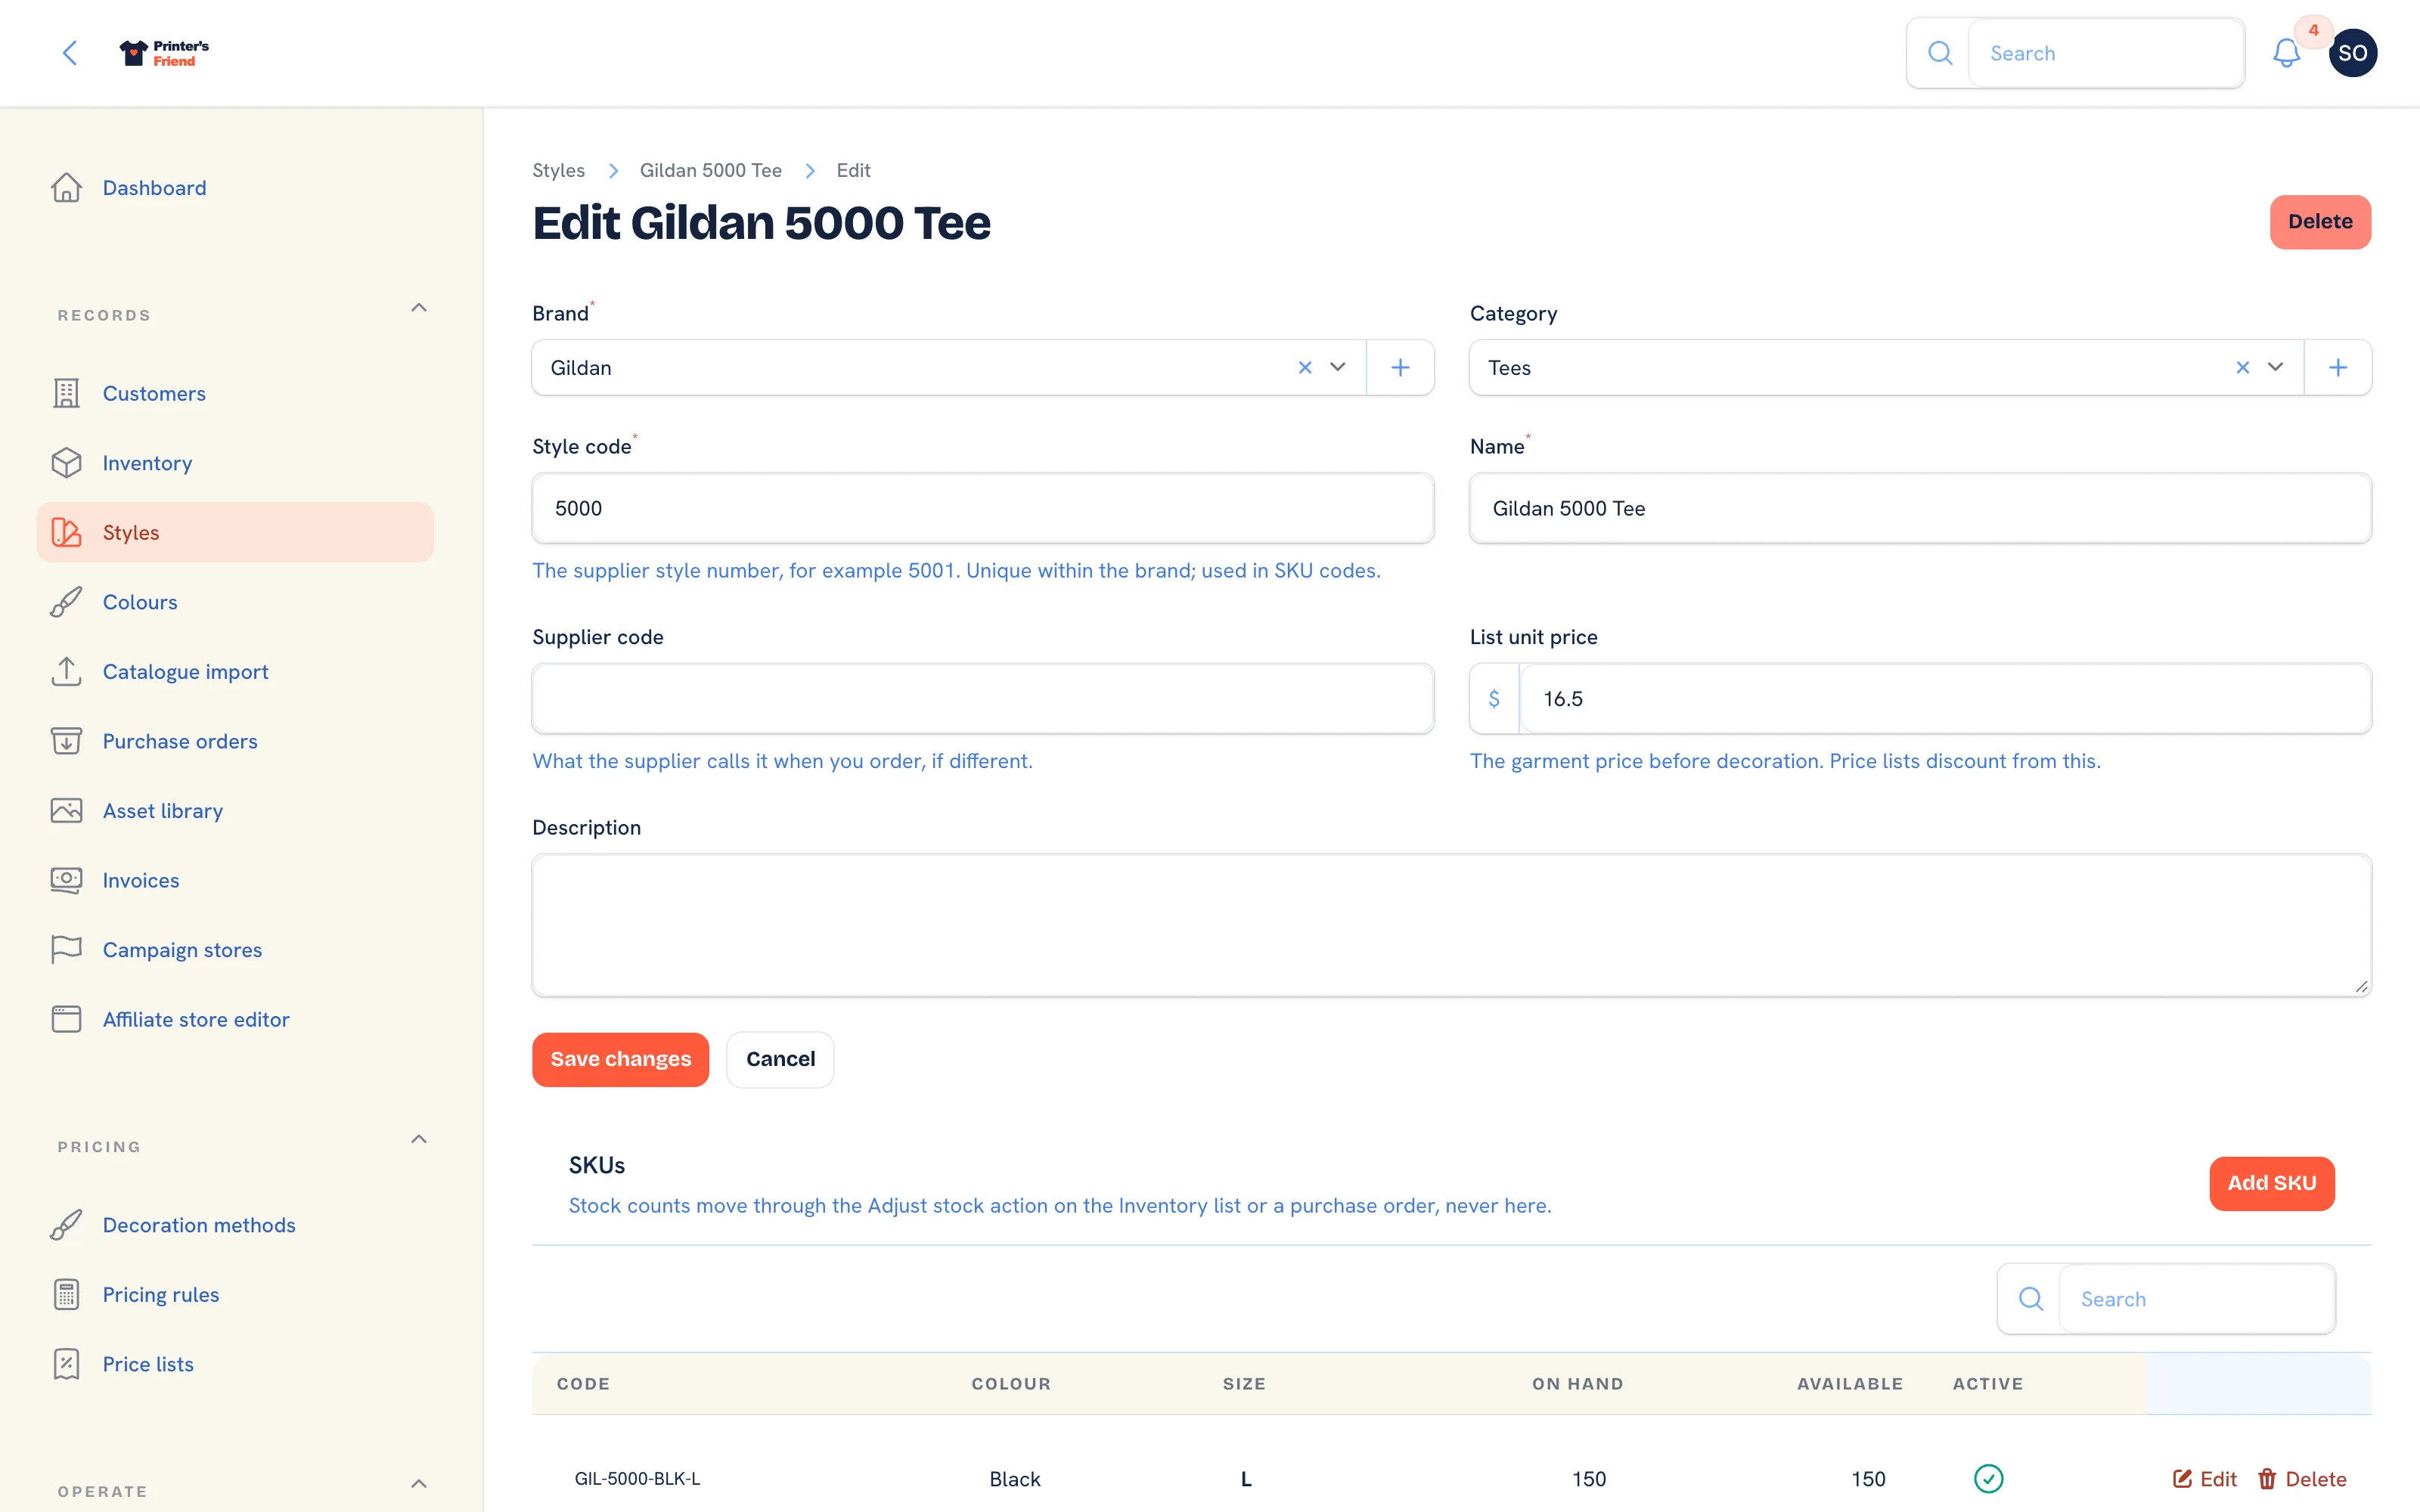 A style and its SKUs. Stock counts are not edited here.
The kiosk, the portal and the designer show only styles that have an active SKU.
Colours
Records, then Colours. A colour is shared across styles: Black is Black on a tee and a hoodie. Each has a Name, a Code of up to 16 characters used in SKU codes, and a Swatch shown on the kiosk, the portal and the designer.
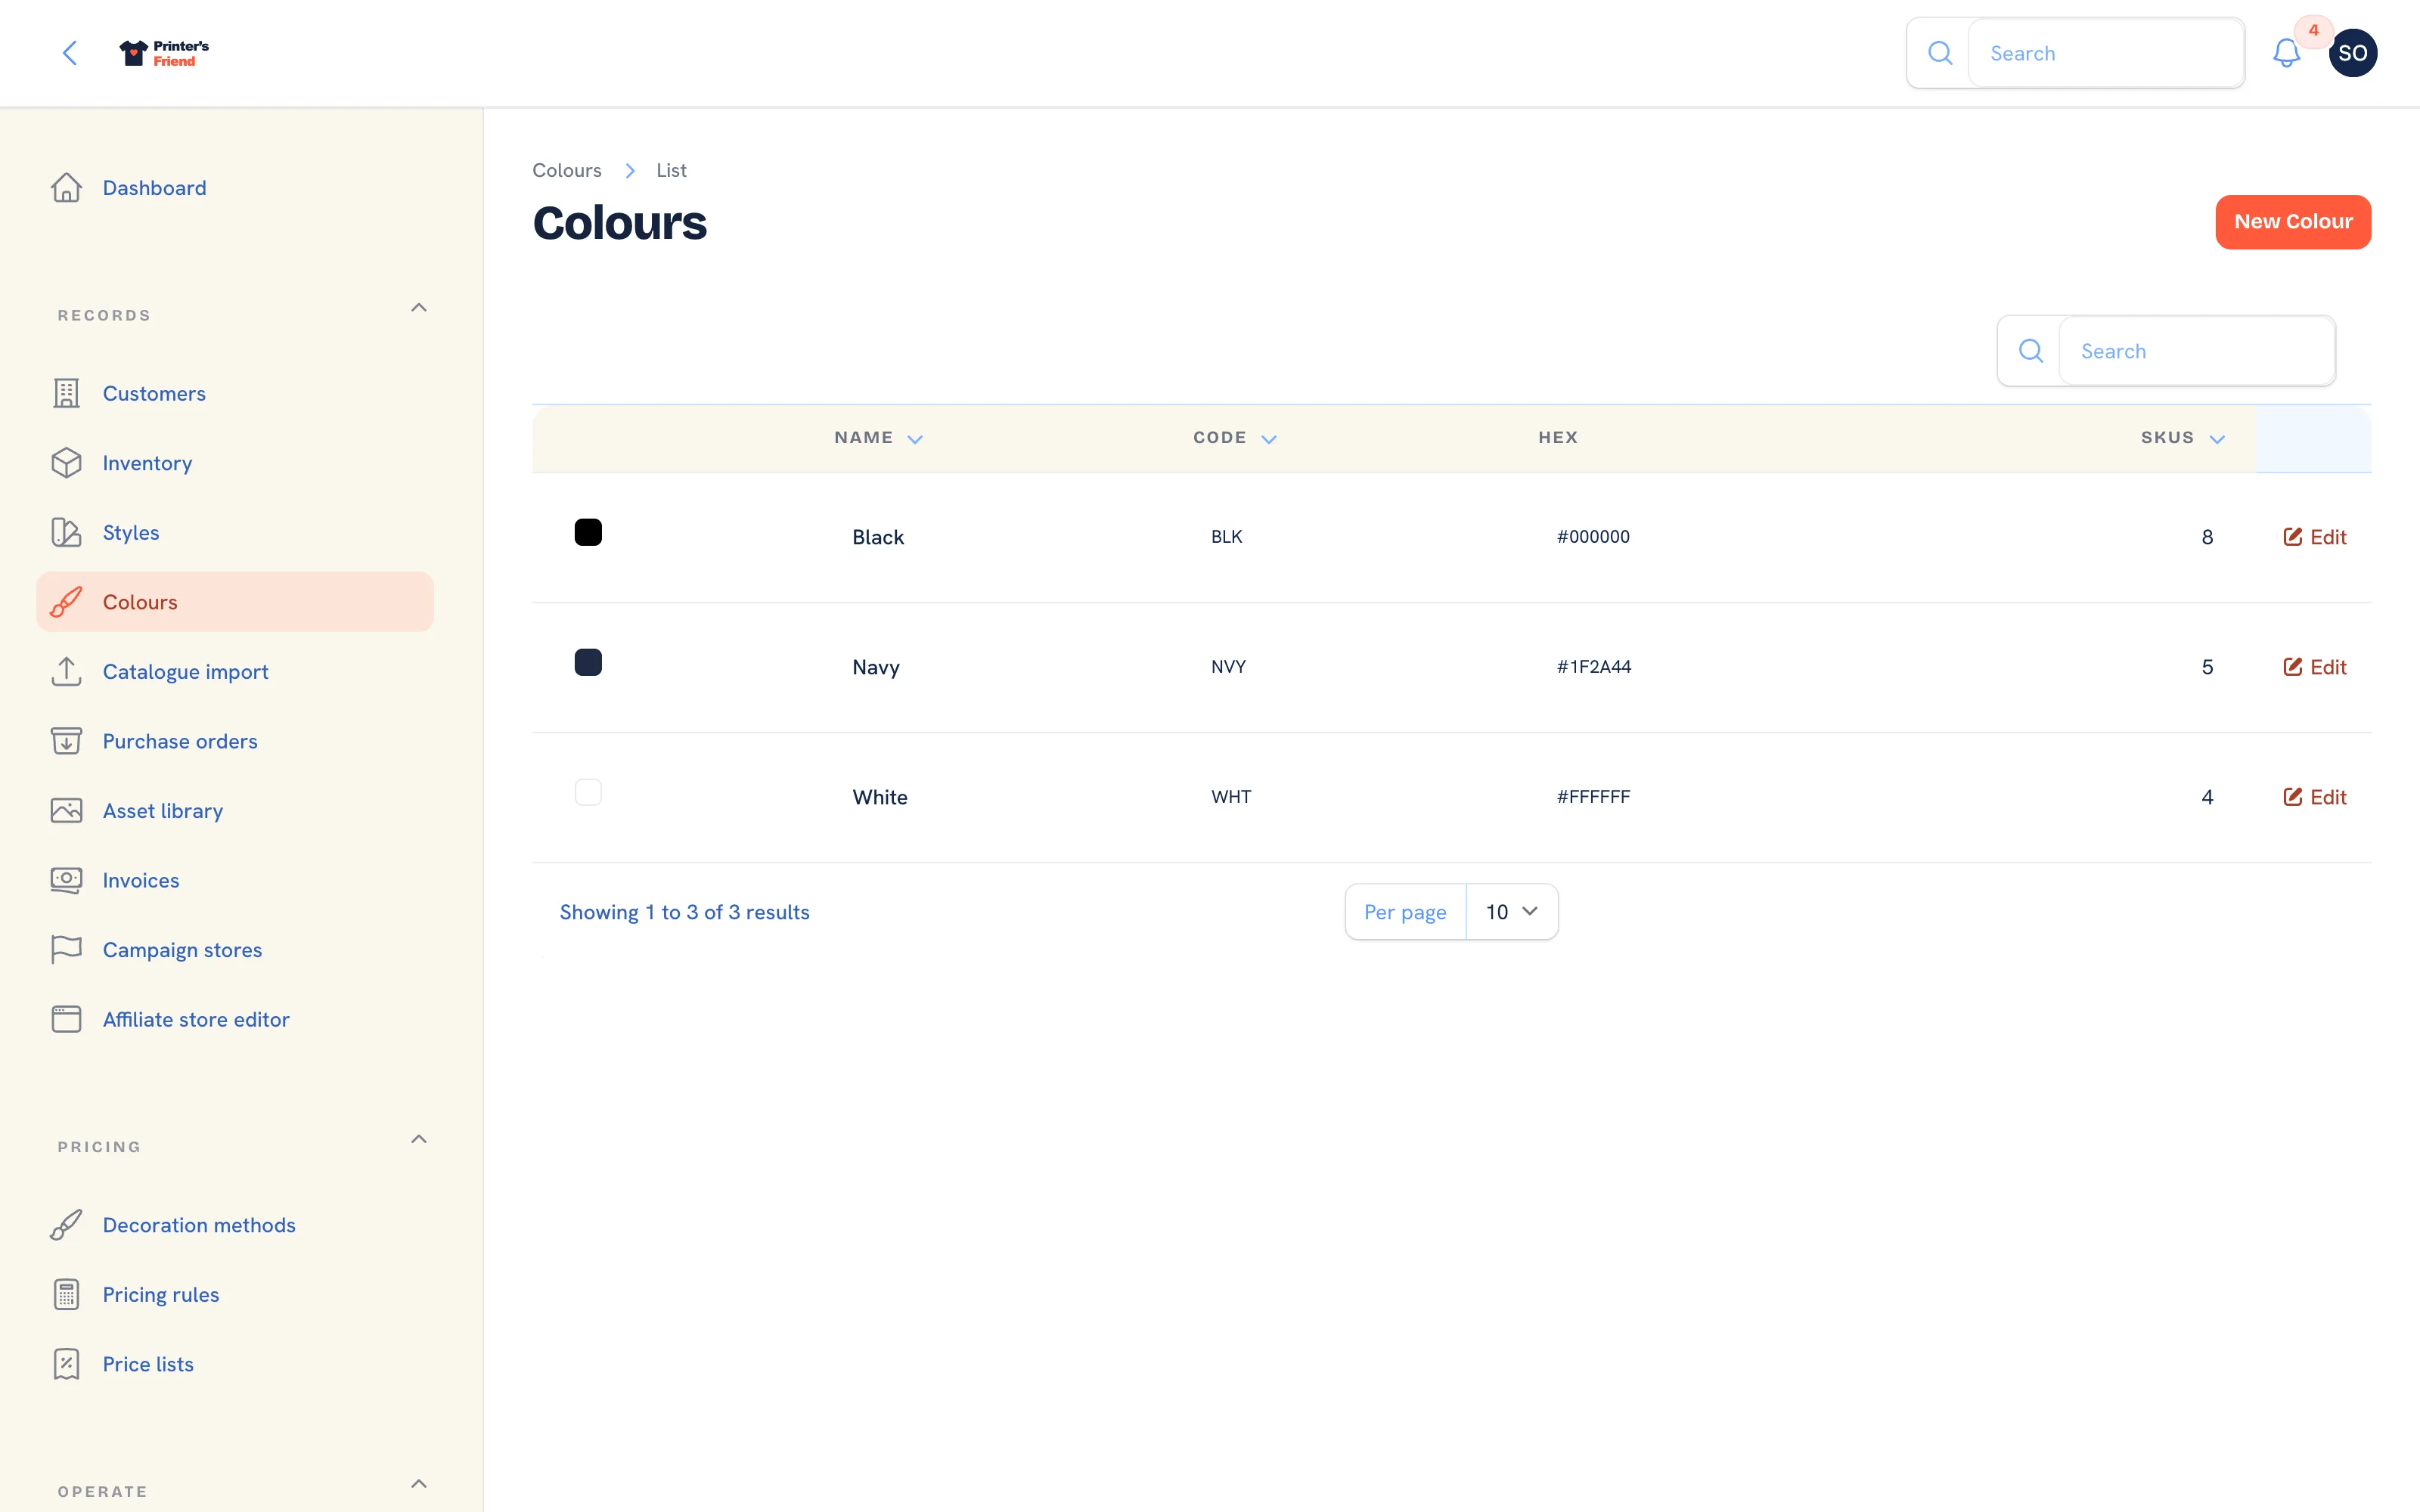 Colours. They arrive with an import, or are added here before building SKUs by hand.
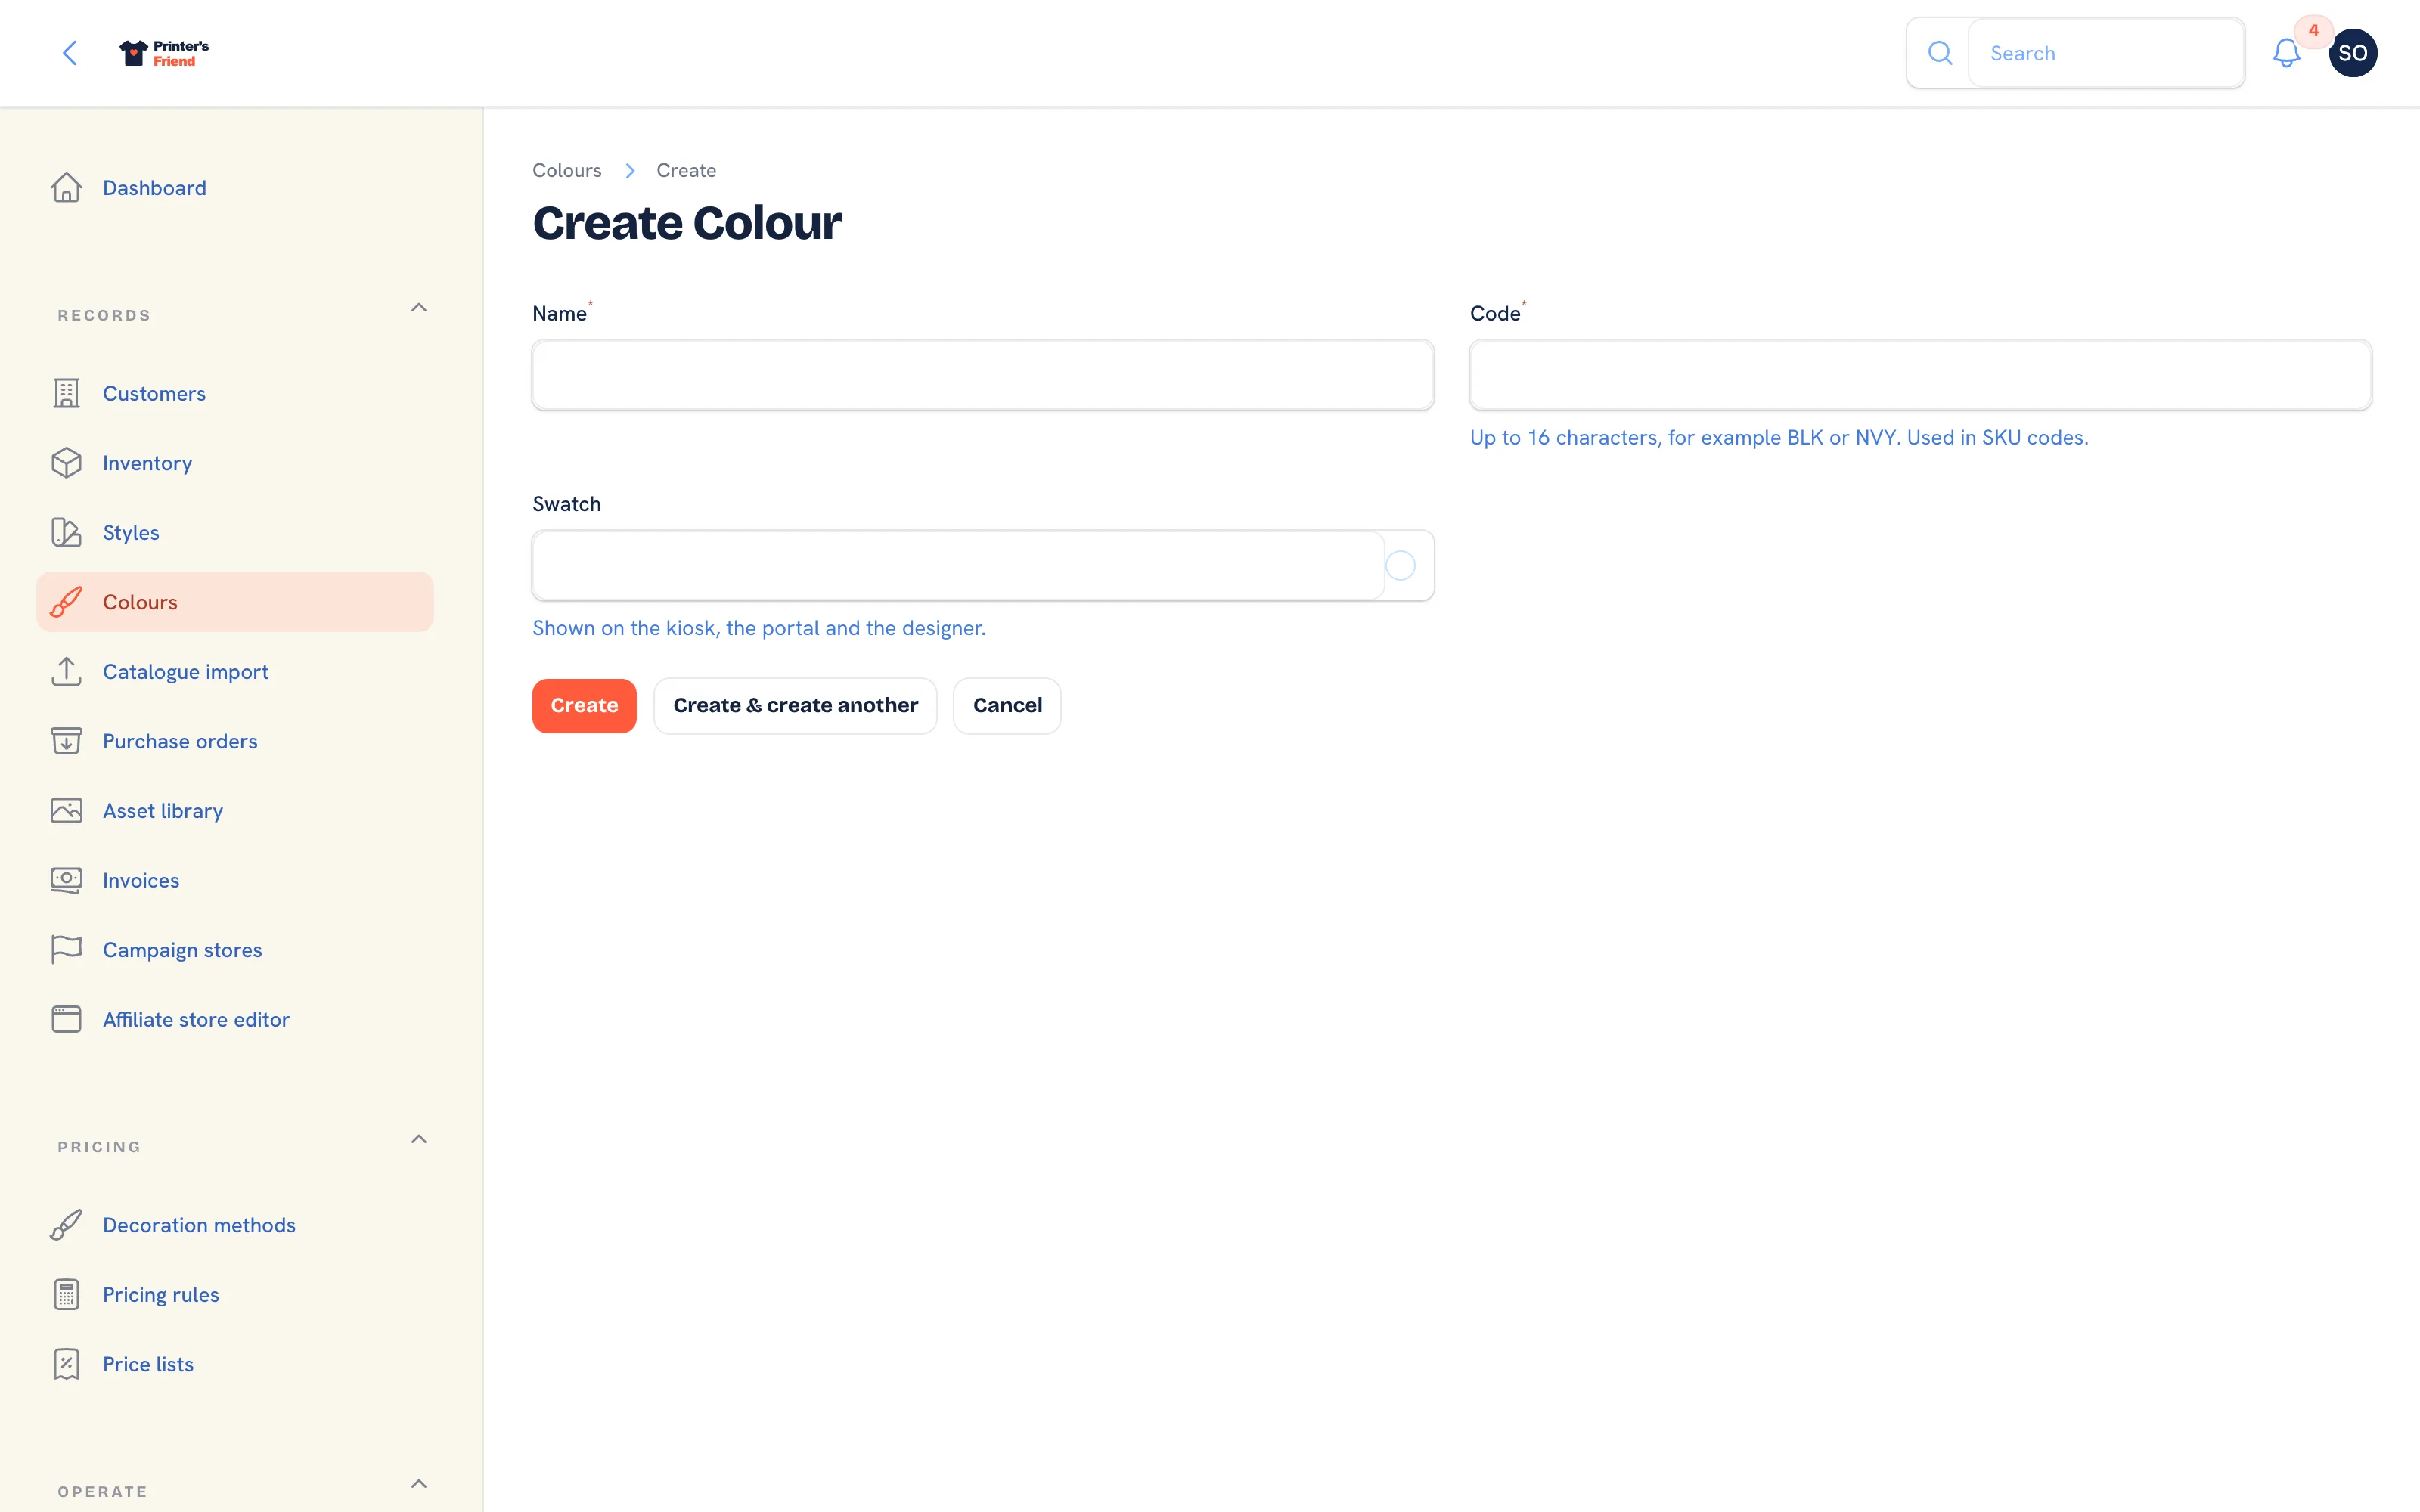 Adding a colour.
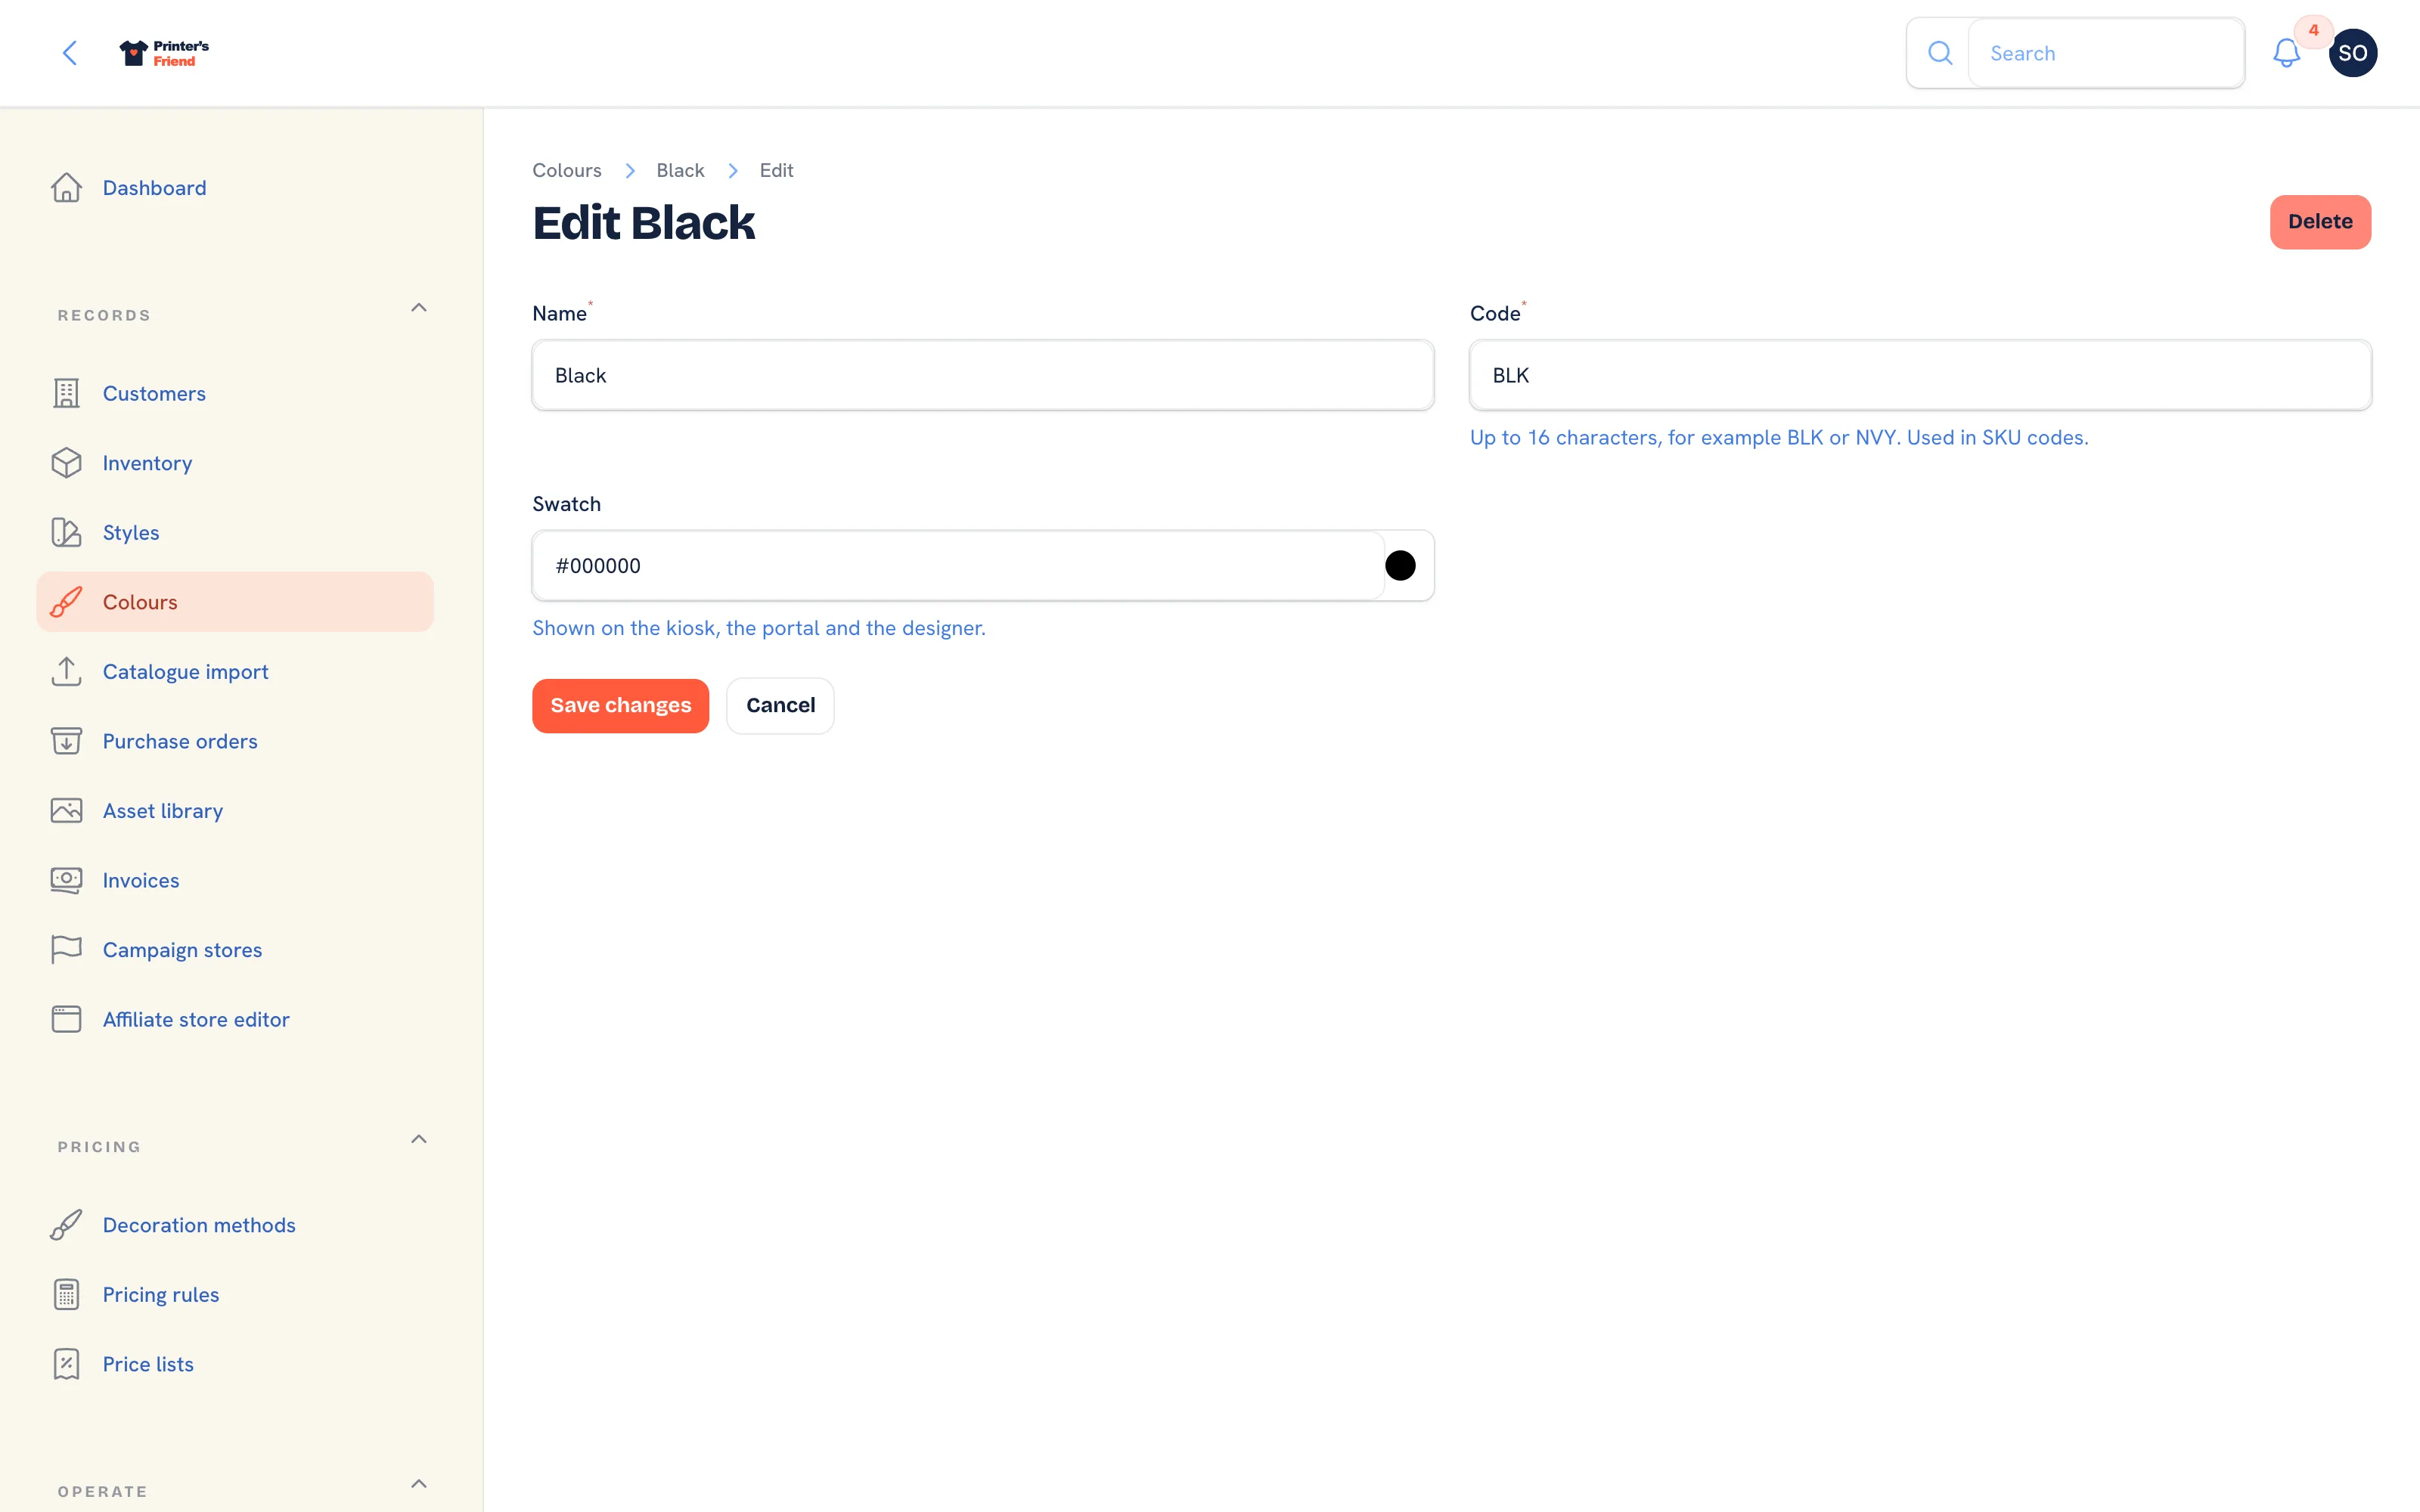 Editing a colour's swatch.
Inventory
Records, then Inventory lists every SKU with its style, colour, size, on-hand, reserved and available counts, supplier cost and supplier stock where a sync has provided them, a reorder bar and a status of Healthy, Low or Reorder now. The Low stock only filter shows everything at or under its reorder point.
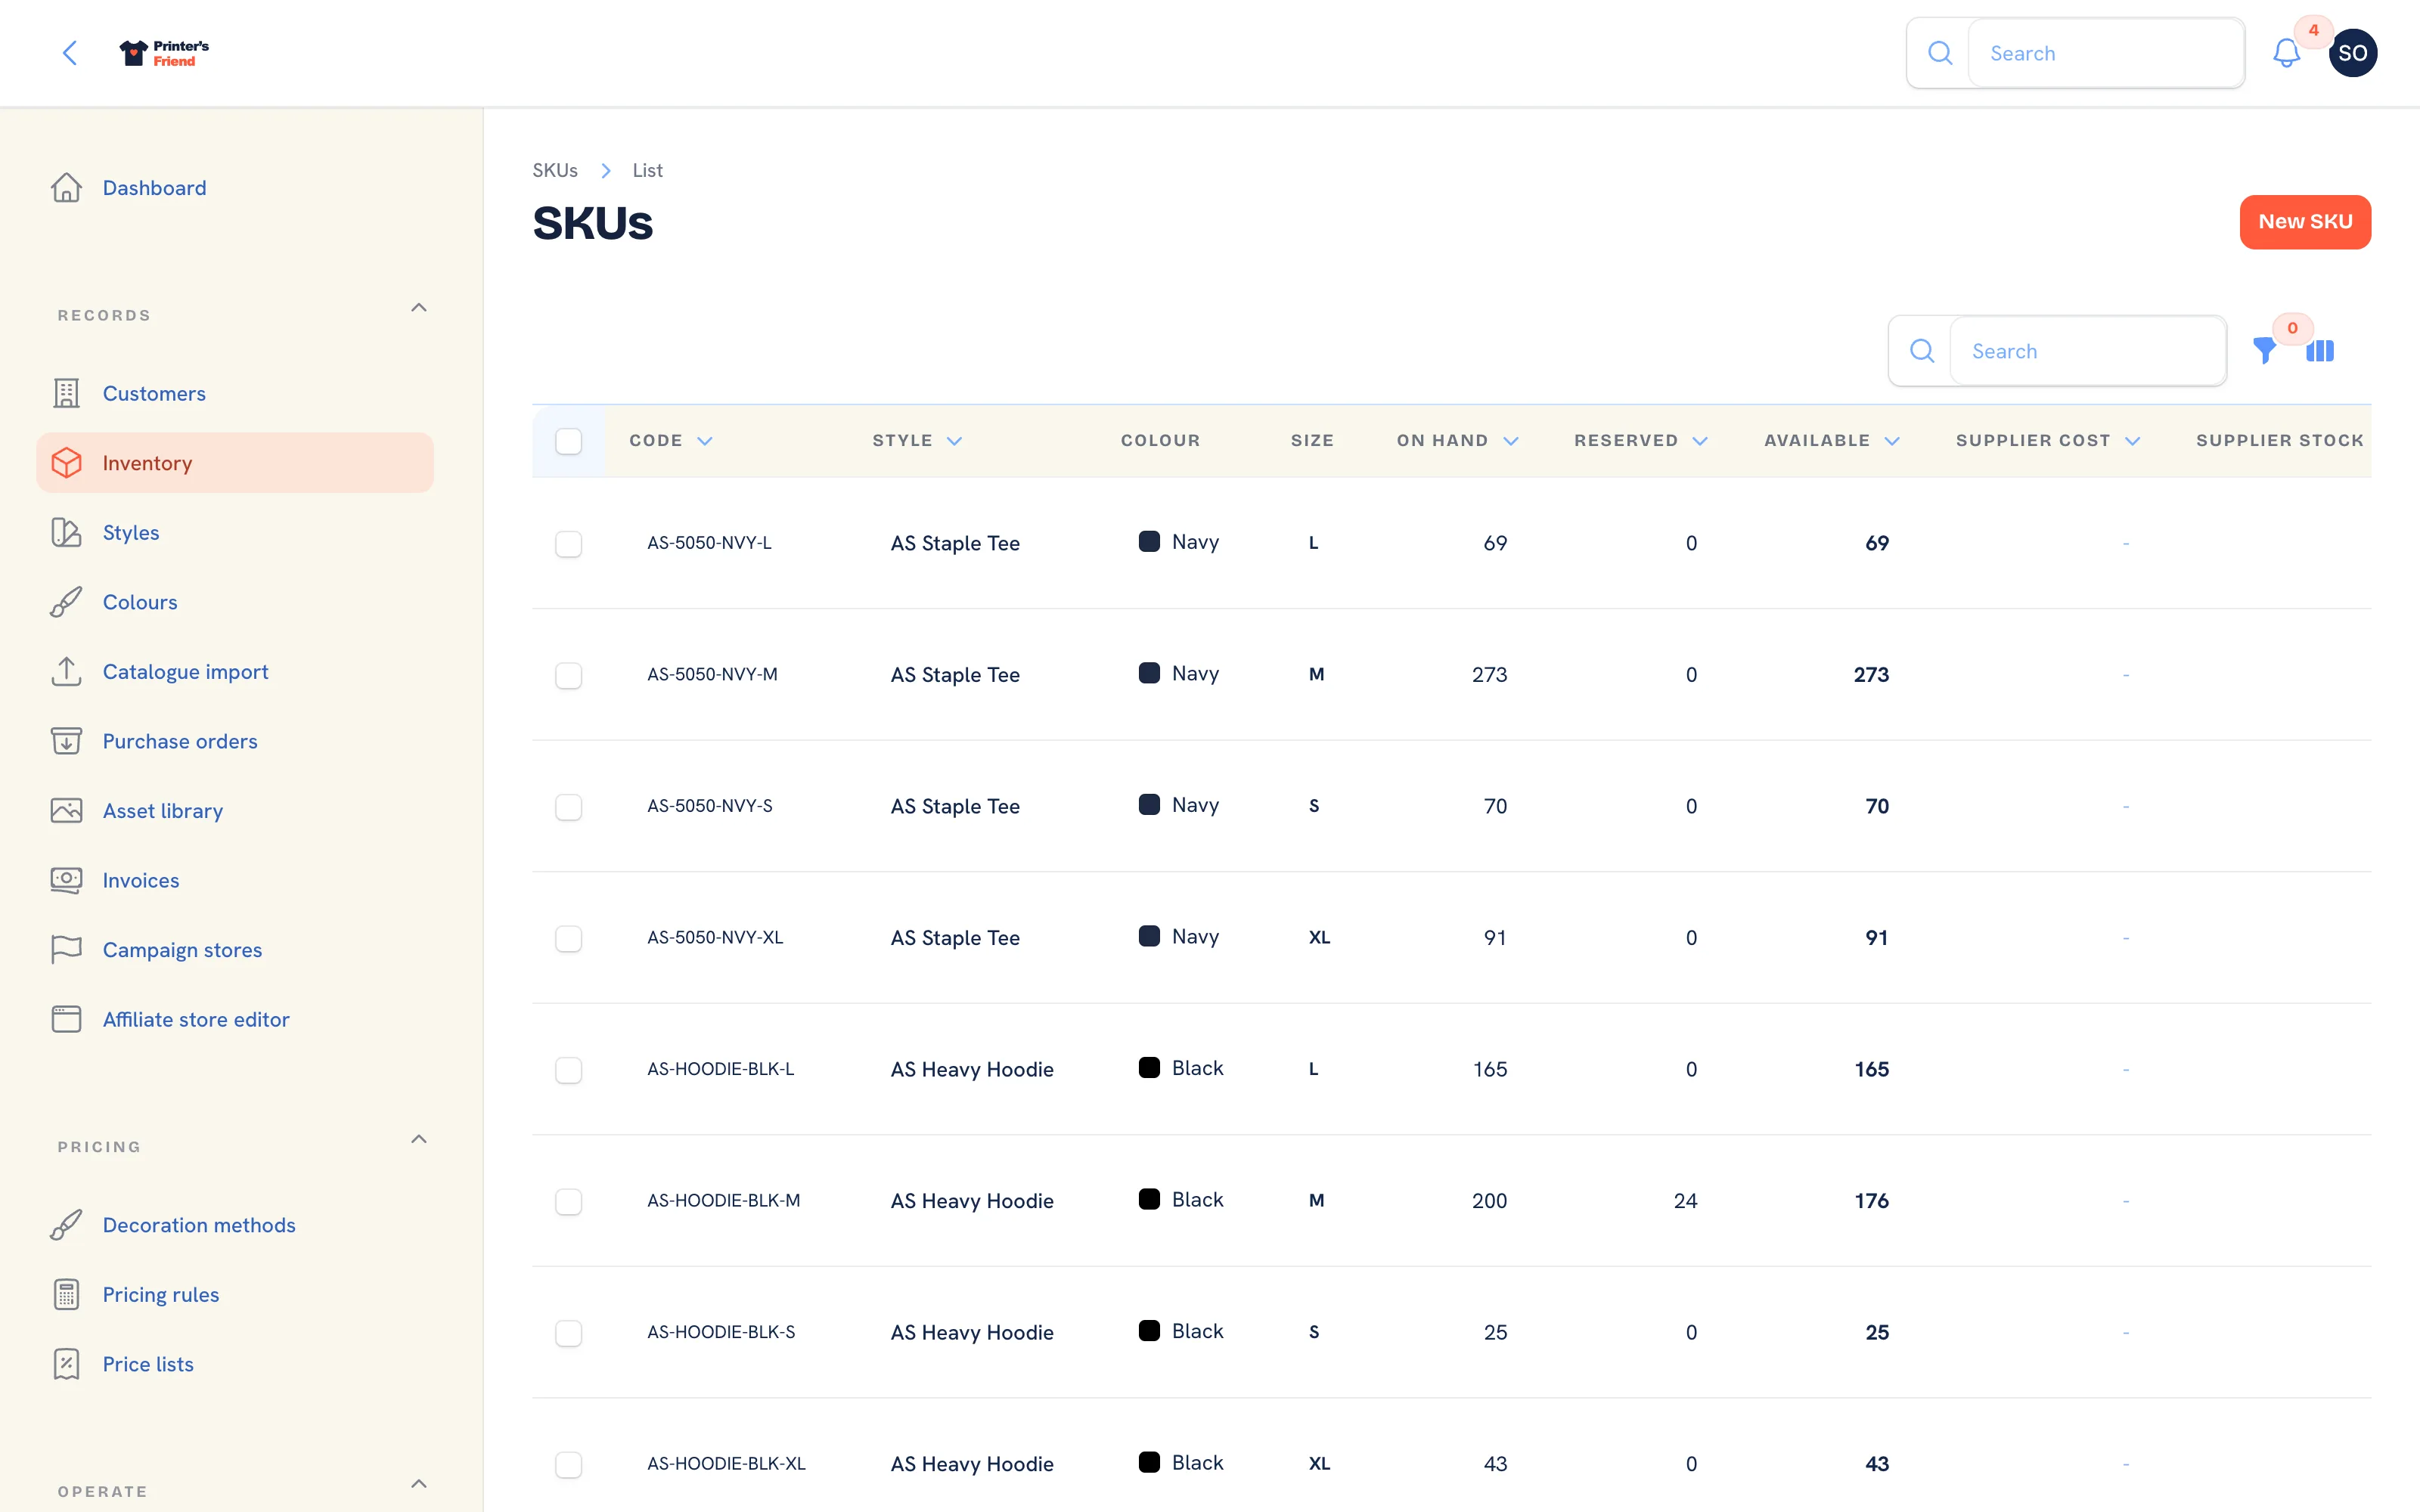 Inventory. Available is on-hand less reserved.
New SKU creates one SKU from here, and the Style and Colour selects can create a style or colour in place, so a fresh shop can build its first SKU without visiting the other pages first.
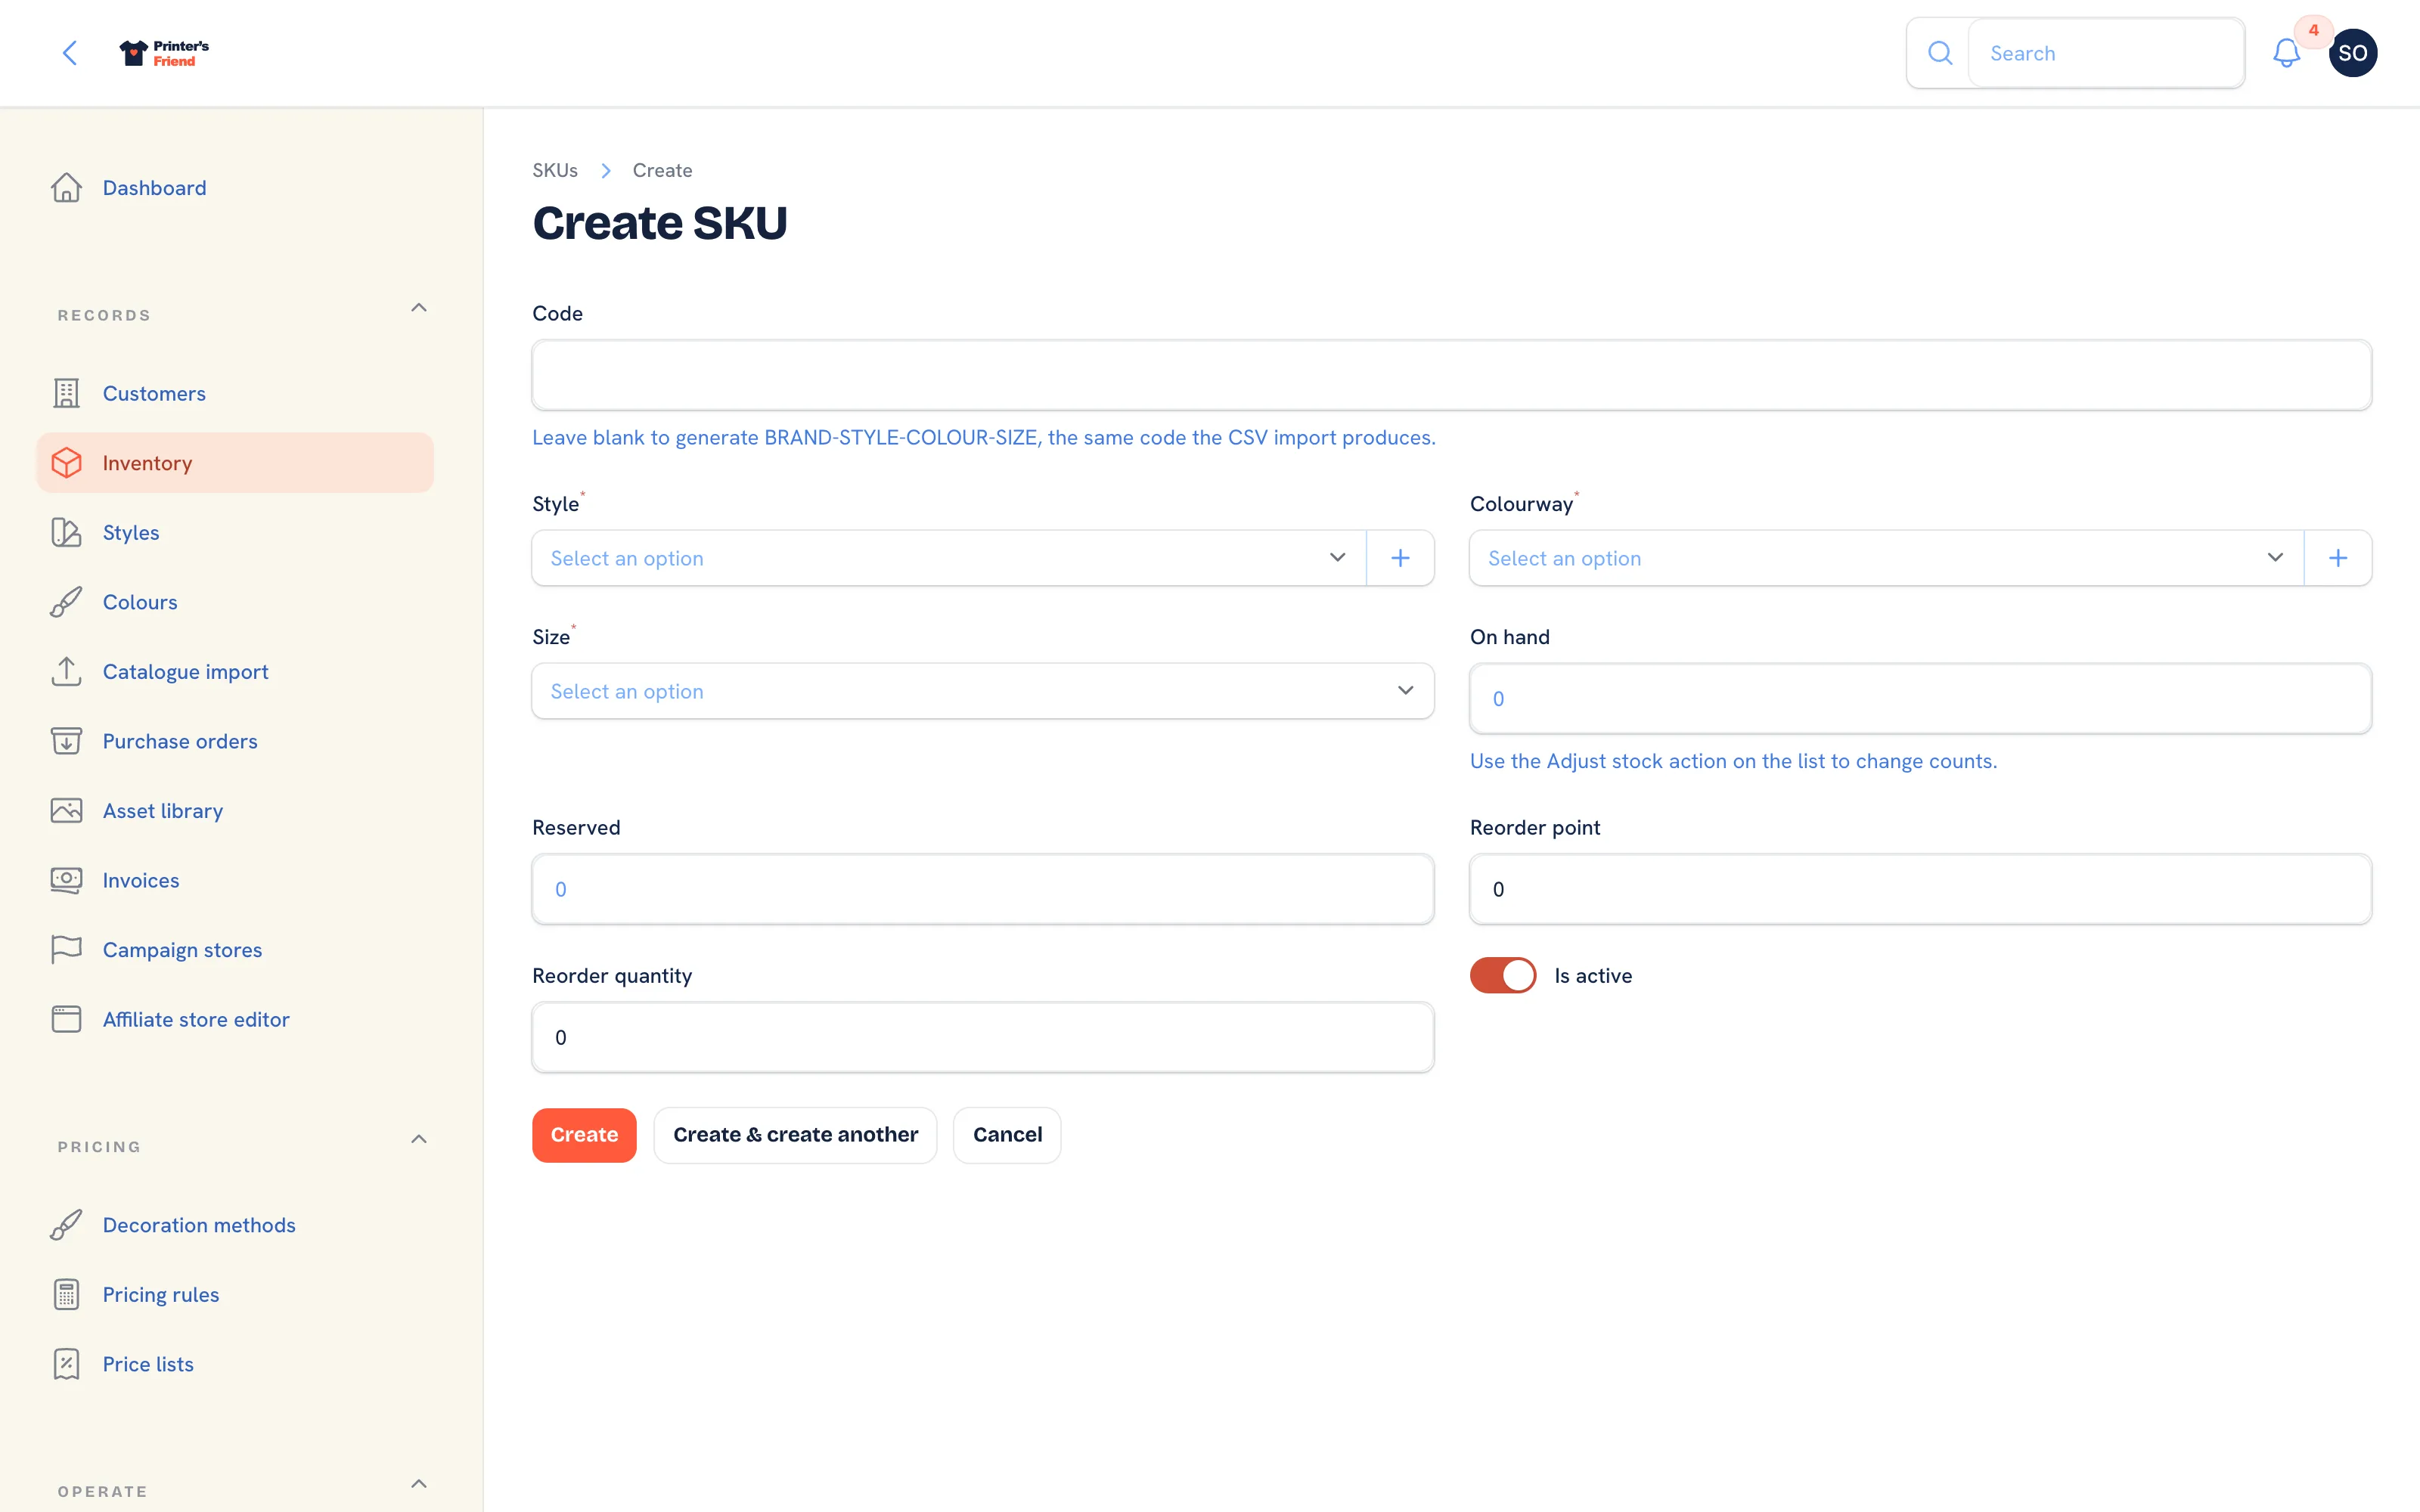 Adding a SKU. The style and colour selects create records in place.
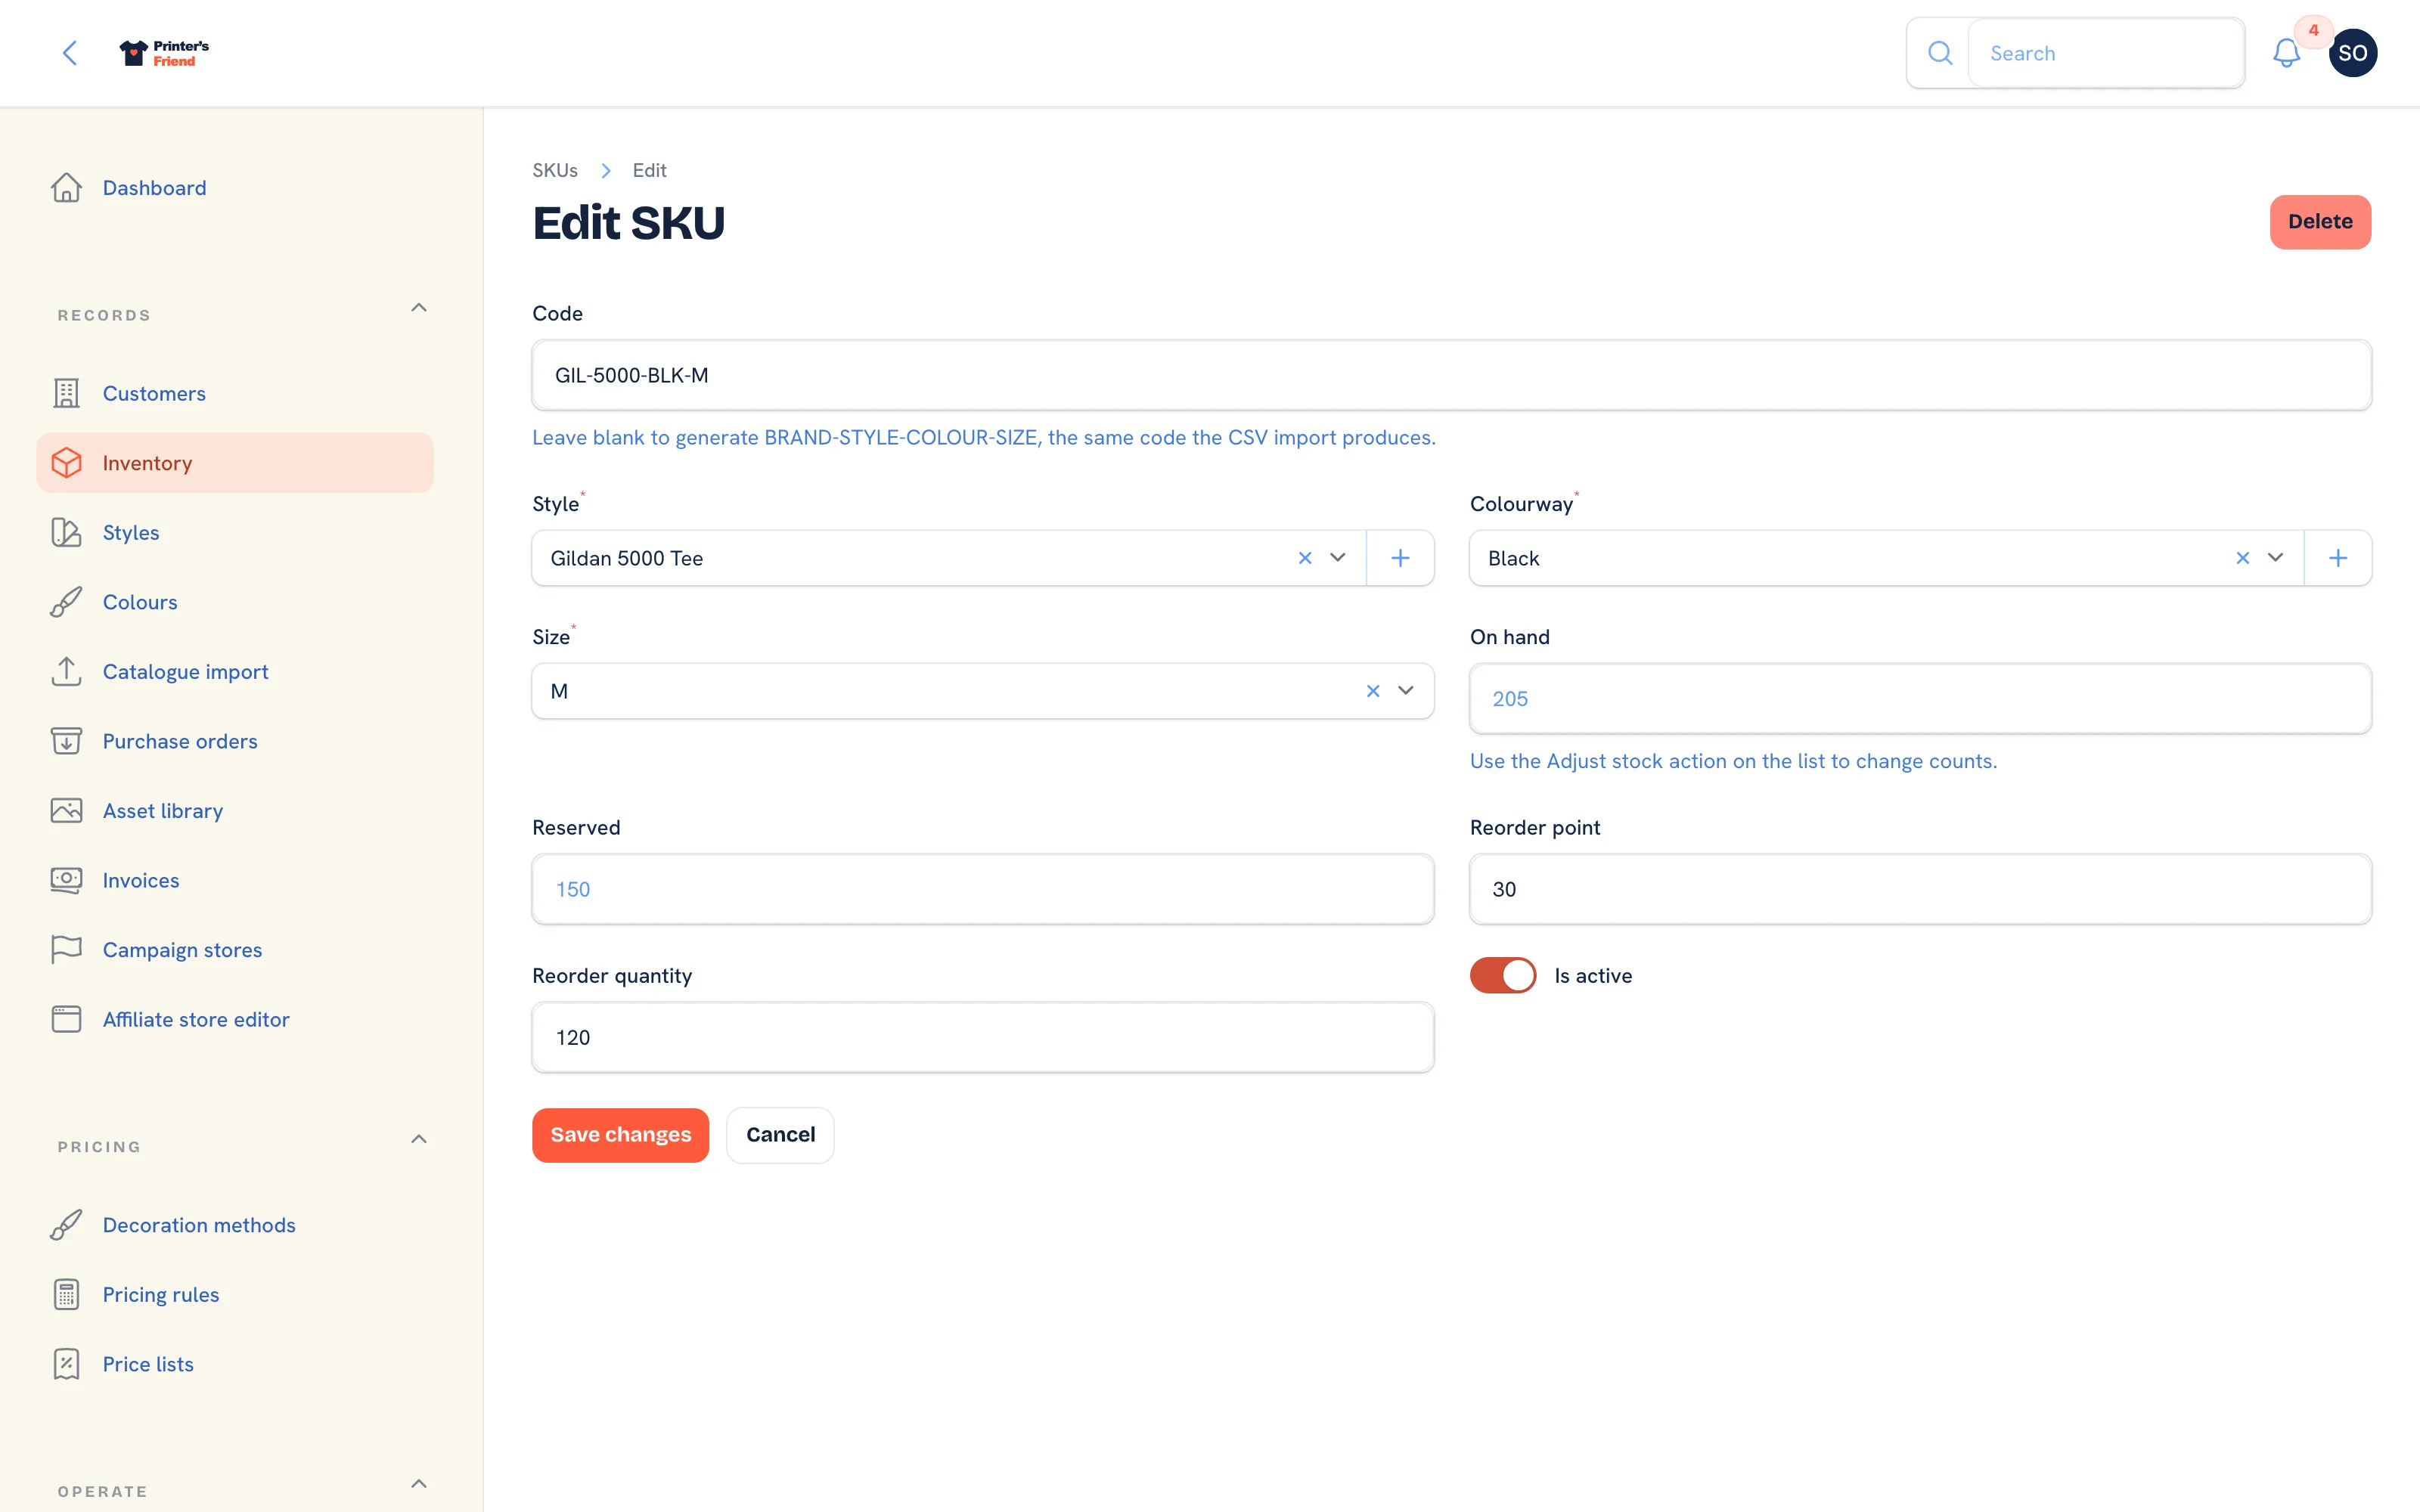 Editing a SKU. On-hand and reserved are read-only here.
Adjusting Stock
On-hand is read-only on the SKU form. To change a count, press Adjust stock on the row, type the Adjustment (positive adds, negative removes) and a Reason, and confirm. Every adjustment writes a row to the movement ledger, which is what makes on-hand explainable later. A manual adjustment cannot take a count below zero. For a full recount use a cycle count.
Reorder Points
The reorder point turns the stock list into a purchasing system. A sensible first pass:
reorder point    = average weekly usage x lead time in weeks x 1.5
reorder quantity = average weekly usage x 6 to 8 weeks
Do it for the twenty SKUs that are most of your volume and refine the rest later.
Shelf Labels
Select SKUs on the Inventory list and press Print labels. A printable sheet of Code 128 shelf labels opens at /workspace/skus/labels. Scanning a label at the scan page records a count during an open cycle count, and otherwise shows the SKU's stock with a link to adjust it.
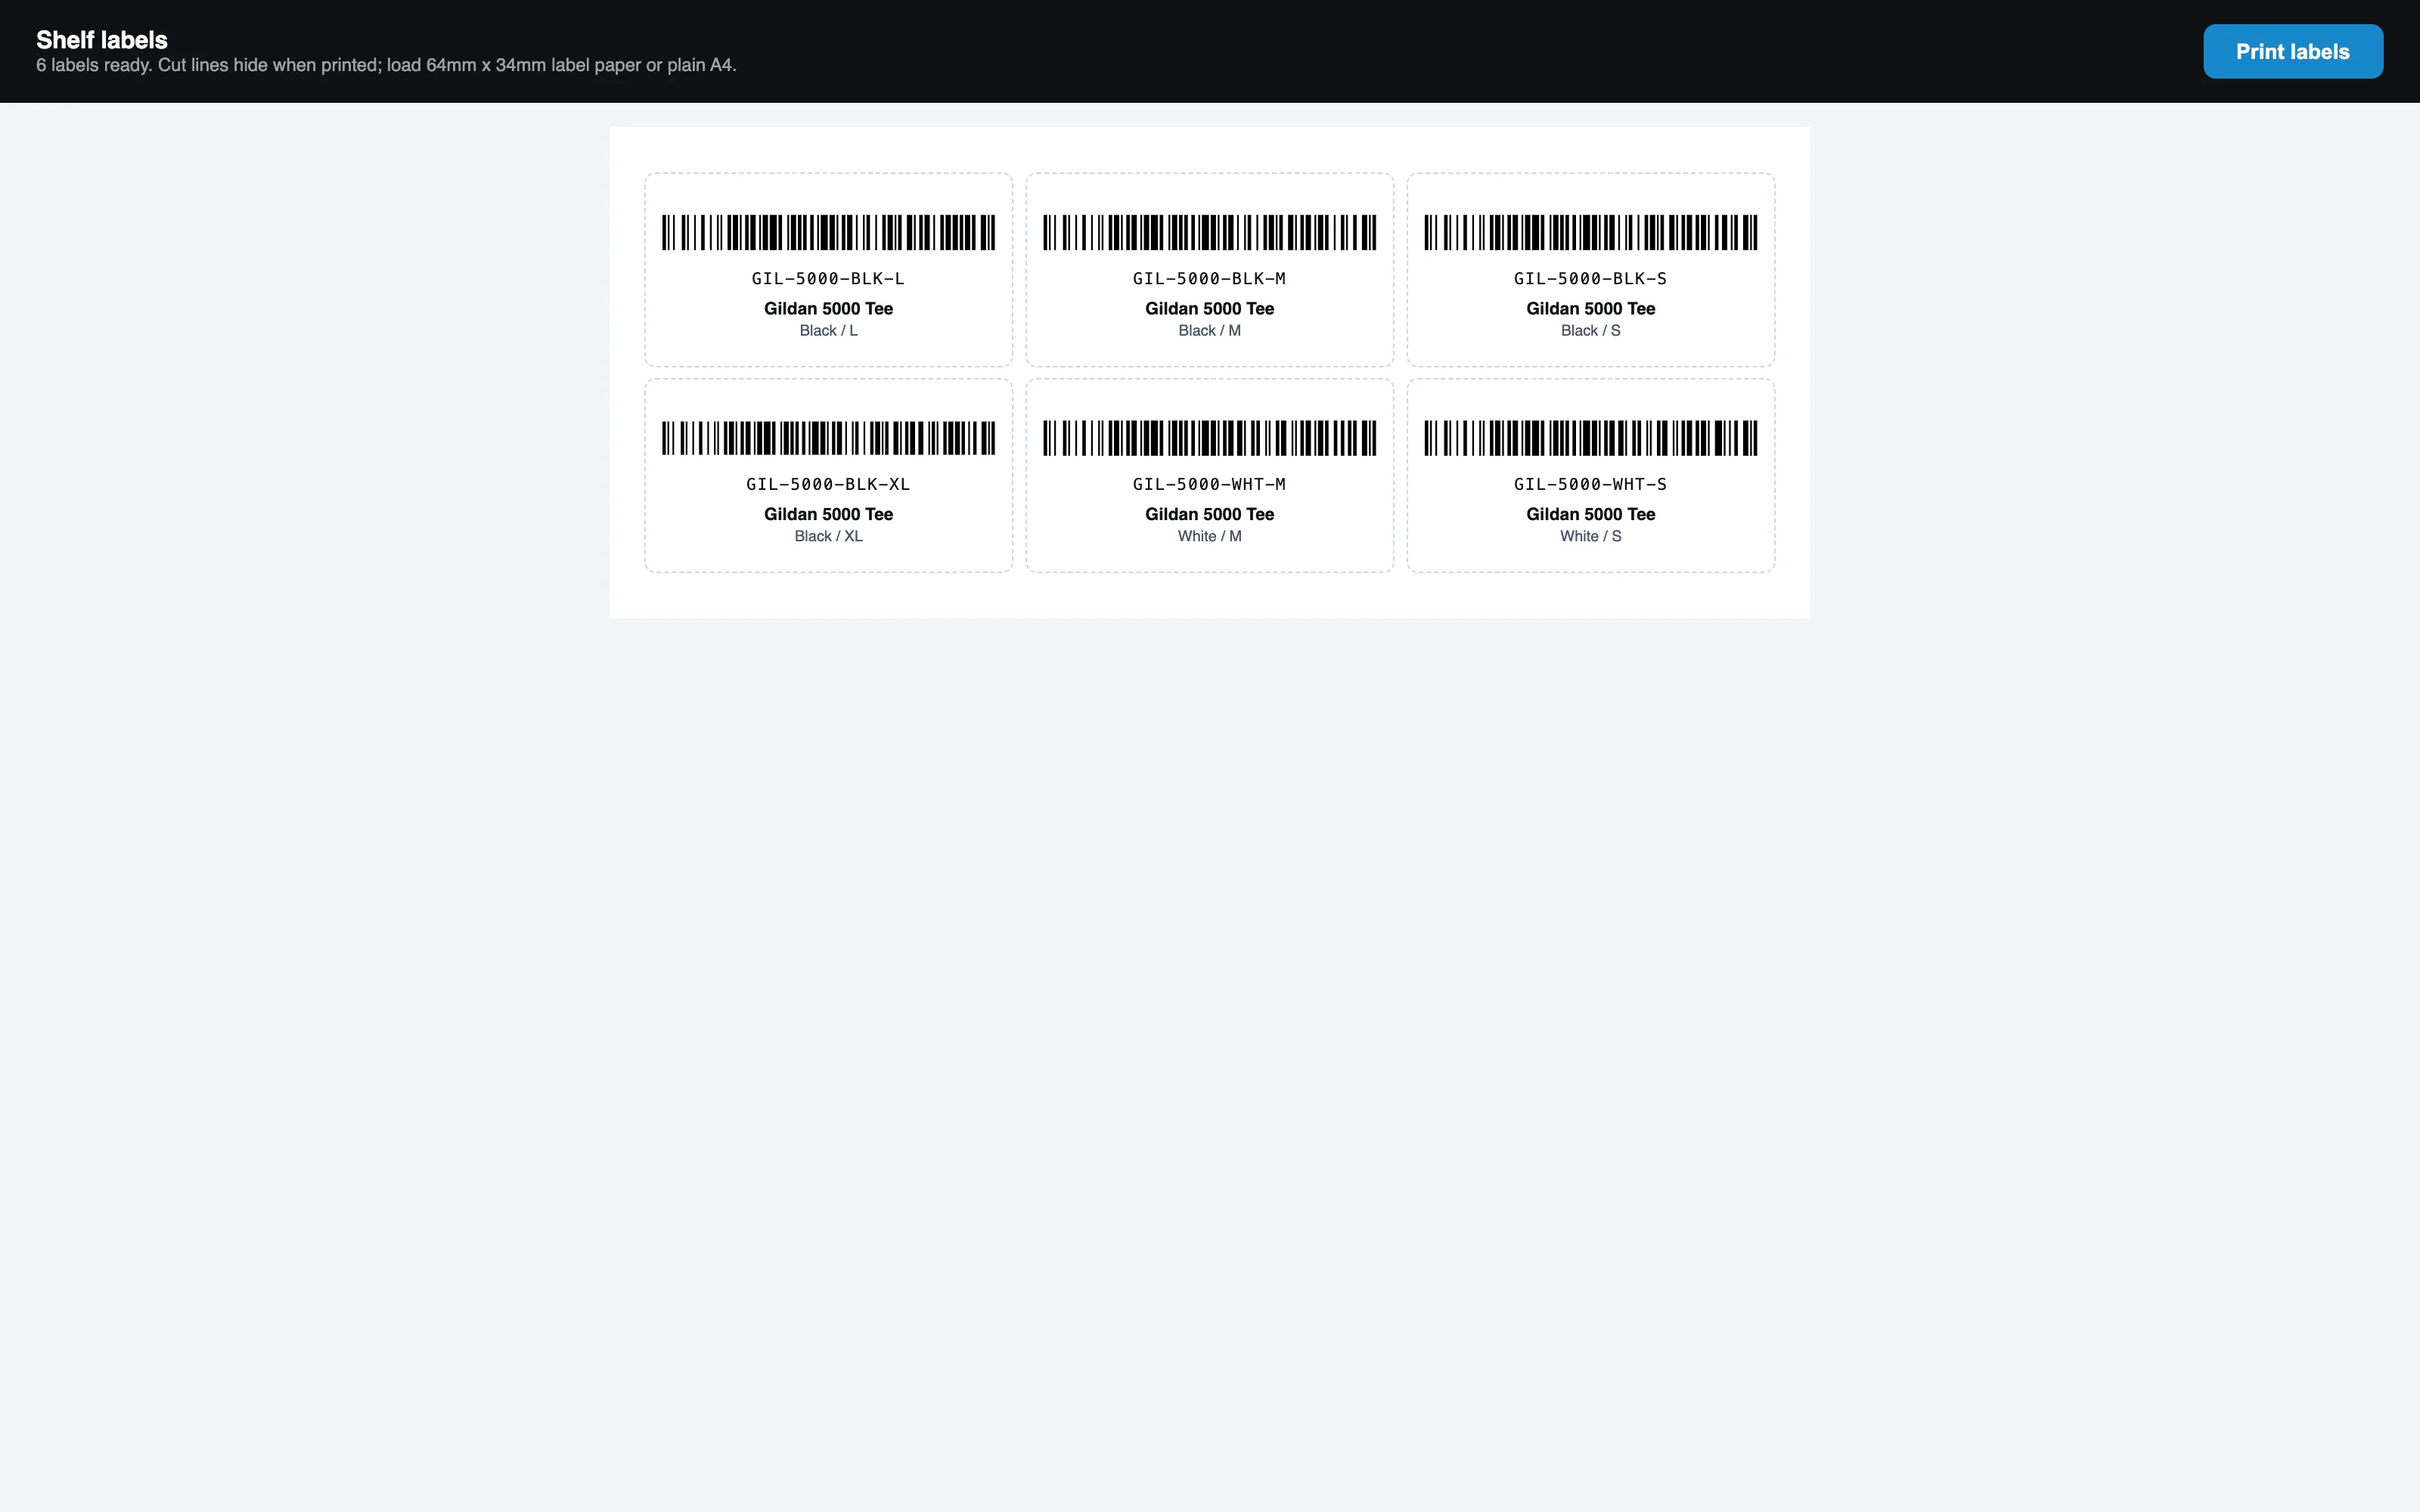 Shelf labels. Scan them at the production scan page.
Empty States
Until something is in the catalogue, the Styles, Colours and Inventory lists, the kiosk garment grid, the portal catalogue, the designer and the affiliate store editor each say so and link to the import.