

Appearance
The Walk-in Kiosk
The kiosk is a self-serve screen for an iPad at your counter. A walk-in picks a template, a garment and a quantity, types their name and mobile, and a real order appears in your Artwork stage priced by your own rules. The kiosk is off by default. You switch it on under Brand and portal settings with a six digit PIN, and each iPad is unlocked once with that PIN.
Where It Lives
| Page | What it's for |
|---|---|
| Insight, then Brand & portal, section Walk-in kiosk | The Kiosk on switch, the Device PIN and the Unlock address |
yourshop.printersfriend.com/workspace/kiosk/unlock | The staff-only screen where an iPad is unlocked with the PIN |
yourshop.printersfriend.com/workspace/kiosk | The four screens the customer uses |
| Operate, then Orders | Where each kiosk order lands, in the Artwork stage |
Plan requirement
The kiosk is included on every plan: Free, Starter, Premium and Enterprise. Each kiosk order counts towards your plan's open order limit. The SMS confirmation needs Starter or above plus your own Twilio account connected under Integrations.
Switching the Kiosk On
- Go to Insight, then Brand & portal and scroll to Walk-in kiosk.
- Type a six digit number in Device PIN. The field is blank even when a PIN already exists; typing a new one replaces it, and leaving it blank keeps the current PIN.
- Tick Kiosk on.
- Click Save at the top of the page. A "Brand settings saved" notice confirms it, and the Unlock address under the PIN field is the link to open on the iPad.
If you tick Kiosk on before a PIN exists, the rest of the page saves but the kiosk stays off, with the notice "Set a six digit PIN before switching the kiosk on". A PIN that is not exactly six digits is refused with "The kiosk PIN must be exactly six digits".
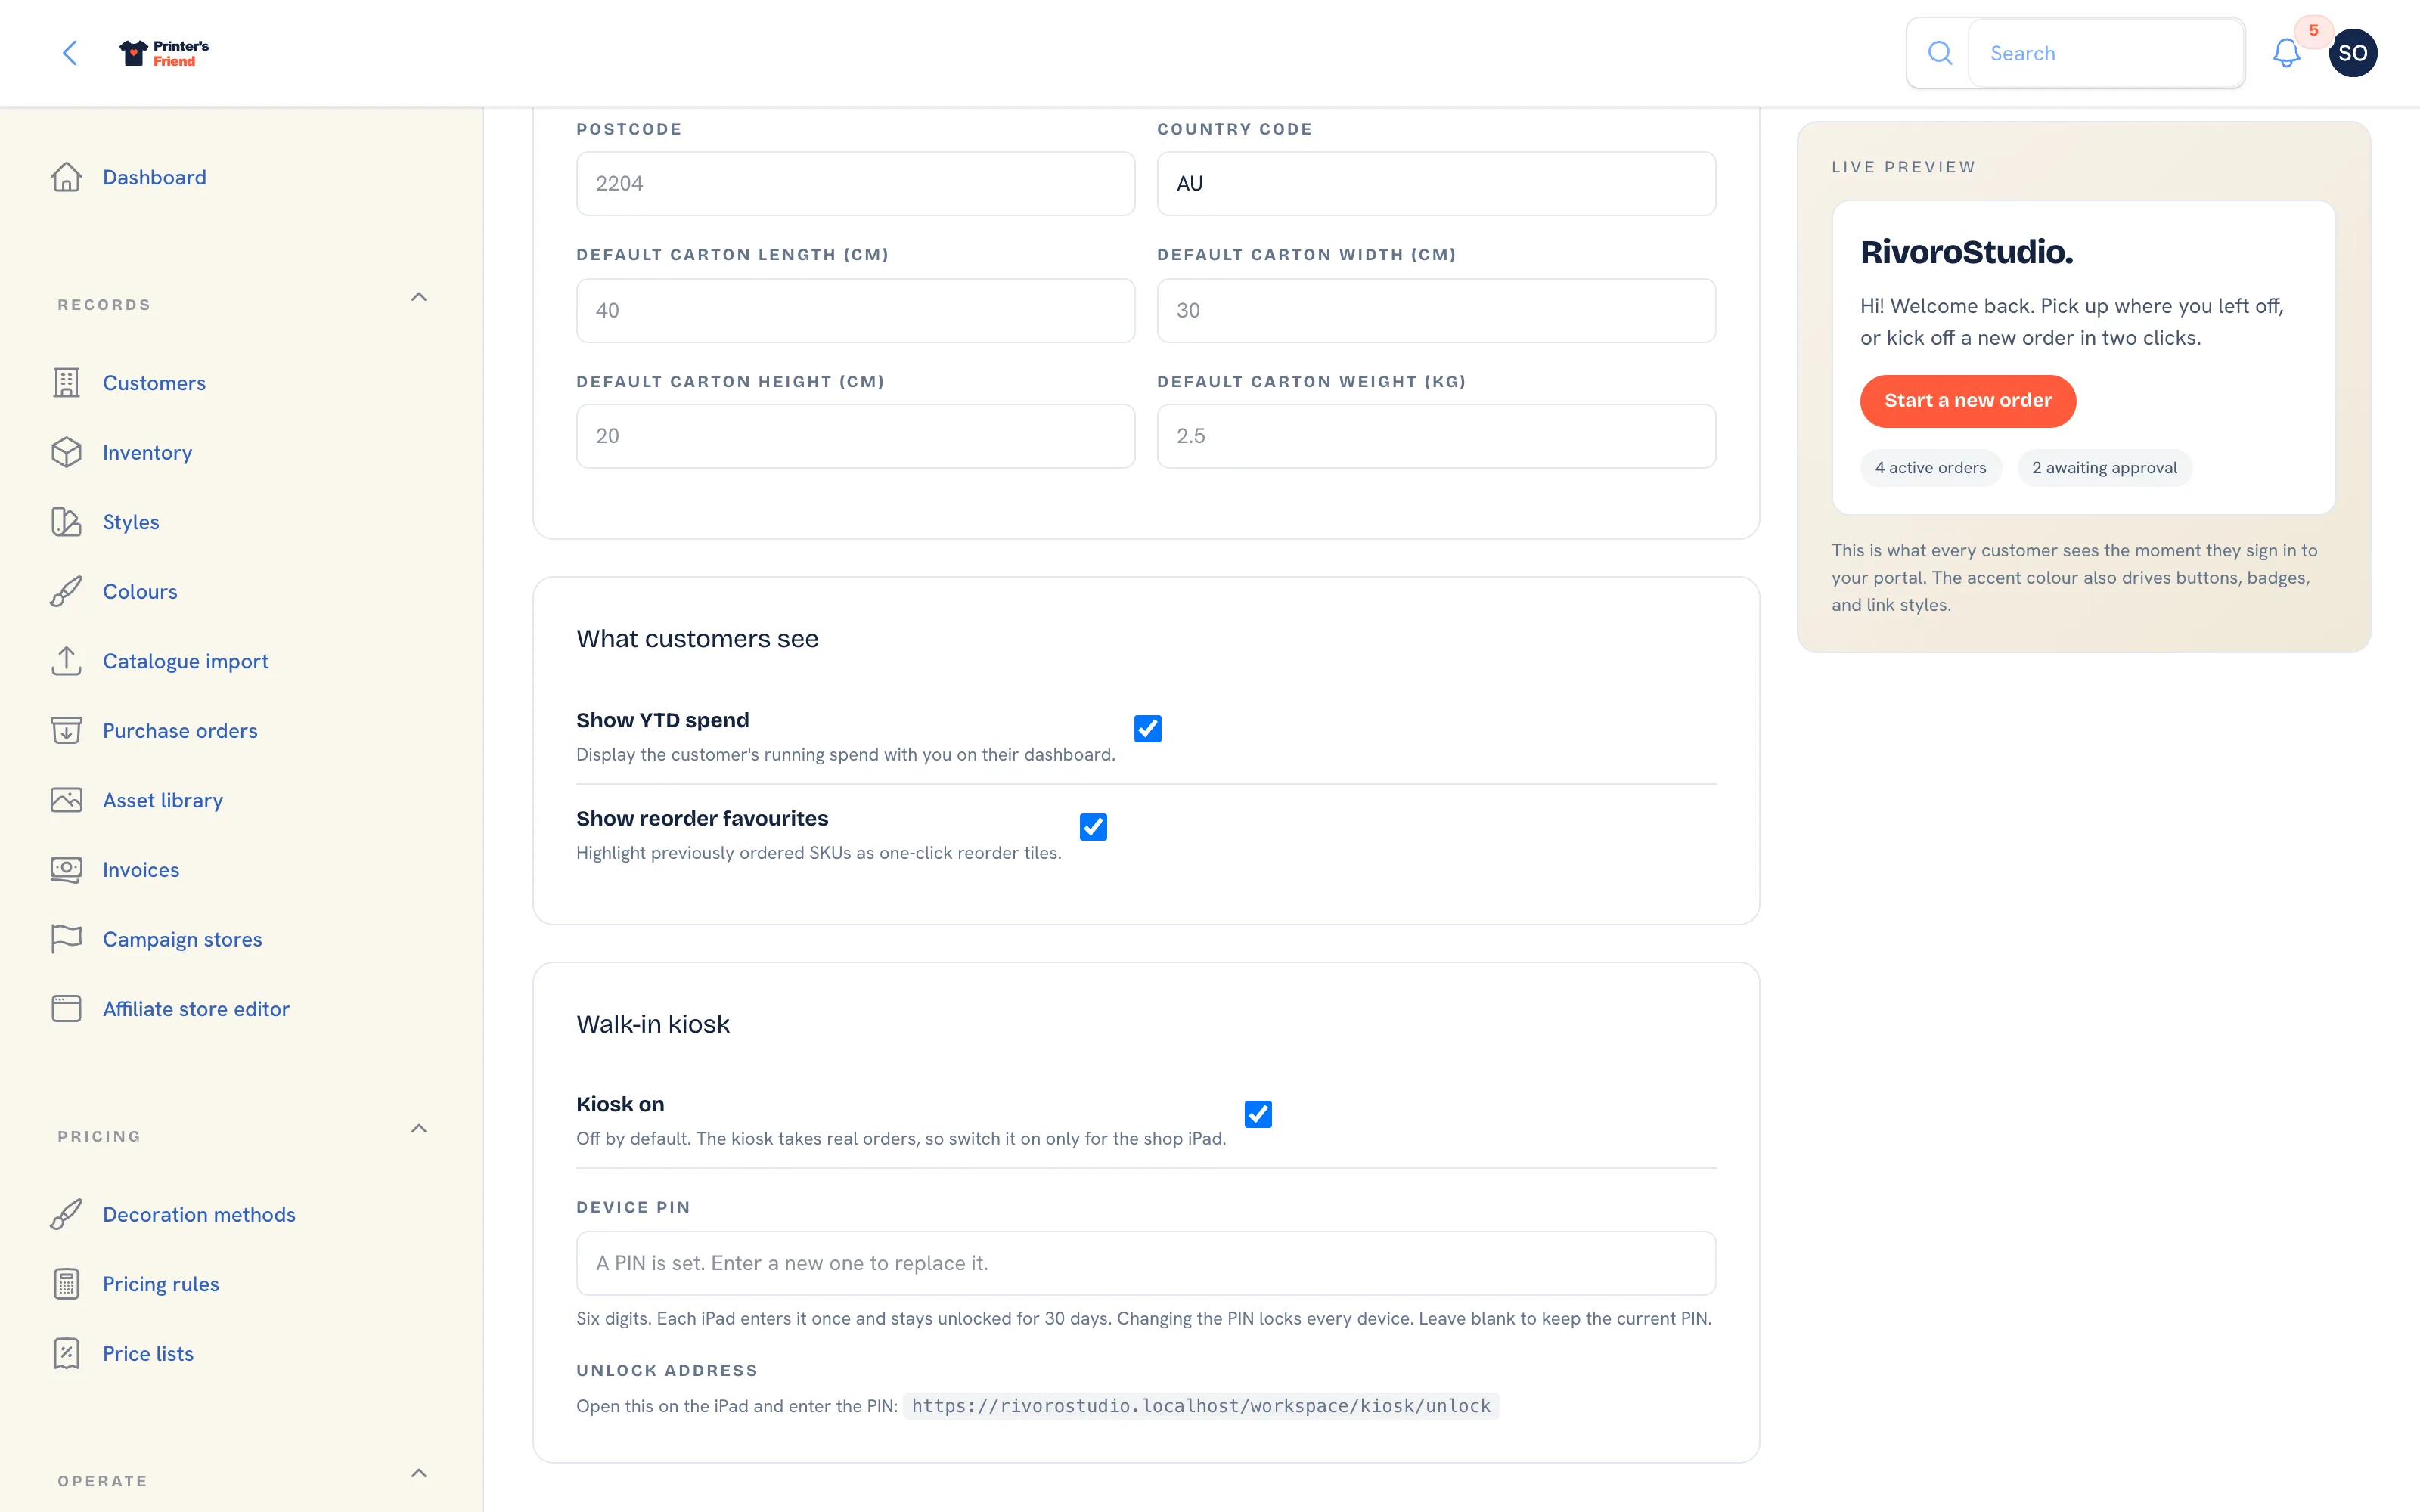 The Walk-in kiosk section at the foot of Brand and portal settings. The PIN field stays blank once a PIN is set, and the unlock address under it is the link to open on the iPad.
Changing the PIN locks every iPad
The PIN is stored hashed, and saving a new one invalidates every device that unlocked under the old one. After a PIN change, open the unlock address on each iPad and enter the new PIN.
Unlocking an iPad
- On the iPad, open the Unlock address shown in settings. The screen is labelled Staff only and says how long the device will stay unlocked.
- Enter the PIN in Kiosk PIN and tap Unlock.
- The kiosk welcome screen opens. The device stays unlocked for 30 days, or until the PIN changes or the kiosk is switched off.
A wrong PIN shows "That PIN is not right. Try again, or ask the shop owner for the current PIN." Unlock attempts are limited to five a minute per device, and each attempt is recorded.
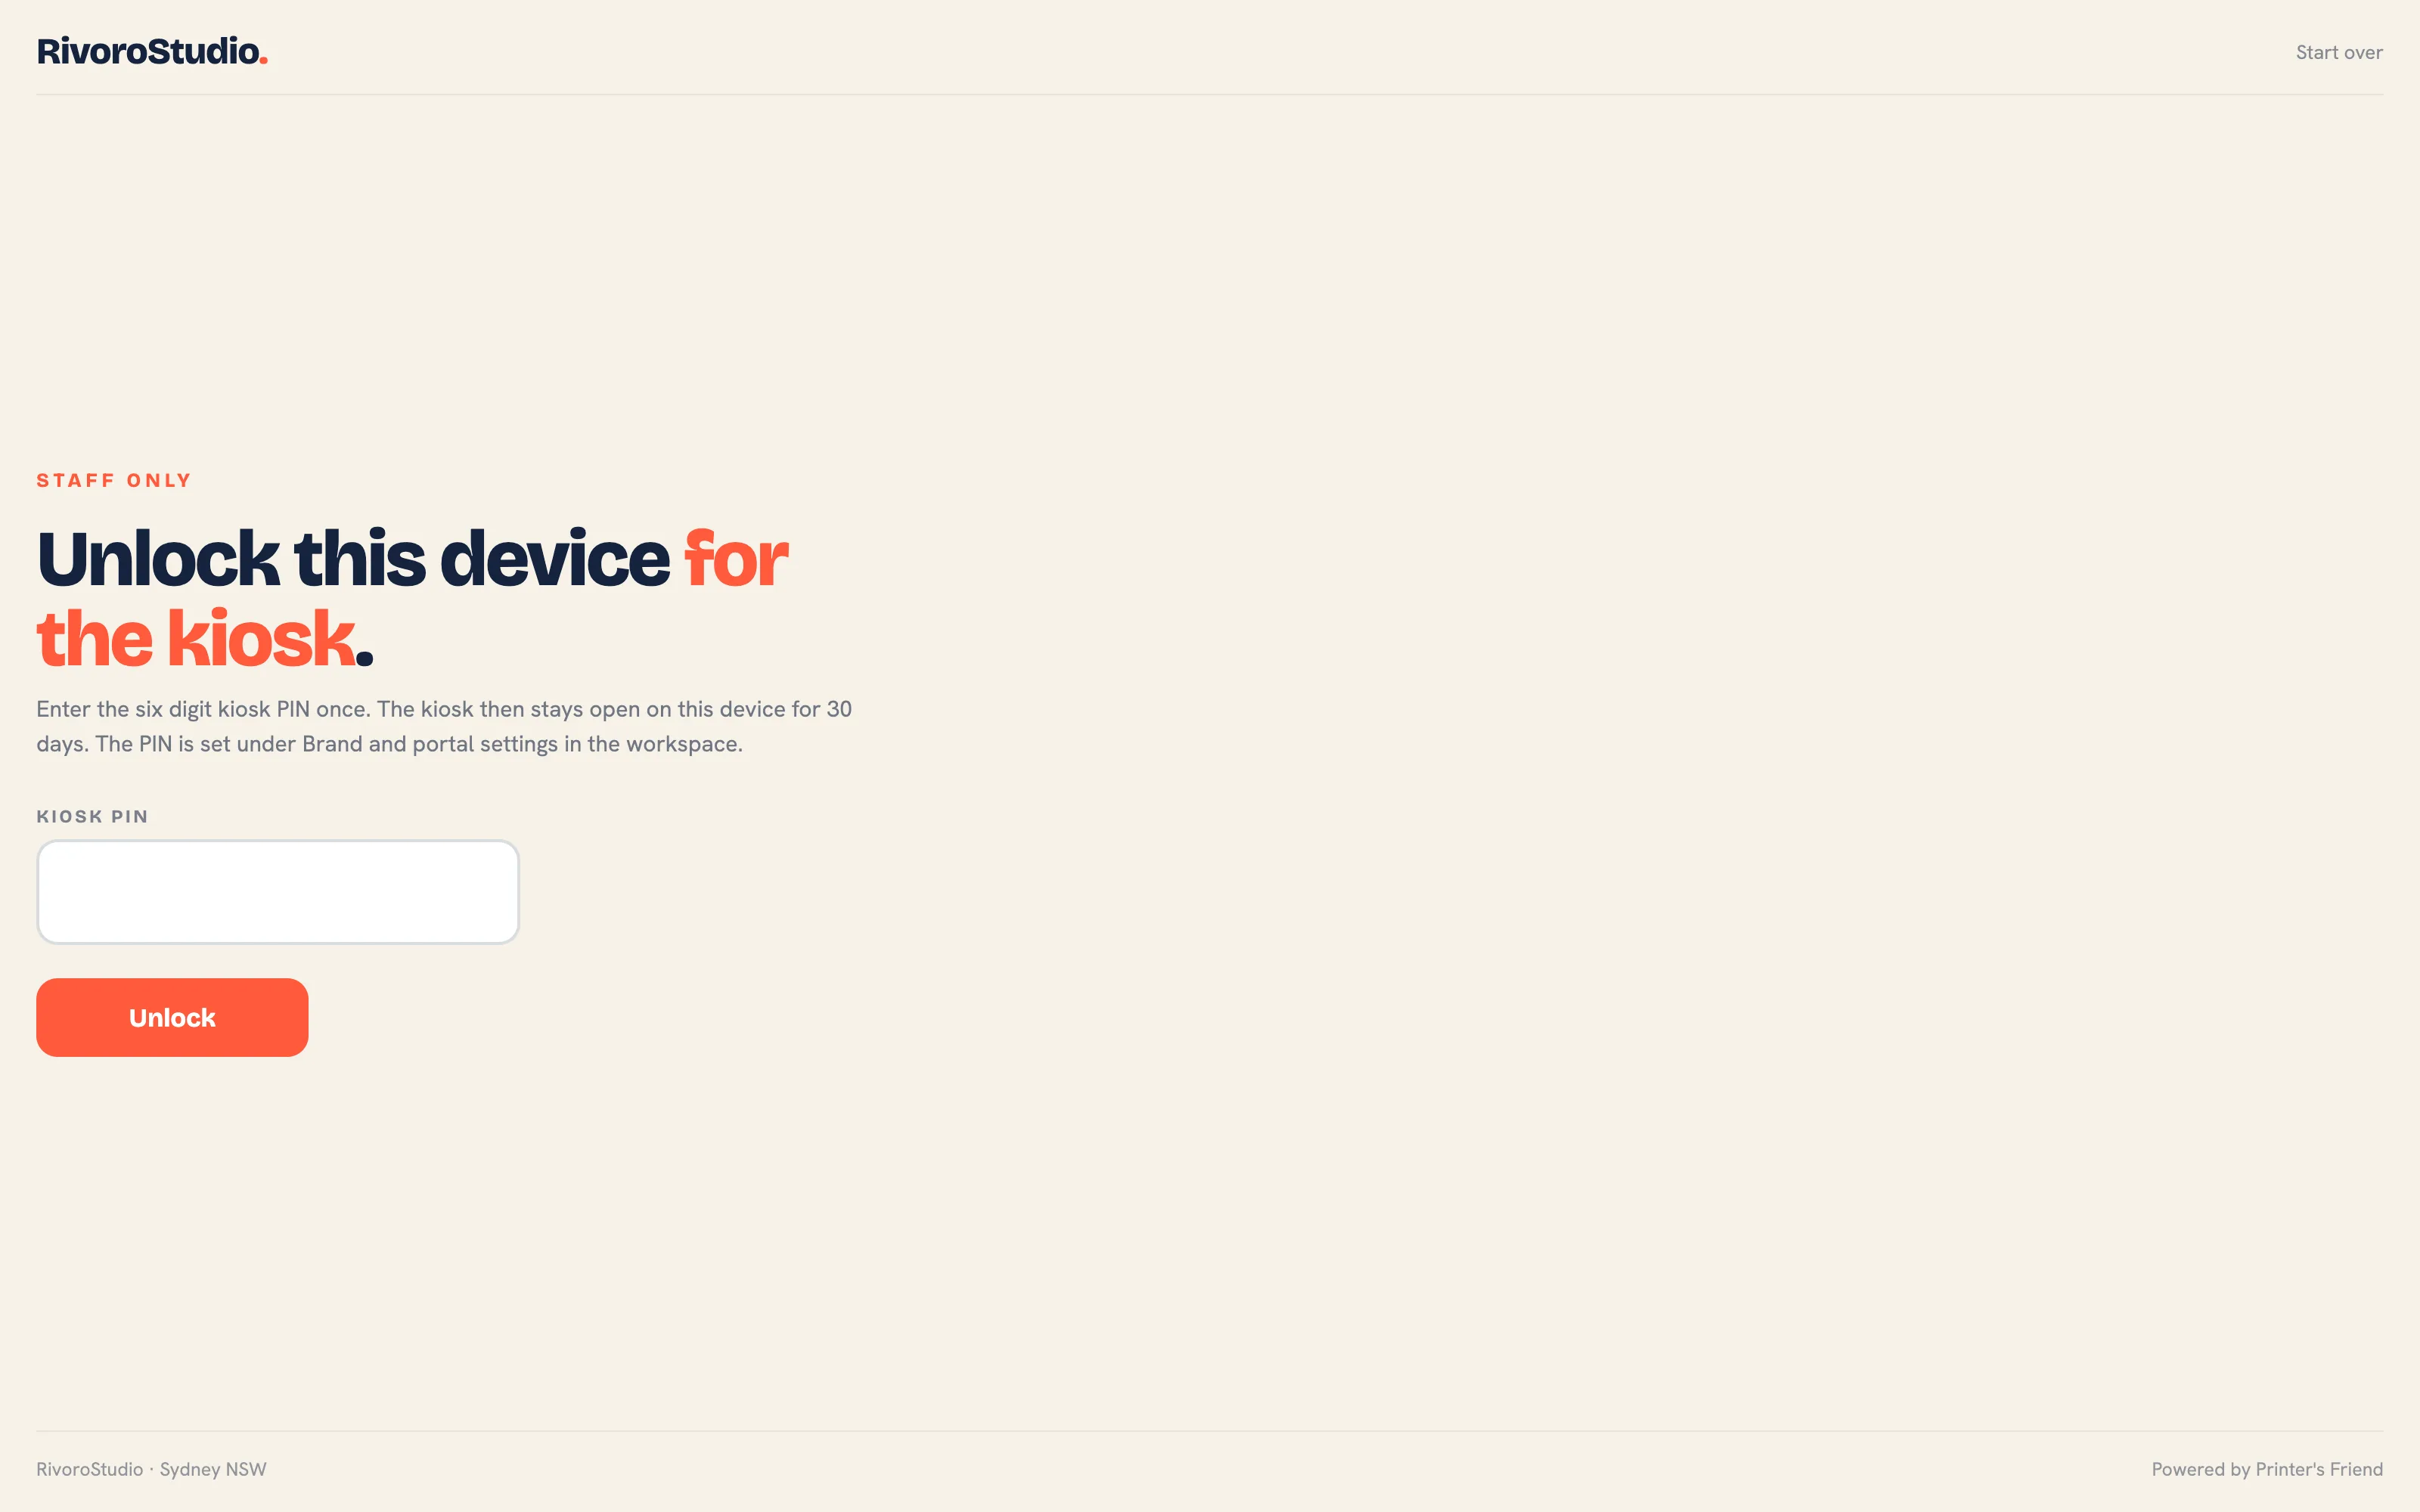 The unlock screen. A device that is already unlocked sees an Open the kiosk button instead of the PIN field.
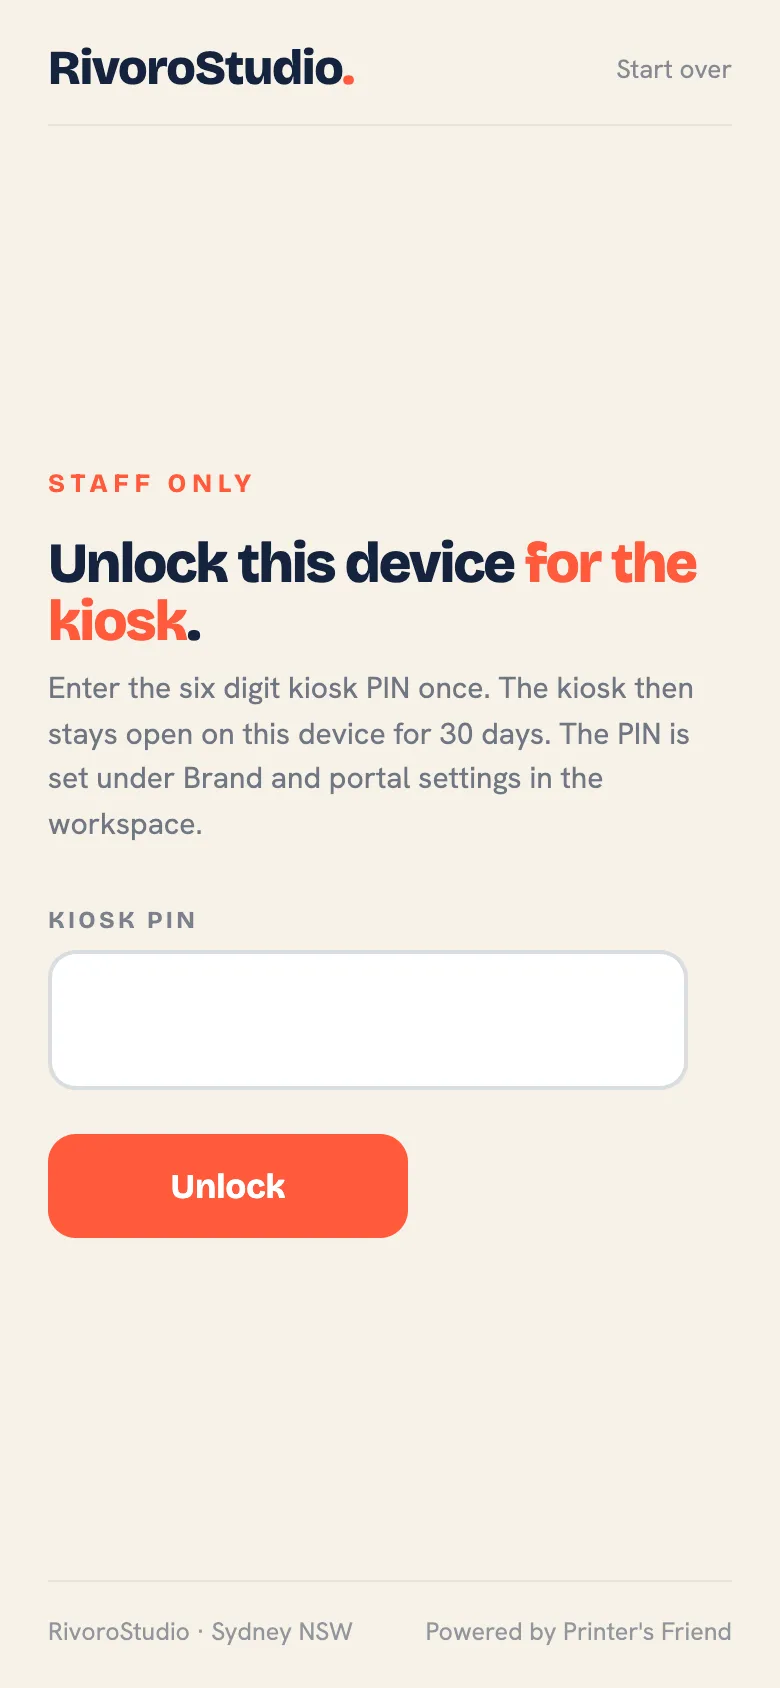 The same screen on a phone.
Set the iPad up to run unattended
Add the kiosk address to the home screen from Safari so it opens without browser controls, turn on Guided Access (Settings, Accessibility, Guided Access) so a customer cannot leave the page, set the screen never to sleep, and keep the iPad on power.
What the Customer Sees
Welcome
The welcome screen carries your shop name, the heading Design your own kit in four taps, a Get started button and an I already have a design button that goes straight to the custom template. Three cards underneath mention a five day turnaround, one-offs or runs, and payment at collection.
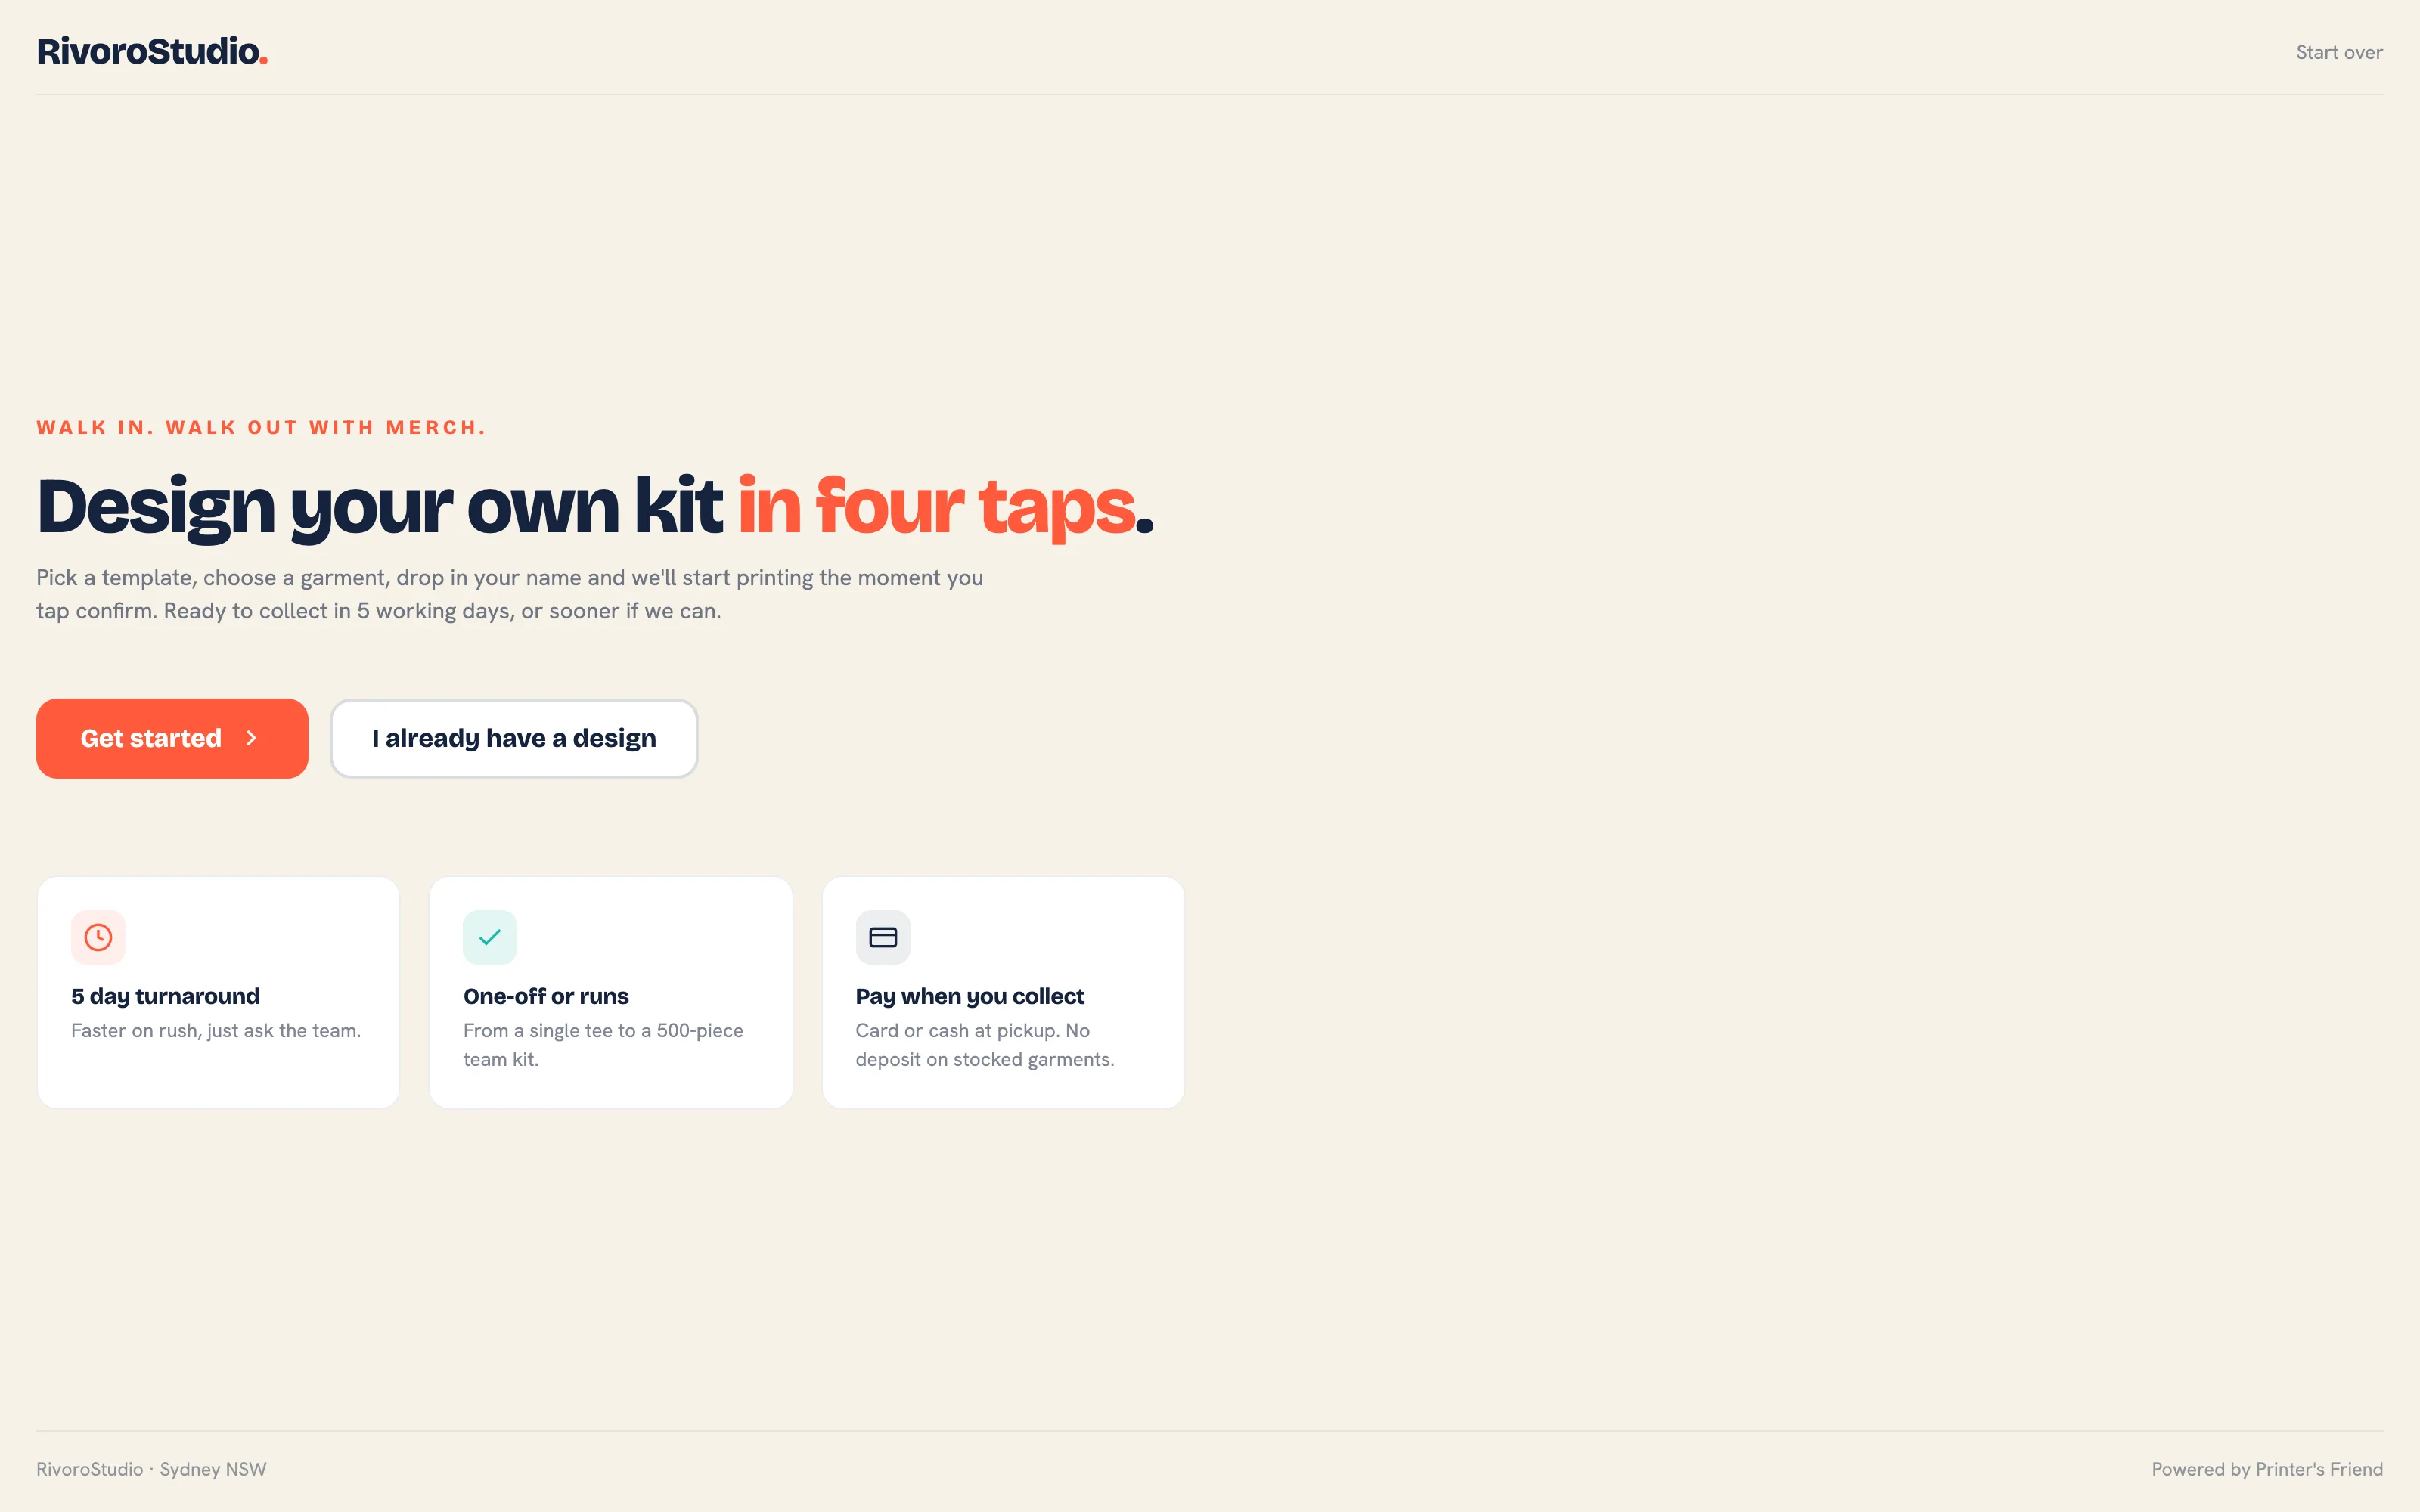 The welcome screen.
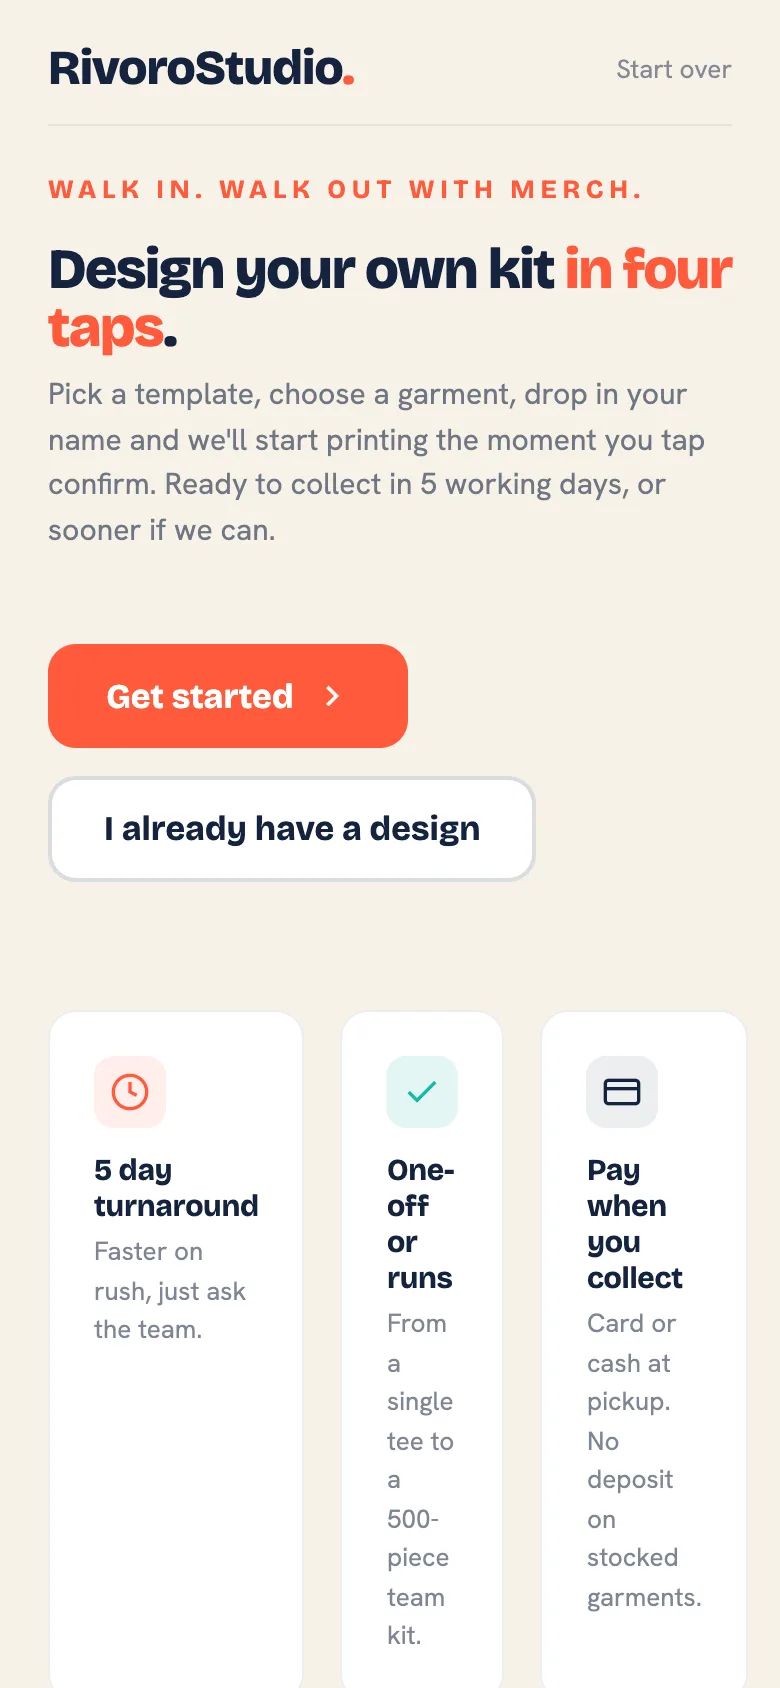 The welcome screen on a phone.
Step 1: Pick a Template
Six starting points: Team kit, Event shirt, Corporate run, School / club, Merch drop and Bring your own. One tap moves on.
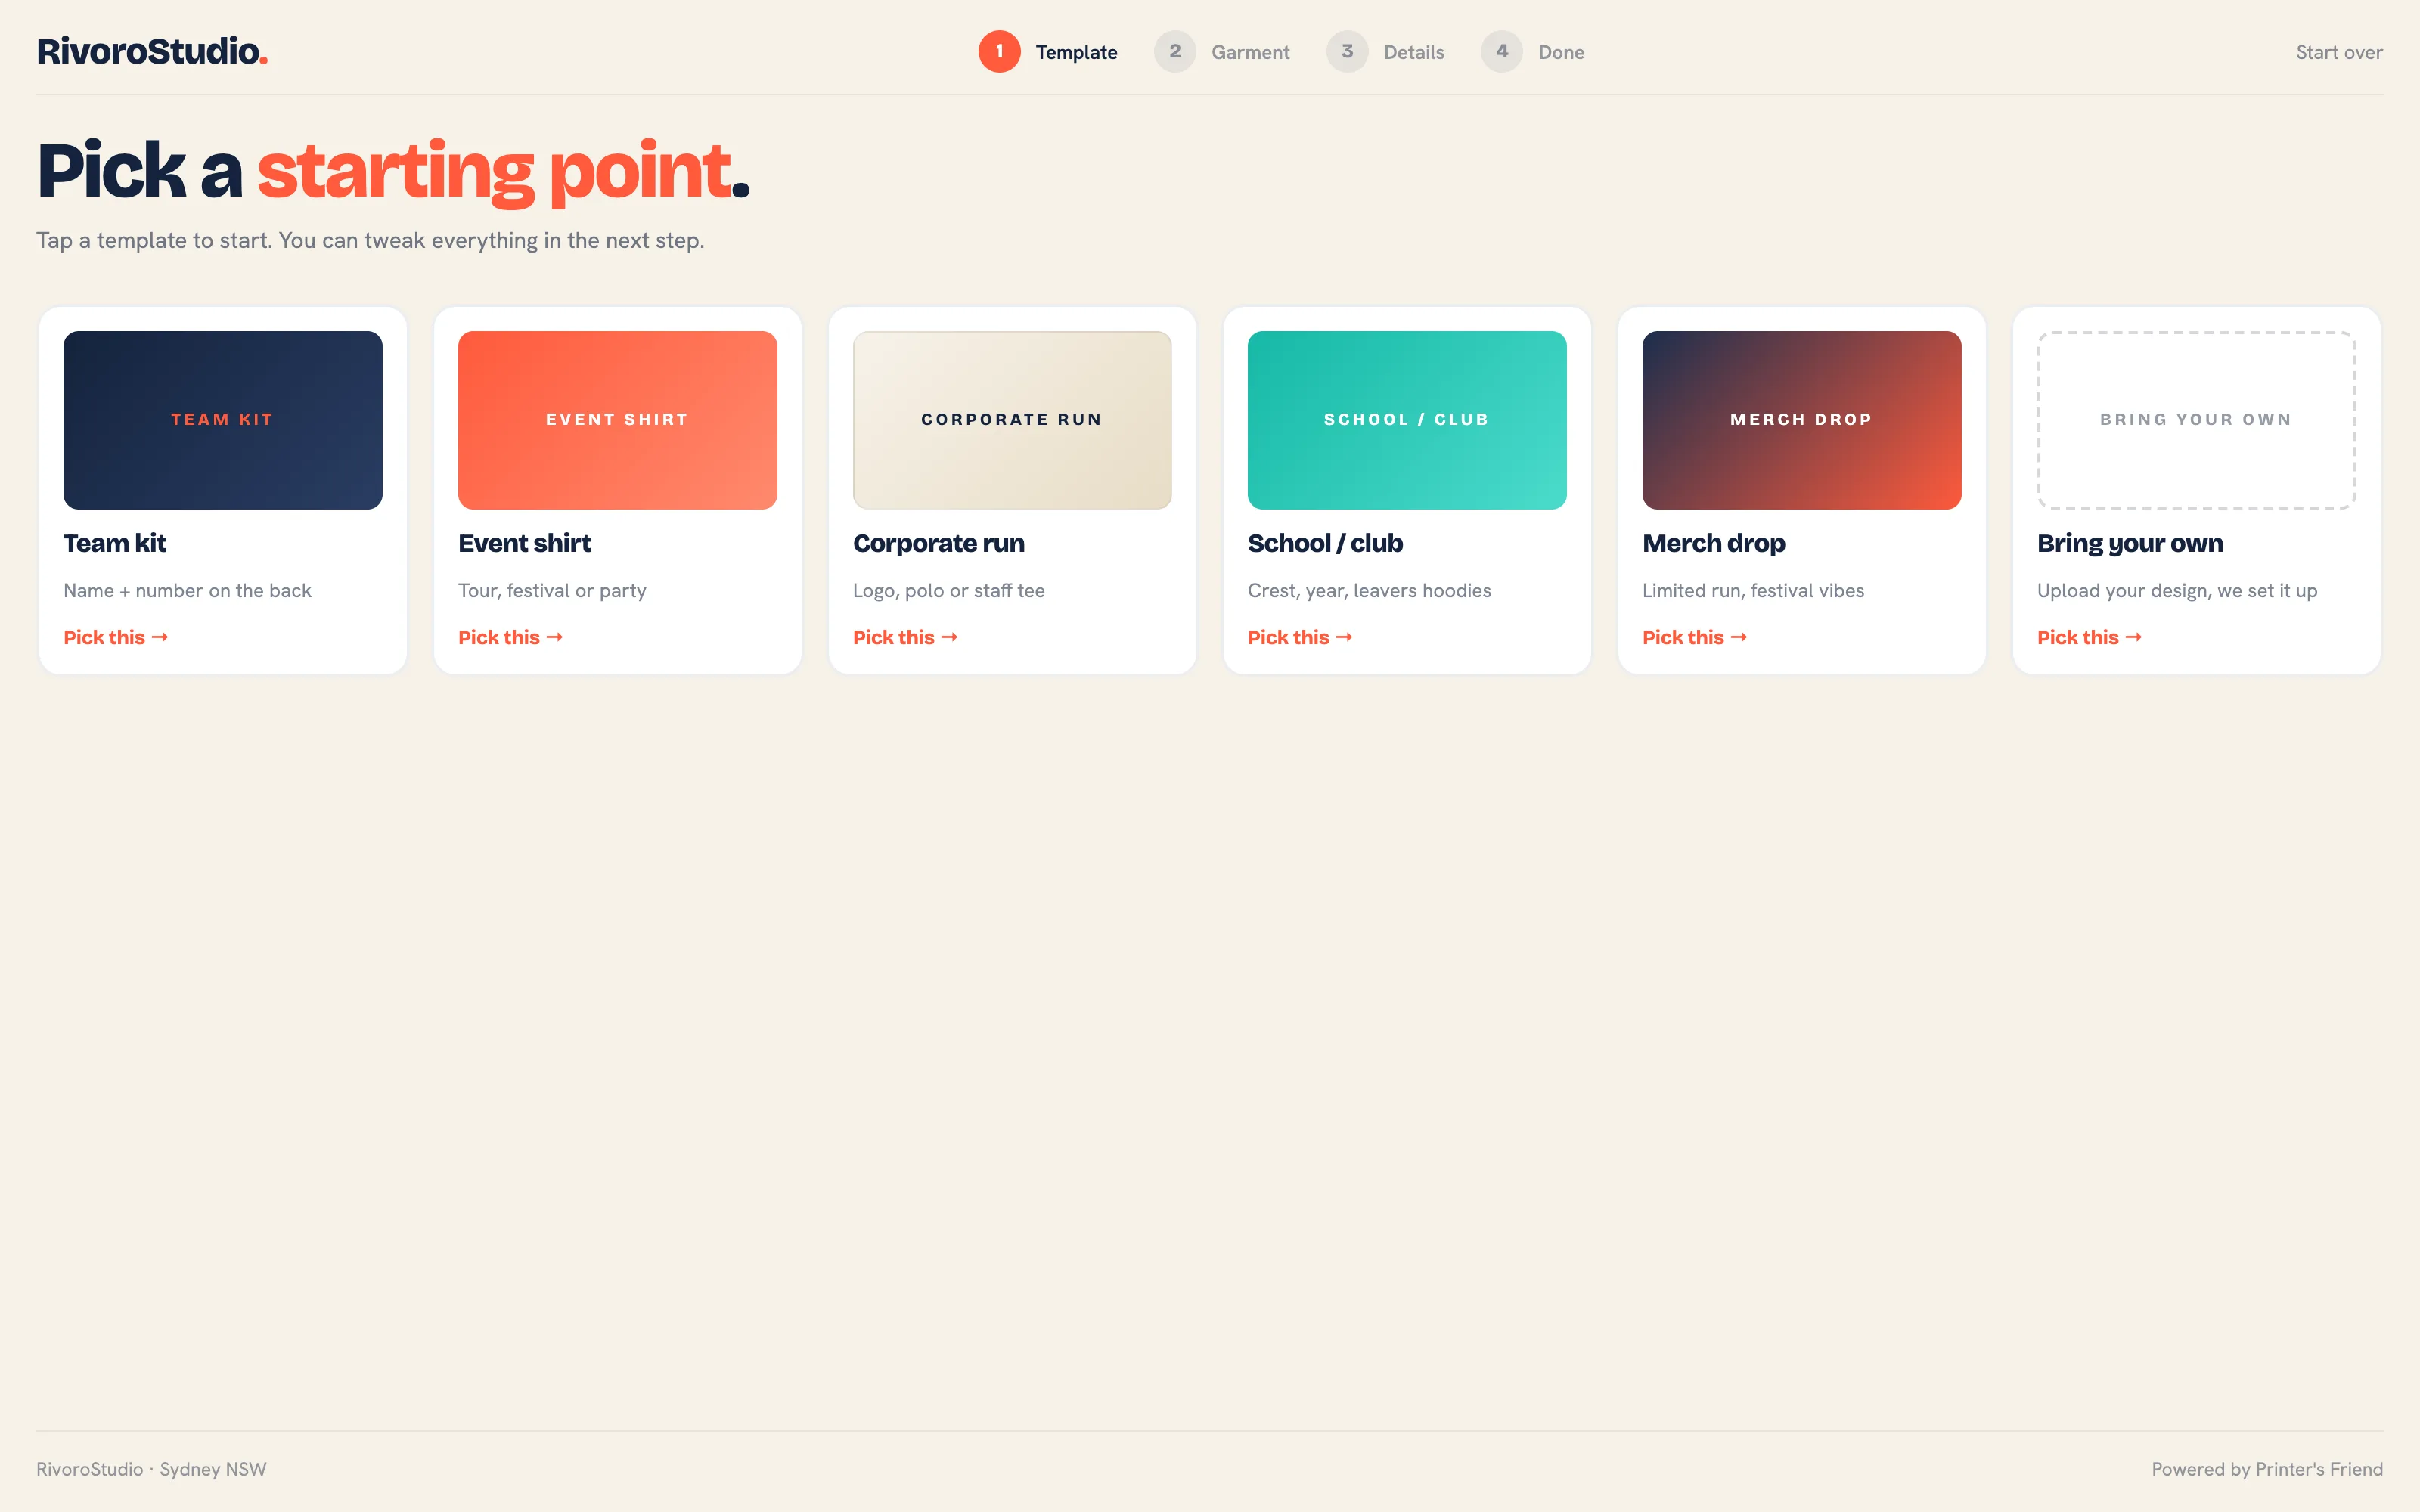 Step 1, the template grid.
Step 2: Pick a Garment
Up to twelve styles from your catalogue that have an active SKU, each with its brand, category, number of sizes and a from price in your currency. The price is the style's list price. If the catalogue is empty, the grid is replaced by a notice that points staff to Catalogue import.
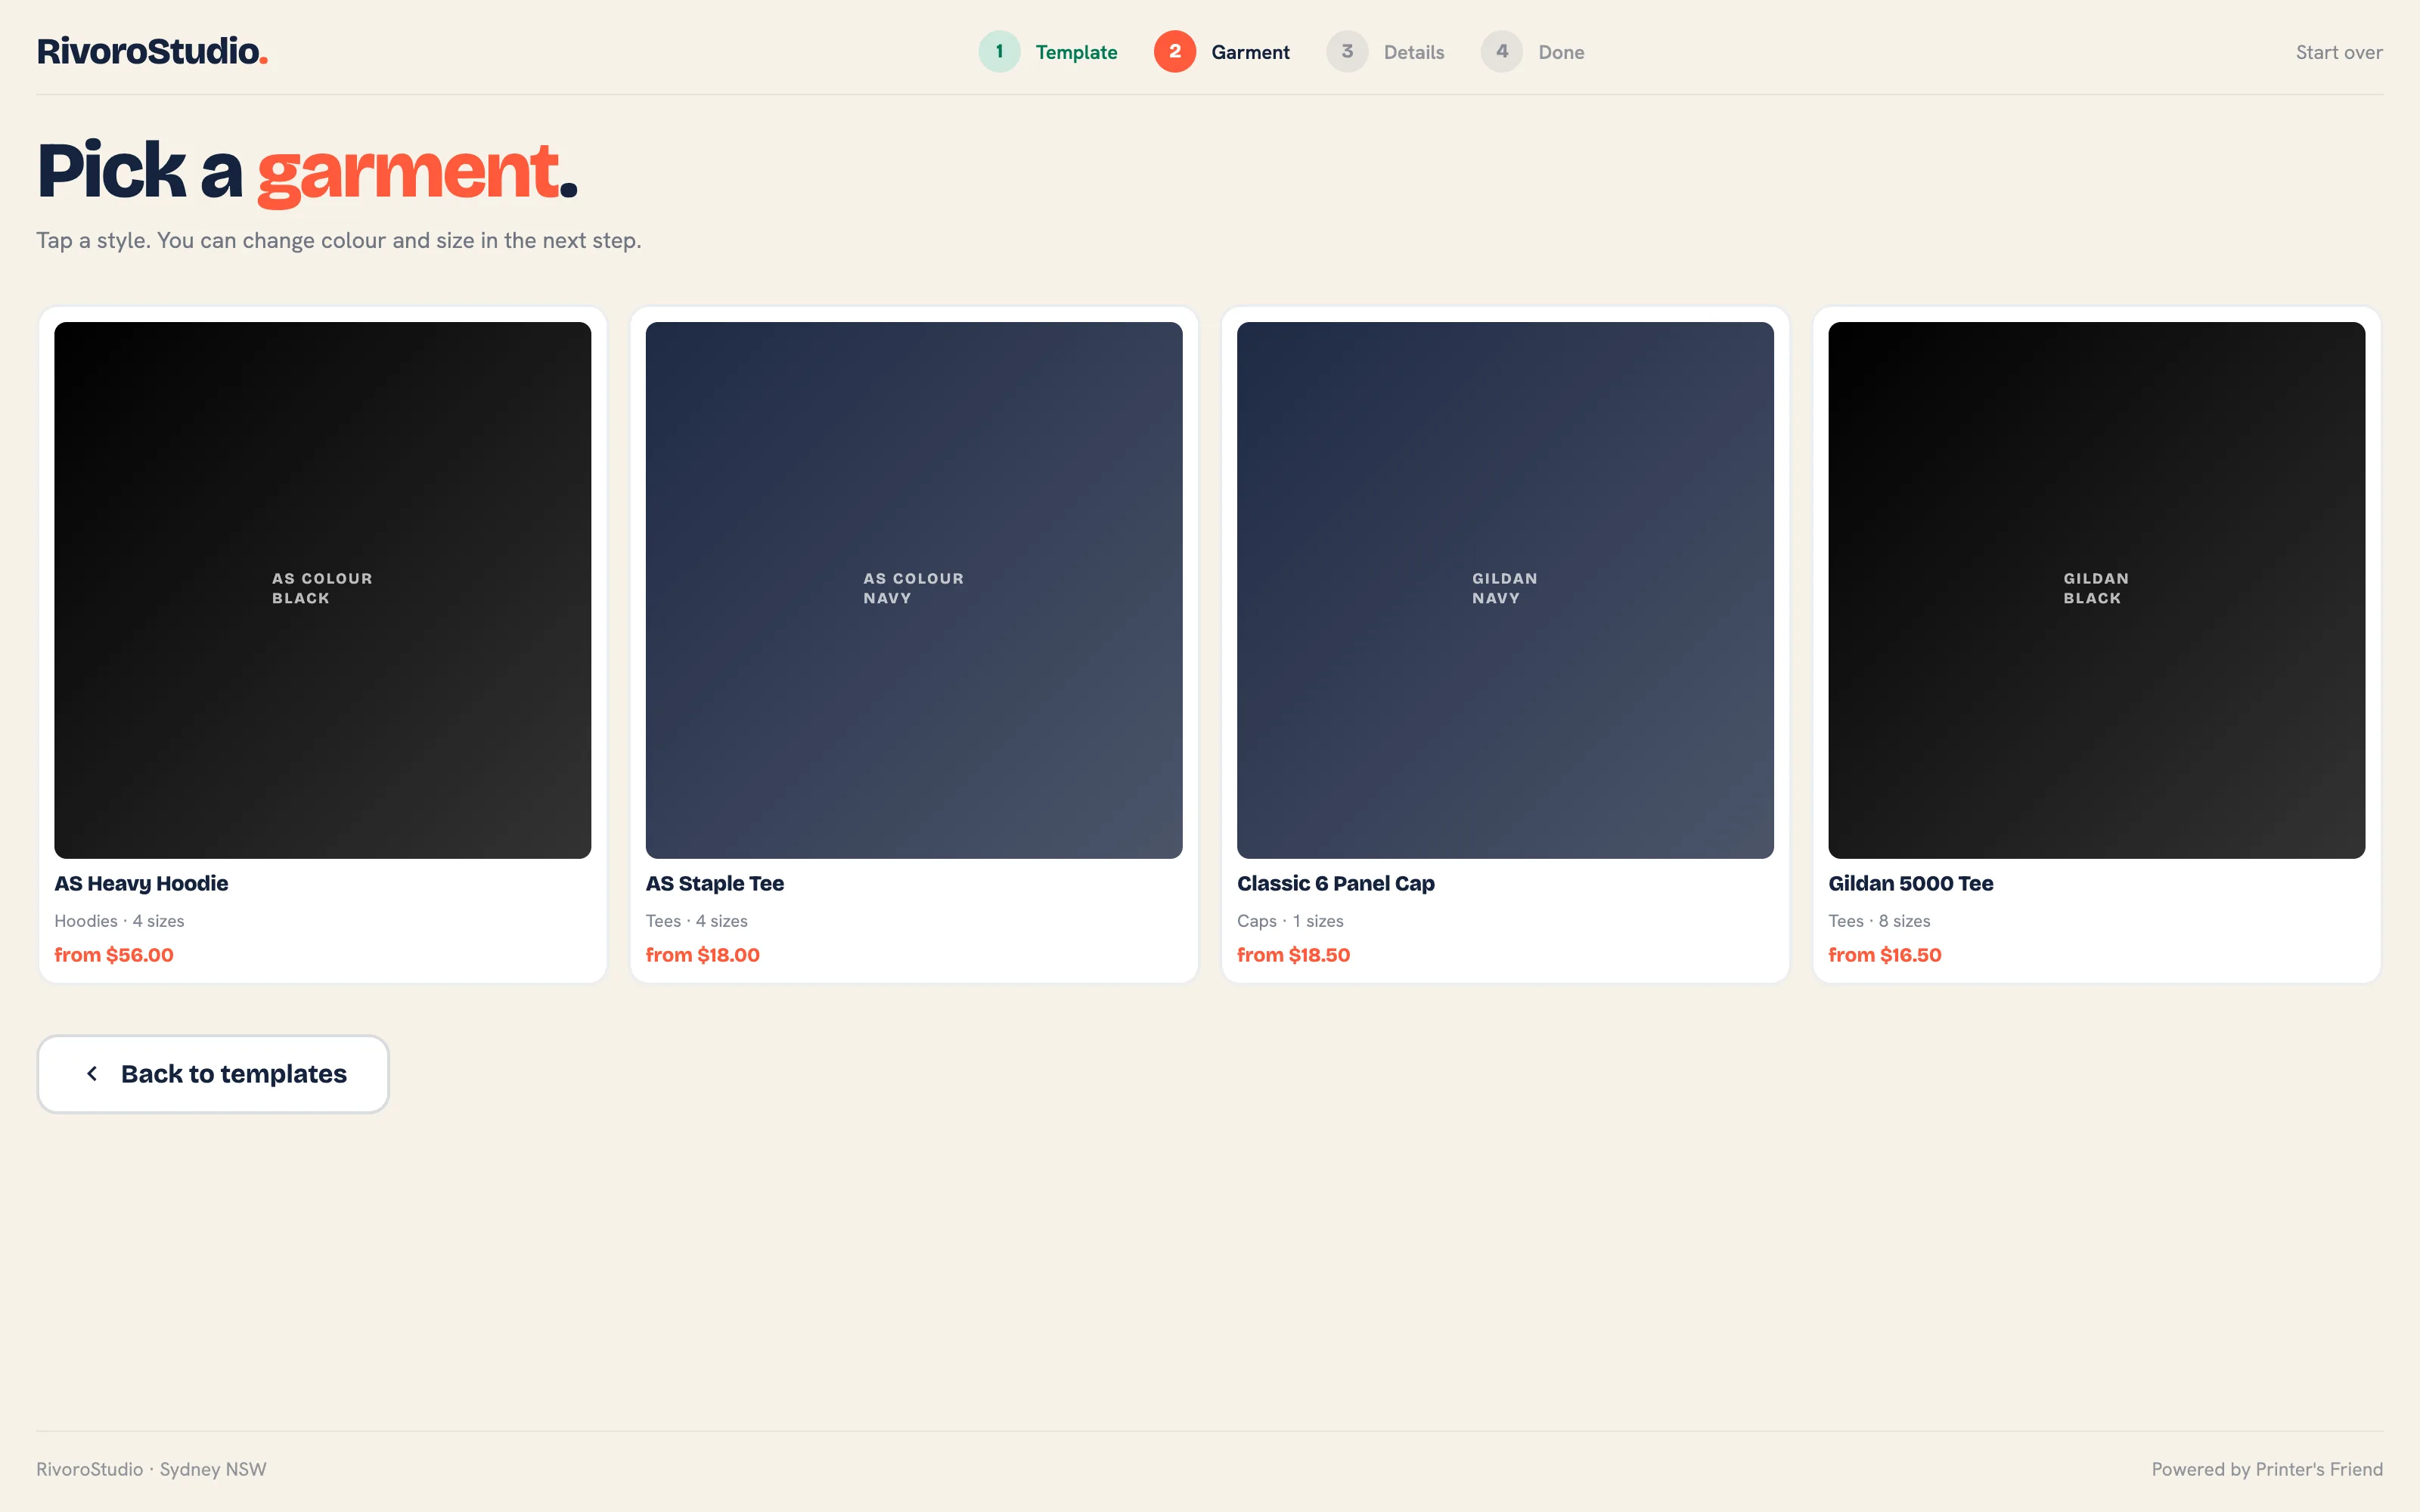 Step 2, garments from your catalogue.
Step 3: Quantity and Details
A quantity stepper under How many? (it starts at 20), then Your name, Mobile (required), Email (we'll send a receipt) (optional), Decoration method listing your active decoration methods, and Anything we need to know? for names, numbers and sizes. A summary on the right shows the template, garment, colour and a ready-by date five days out. Confirm order places it.
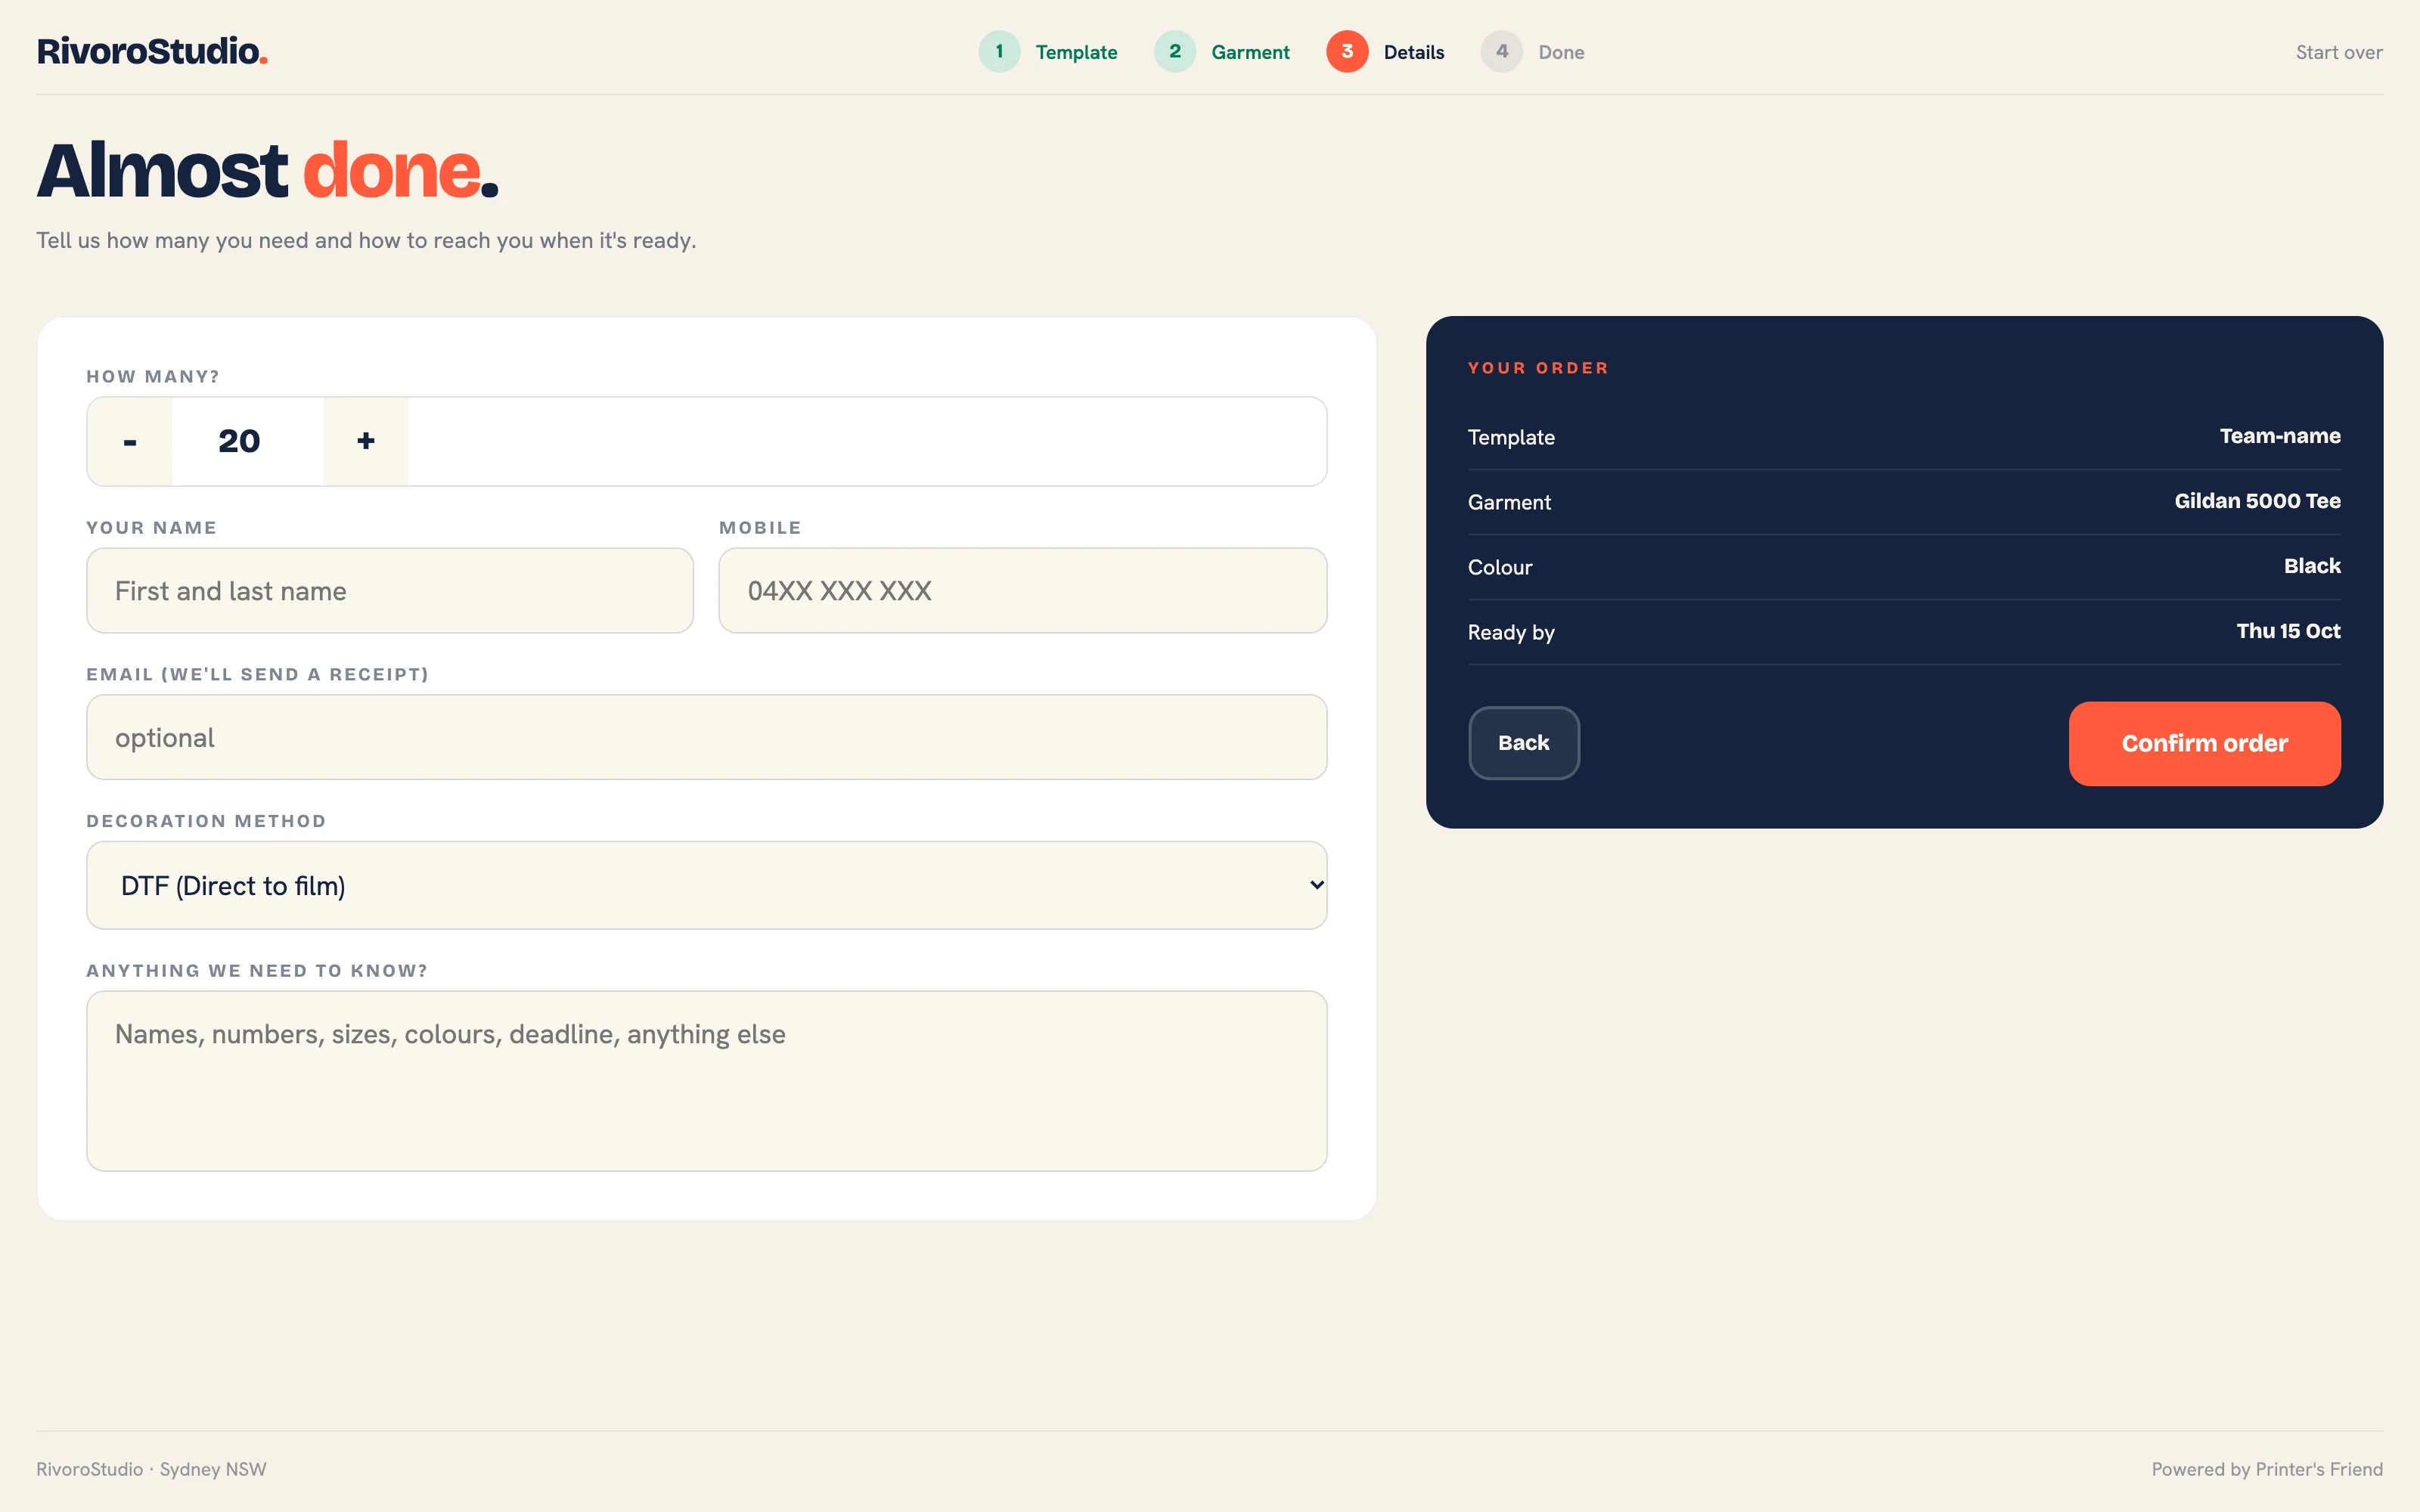 Step 3, details and the order summary.
Step 4: Order Placed
The confirmation shows the order number, the collection date, an Estimated total including the tax line from your tax scheme, and how the customer will hear from you: "We will text you at" their mobile, "We will email you at" their address, or "Ask at the counter for updates" when neither applies. A Place another order button returns to the welcome screen, and the screen resets by itself after 30 seconds.
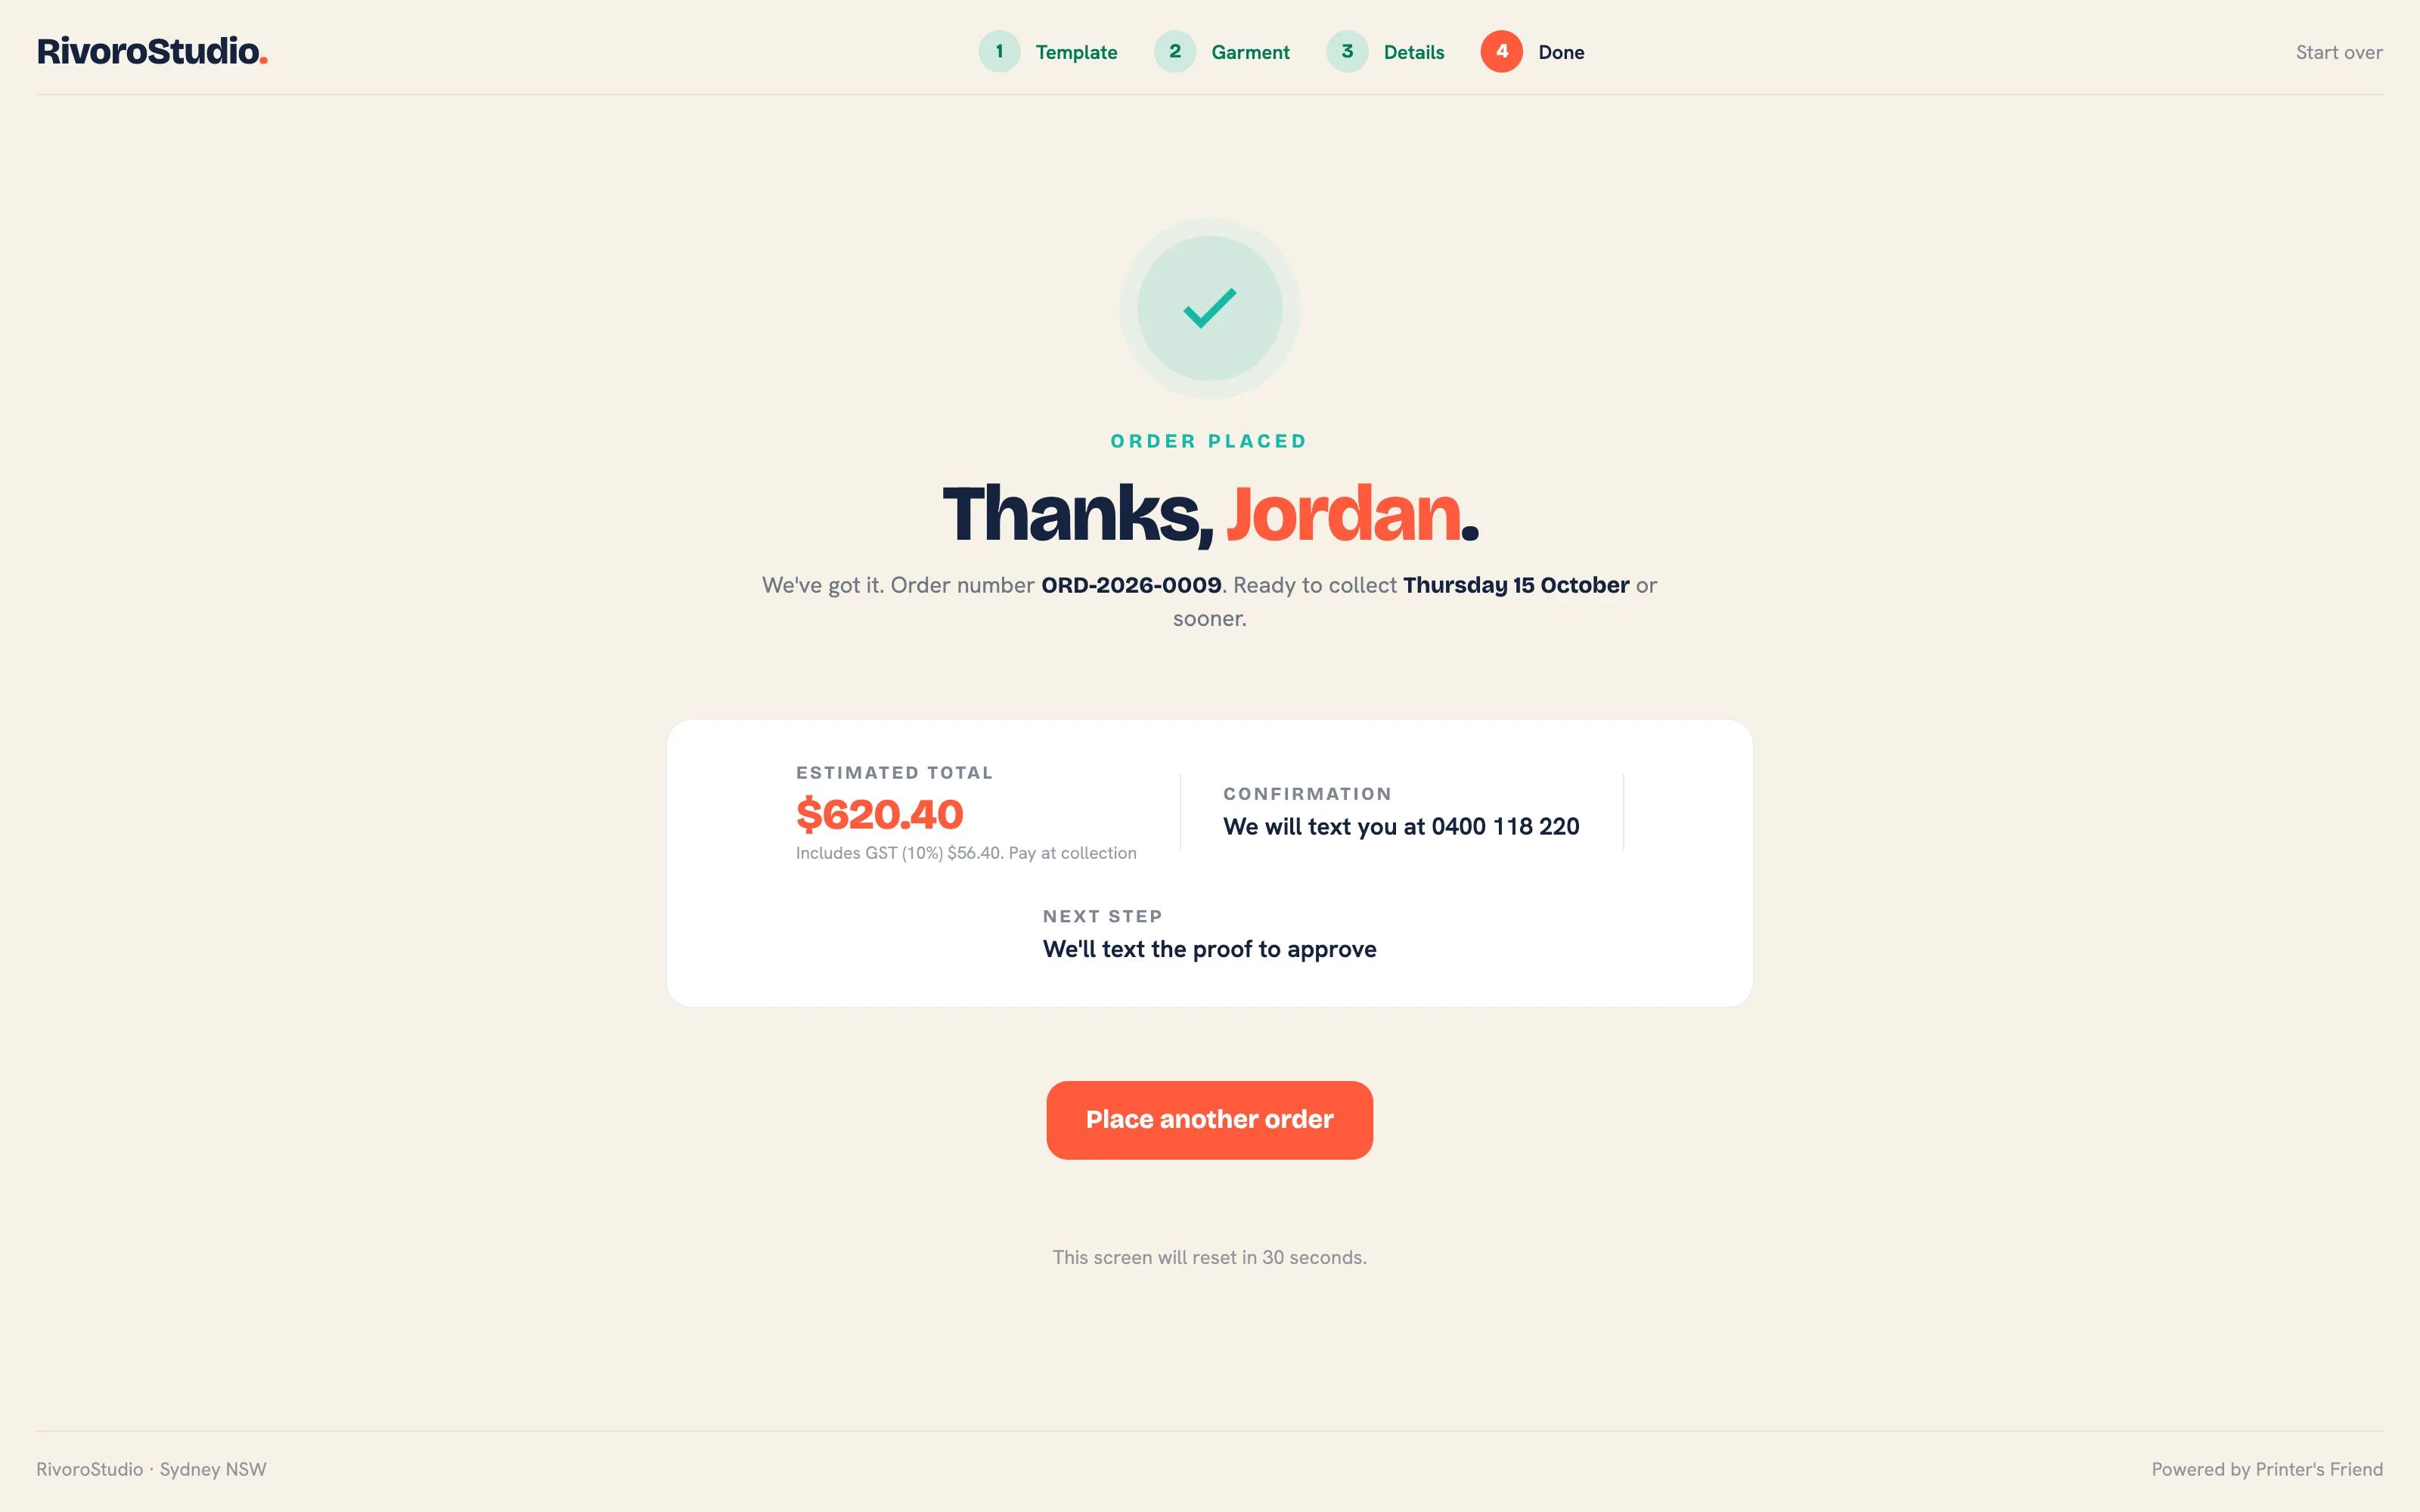 Step 4, the confirmation.
What Happens in Your Workspace
- An order is created in the Artwork stage, due in five days, numbered like any other order. Its internal notes record the template, the garment and anything the customer typed.
- The customer is filed as an organisation named Walk-in: followed by their name, with a contact carrying their mobile and, if given, their email. A contact without an email is stored under a
kiosk.localplaceholder address and never receives an invoice email. - The line is priced the way a staff quote is priced: the garment's list price, the chosen decoration method's rates and setup fee, your pricing rules and your tax scheme, in your currency.
- Stock is reserved for the SKU on the line.
- Staff with access to orders are notified in the panel and by email that a kiosk order arrived.
- When your plan's open order limit is reached, the order is refused with a message naming the limit and the plan that lifts it.
Confirmation Messages
The confirmation leaves by text when the contact has a phone number, your Twilio account is connected, your plan includes SMS and the number has not replied STOP. It leaves by email when the customer typed one. Each text is metered under SMS sent on your Billing page. The confirmation screen only promises what was queued, so a shop with no Twilio connection shows "Ask at the counter for updates".
Working a Kiosk Order
Treat it as a quote the customer has half written for you. Open the order while they are still in the shop if you can, confirm the quantity and the artwork, then send a proof to the mobile or email they gave. From there the order moves through your stages like any other; see Orders and Artwork and approvals.
Security
- Every kiosk address returns a 404 unless the request is on your workspace address, the kiosk is switched on and the device carries the unlock cookie. On
printersfriend.comitself the kiosk does not exist. - The unlock cookie is signed, bound to your workspace and to the current PIN, and expires after 30 days. A cookie copied from another shop's device does not work.
- Switching Kiosk on off locks every device at once, even one holding a valid cookie.
- The confirm step is limited to five orders a minute per device.
Do not put the kiosk address on your website. It is an in-store surface.
Related Pages
- Brand and Portal Settings: shop name, colours, tax and currency, portal copy and the kiosk switch
- Orders: the order page, stage moves and what each one triggers
- Artwork and Approvals: upload proofs, send approval links and handle change requests
- Twilio SMS: connect Twilio for approval, dispatch and marketing texts
- Shop Floor Hardware: the wall TV, operator stations, barcode scan and the time clock
- FAQ: Shop Floor Hardware: short answers on the wall TV, stations, the kiosk and phones